Error Code 1309 occurs when transferring files from the computer to a flash or hard drive. This error is most prevalent on macOS and happens when you are transferring a rather big file. The full error message is seen as:
The operation can’t be completed because an unexpected error occurred (error code -1309)
This is a very old error message and will continue to be in existence because it is not related to a malfunction in the system. Rather it occurs due to a limitation of the external drive you are using.
What causes Error Code 1309 when Copying Files?
There are usually these possibilities when you encounter the error code 1309:
- The external drive to which you are copying files has FAT32 format.
- The video (or images) that you are copying is corrupt.
- The transfer process was halted because the external drive was disconnected by touch or accident if you didn’t intend it.
You can remedy the corruption by double-checking the file. In case of disconnection, delete the incomplete file copied and restart the copying process.
We will discuss the format cause in this article. Flash drives typically have NTFS and FAT32 formats. NTFS is primarily used by Windows OS and is not usable in macOS while FAT32 is compatible with both. However, FAT32 comes with a condition: the files cannot be larger than 4 GB in their size.
This has been the case since FAT32 was launched and to cater to this limitation, new file formats came forward. Since FAT32 is so widely adopted and is compatible with both major OS systems, it is still widely used.
Here is a table showing different file formats and their compatibility with macOS and Windows.
| File Format | Limit | macOS (Read) | macOS (Write) | Windows (Read) | Windows (Write) |
|---|---|---|---|---|---|
| NTFS | 256 TB | Yes | No | Yes | Yes |
| FAT32 | Less than 4GB | Yes | Yes | Yes | Yes |
| ExFat | 16 EiB | Yes | Yes | Yes | Yes |
| HFS+ | 16 EB | Yes | Yes | No | No |
| APFS | 8 EiB | Yes | Yes | No | No |
Another Read: PS5 Error ce-10005-6 – Step-by-Step Guide
How to Fix Error Code -1309 in macOS?
You might have already guessed it; in order to copy files larger or close to 4 GB, you need to reformat your external drive to another file format. You can choose the format according to your use case:
- The external drive is to be compatible with both macOS and Windows. – Exfat
- The external drive is to be only used with macOS systems. – HFS+
To check what’s the current format of your hard drive, follow these steps:
- Open the Finder on your Mac and locate the external drive at the left toolbar.
- Next, right-click on it and select Get info.

Checking format of external drive
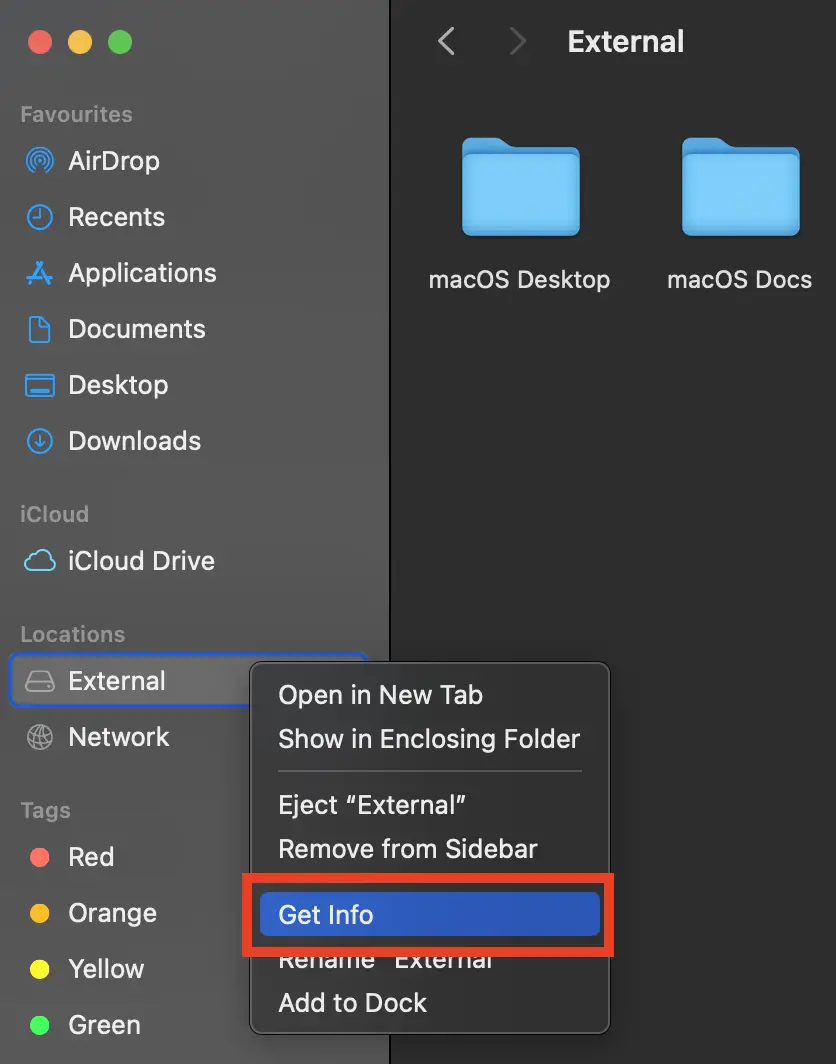
In the information tab, you will see the format of your external drive.
1. Format the External Drive to another format
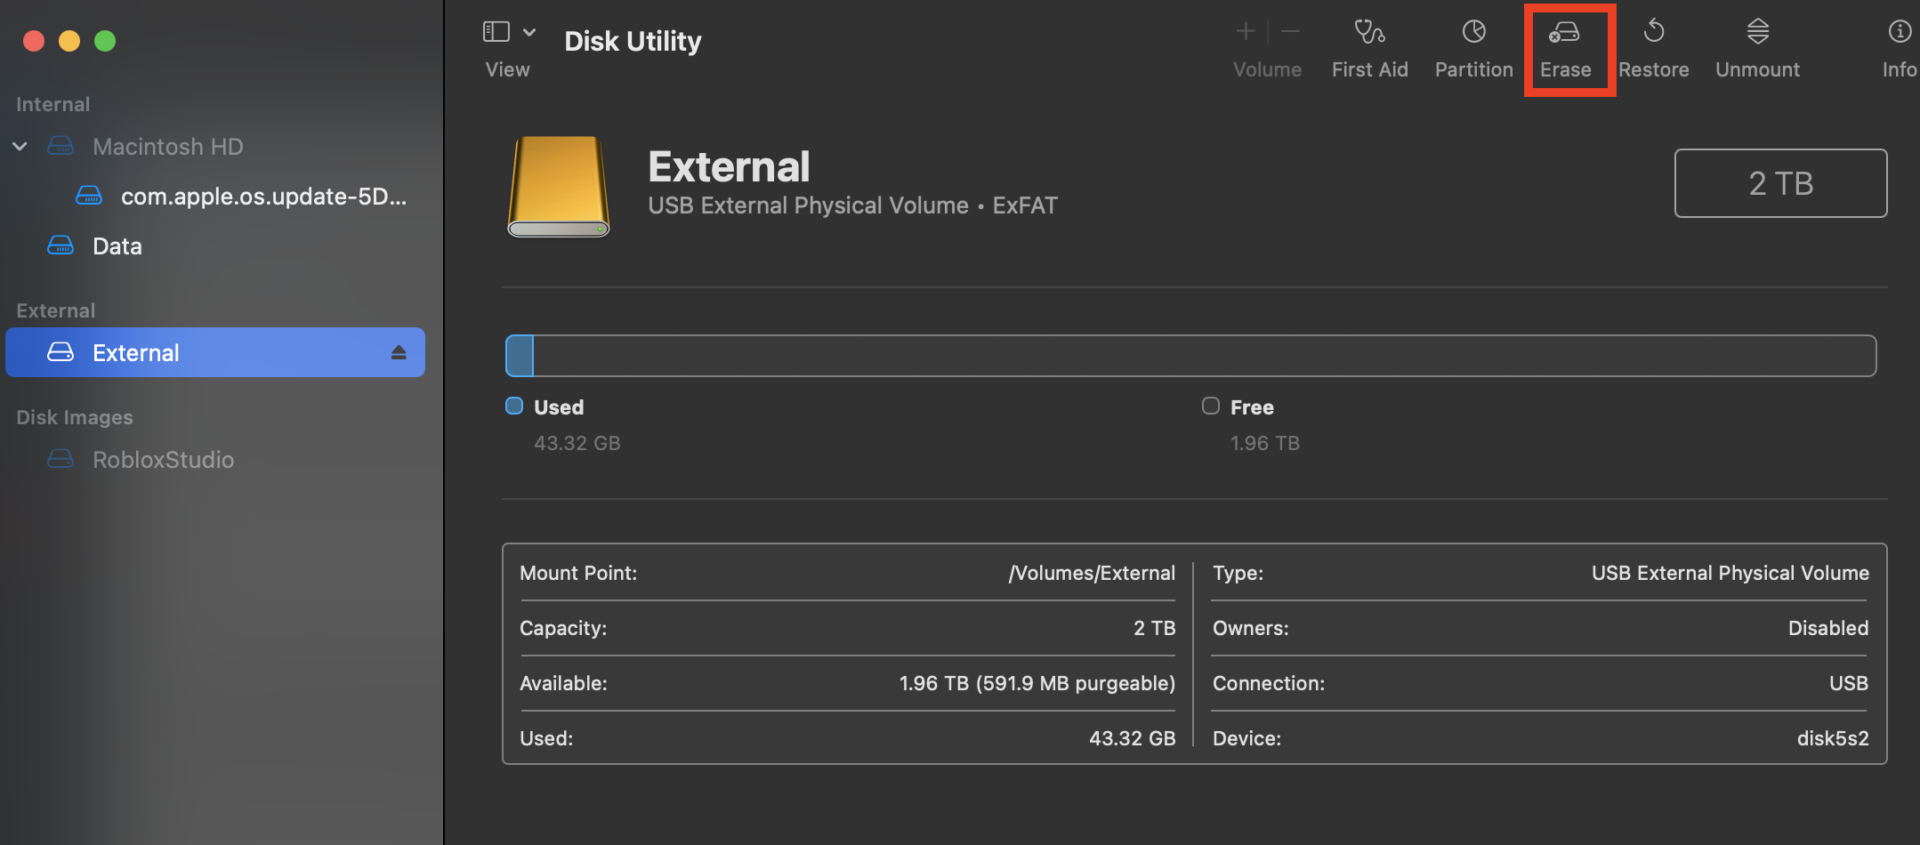
If the hard drive format is FAT32, you need to change it if you need to keep copying files greater than 4 GB. You can select either of the formats but Exfat is recommended because of its compatibility with both operating system types. In this solution, we will launch the Disk Utility and use it to erase and format the external drive.
Make sure you copy any data from the drive to another local location as they will be erased.
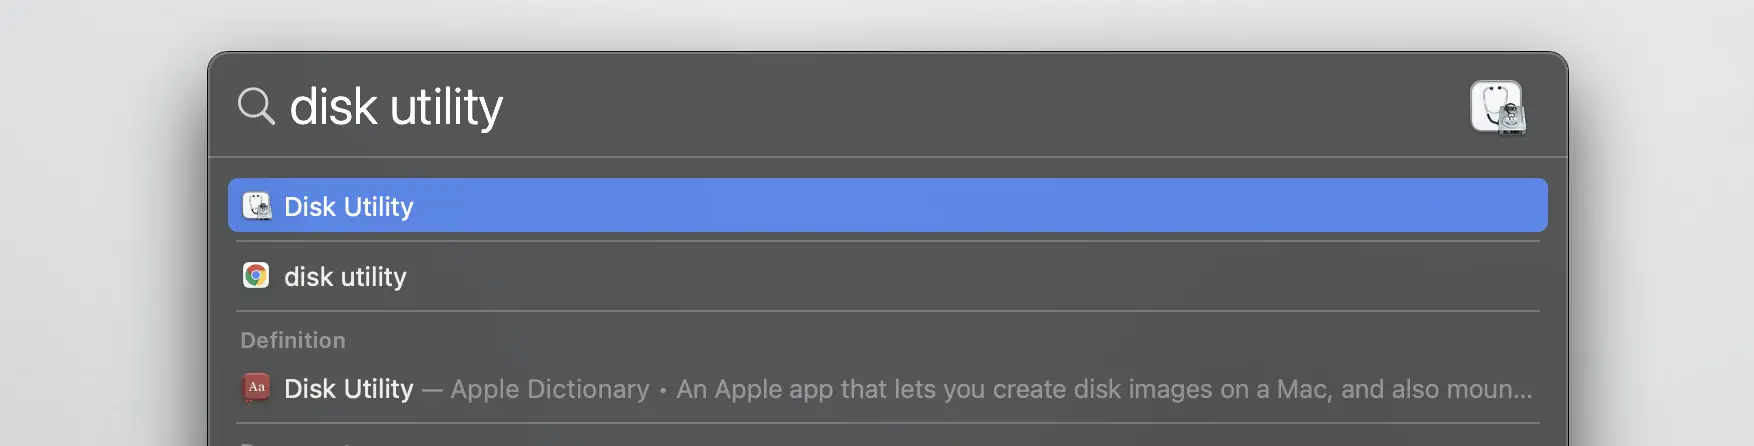
- Press command() + spacebar on your macOS to launch spotlight search. Here, type Disk Utility in the dialogue box and open the application.

Opening Disk Utility through Spotlight Search - Now, select the drive from the left bar and click on Erase button present at the top-right side of the screen.

Erasing external drive in Disk Utility – macOS - Now, you will be asked to set a name for the drive and select its format. Make sure you select the correct format and proceed with the process.
- After the drive is erased and re-formatted, eject it. Wait a few seconds before inserting it back in.
- Now try the copying process and it will go through.
Also Read: High CPU: Kernel_Task [Fixed & Explained]
2. Split The Large File Into Smaller Files
We know that this type of error occurs when file sizes are large, usually when they are more than 4GBs. In that case, we can use the power of the Mac Terminal and split the larger file into smaller parts. Follow the steps given below to do so.
- Open Terminal from Applications.
- Type in the following commands:
-
cd /Volumes/drivename/
-
split -b4000m filepath prefix
-
- Now, when you open the drive you wanted to transfer files to, you will see items like FileA, FileB, and FileC. To merge them, type the following command on your terminal:
-
cd drivename
-
cat /Volumes/drivename/prefix* > filename.extension
-
There we have it! That is how we get rid of Error Code -1309 in MacOS.
3. Use File Sharing Alternatives
Another quick workaround around this issue is to use File sharing alternatives like Google Drive, OneDrive, Dropbox, and similar services. You can use this alternative if you are not willing to format your drive and would instead prefer to upload it on one of these sites.
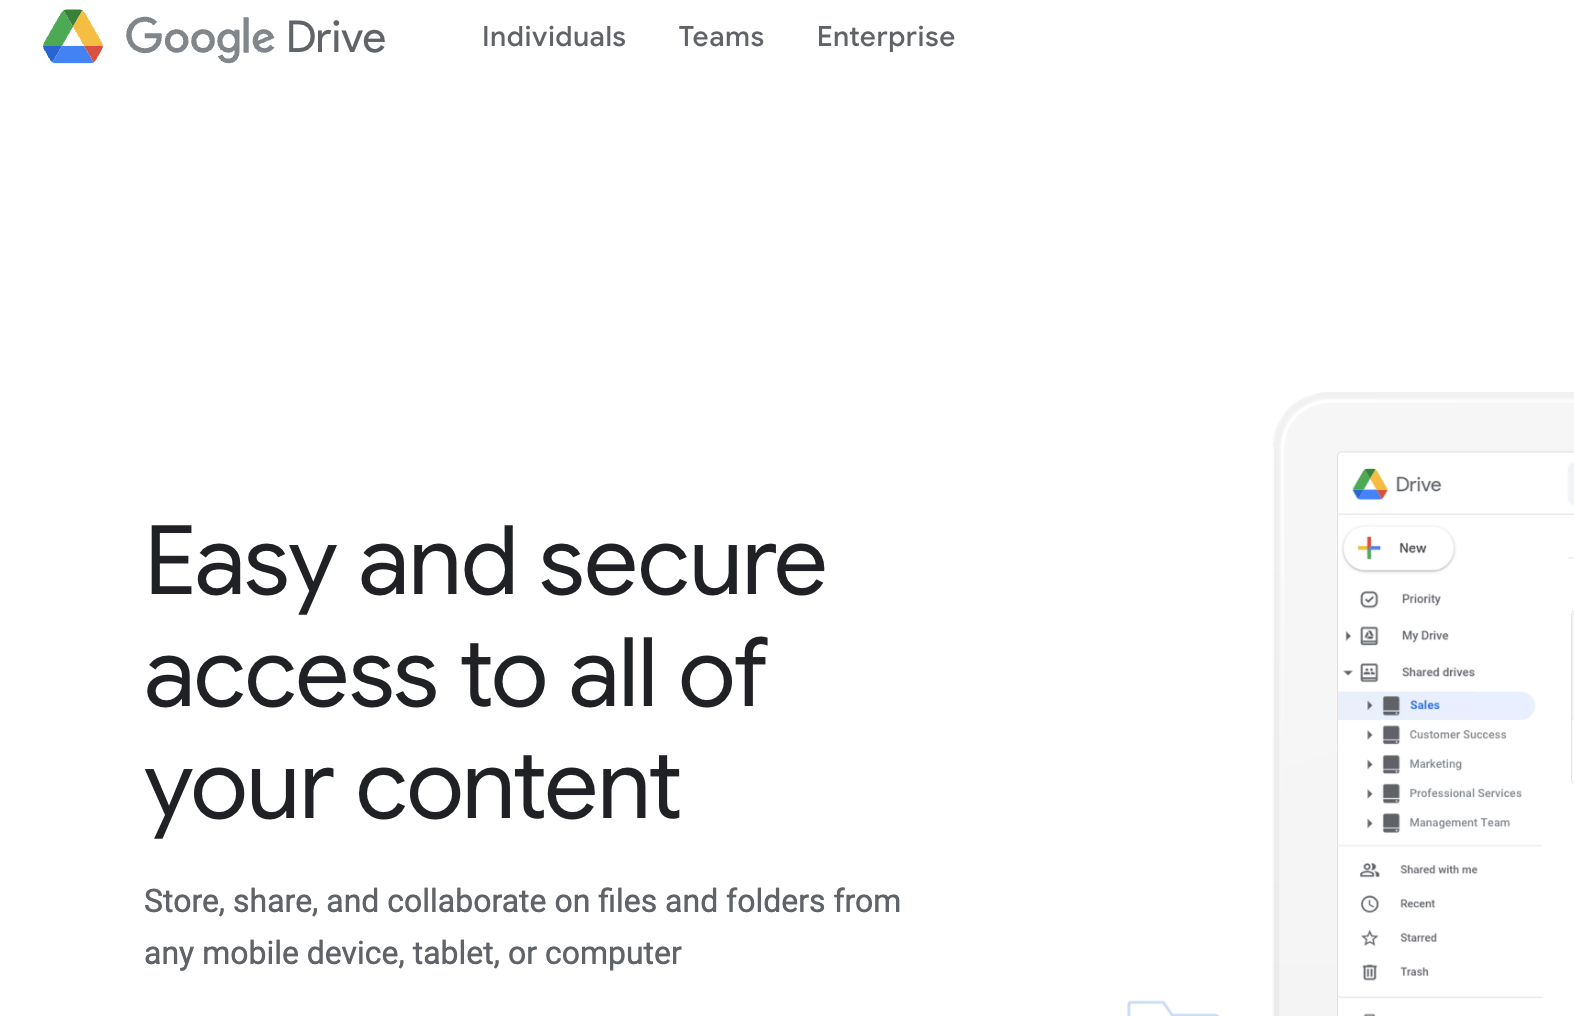
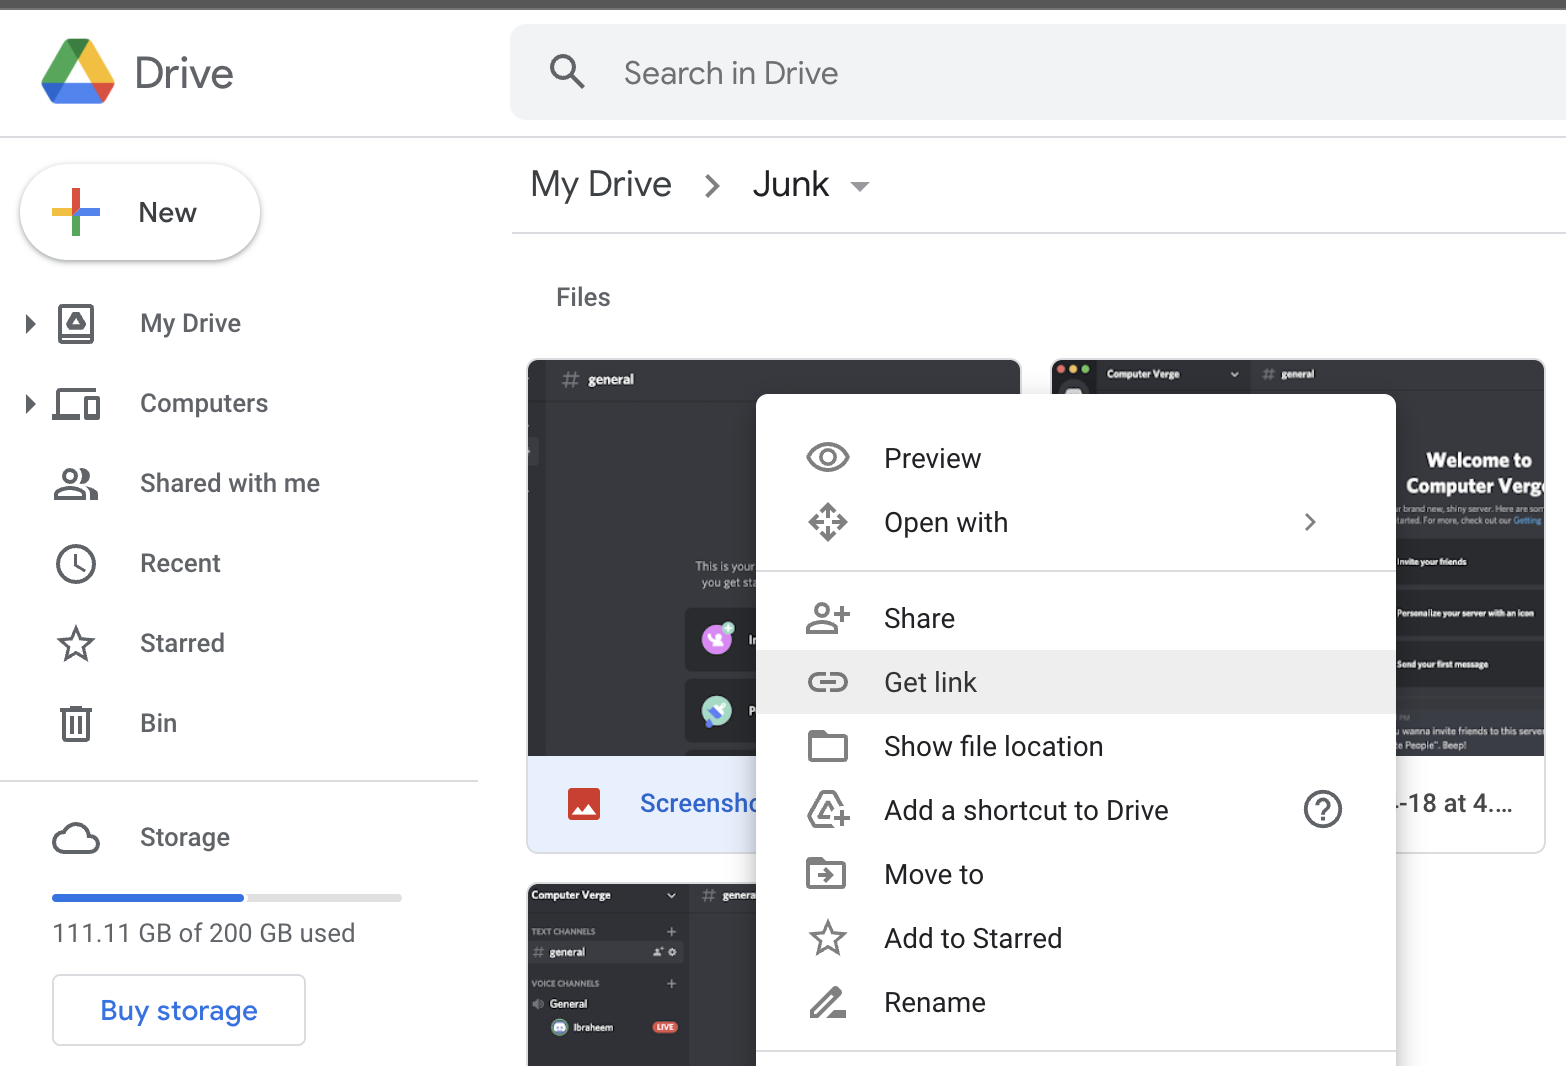
You can easily navigate to Google Drive or OneDrive. Login into the platform and begin the upload process. If you don’t have an account already, create one: it is free.
Next, if you want to share the file with someone, right-click on the file that you uploaded and select the Share button. From here, you can get a specific link or enter the email address of the recipients.
Do give us feedback in the comments on what worked for you.
Bottom Line
We hope that we helped you fix this frustrating error, we know how annoying errors like these can be. We urge you to check out other Mac-related articles that we have posted on our site.
- Cocoa Error 1 – What Causes it and How to Fix?
- Ways to Resolve ‘An Error occurred while Downloading the Updates 102’