The Error 0xc0000225 in Windows 10 is a ‘stop error’ and it usually happens on the Unified Extensible Firmware Interface (UEFI) mode. This error occurs when there are difficulties in the booting path of the operating system, which makes you unable to start your system.
Sometimes, this error code is accompanied by the following error messages:
- A required device isn’t connected or can’t be accessed
- The application or operating system couldn’t be loaded because a required file is missing or contains errors
- The operating system couldn’t be loaded because the digital signature of a file couldn’t be verified

This error is also known as ‘BSoD (Blue Screen of Death)’ and it happens when the Windows package cannot realize the required system files for starting or booting the system.
Here are a few use cases after which users have faced the error 0xc0000225:
- Modifying the size or cloning the operating system hard disk.
- The system was accidentally turned off while installing a Windows update.
- While installing the application or device driver from an unsigned owner (whose digital signature can’t be verified).
- While upgrading your operating system (either from Windows 7 to Windows 8 or Windows 7 to Windows 10).
What Causes Error 0xc0000225 in Windows 10?
Whether you’re using Windows 8 or Windows 10, this error occurs on both and sometimes on Windows 7 as well. The following are its major causes:
- When you’re using the UEFI mode which uses GPT (GUID Partition Table) scheme to achieve fast boot over the traditional BIOS mode that uses MBR (Master Boot Record) sectors on the hard disk; your operating system gets confused between these two schemes. This confusion makes the OS unable to find the required system files for booting the system.
- When you’ve recently installed the device driver or some application with unverified digital signatures and that application or driver results in the corruption of the system files.
- Hardware fault (but only if all the other causes are crossed out).
After every scenario, users complain about not being able to start their systems. There are several fixes to this issue, but only a few of them works perfectly. So, let’s try those.
How to Fix Error 0xc0000225 in Windows 10?
Since this is an issue with the booting of your system, before trying the subsequent solutions, you should boot your system from the Windows Installation Media. Because most of the subsequent issues depend on that. However, if you don’t have one, then you can create the Windows installation media via Microsoft’s ‘Media Creation Tool.’
Plus, if the following solutions do not fix your problem, then hardware fault is the reason for your issue. Anyway, let’s get to the fixes for this error.
1. Fixing it Via Repairing the UEFI Bootloader
Whether one of the following scenarios describes your use case or not, you can apply this solution to solve the error code 0xc0000225.
- If you have messed up the registry of your system and experienced this issue, you can’t even go into Safe Mode.
- If you’ve attempted an upgrade from Windows 8 to Windows 10 and experienced this issue.
In the following solution, we’ll try to fix the error code 0xc0000225 with USB or CD/DVD installation media because we’re assuming that you’ve already created the windows installation media. So, now using the media, we’ll repair the UEFI bootloader.
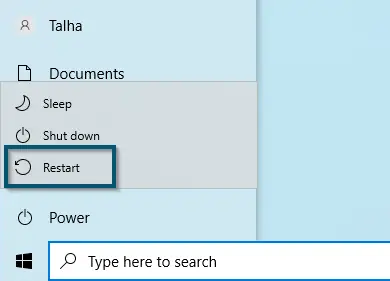
- Insert the installation media into your system and restart it by going to the ‘Start Menu < Power < Restart.’

Restarting the System Optional: For people who have created the installation media on a USB and want to fix windows 10 error code 0xc0000225 without CD) – Now, navigate to the ‘Boot Menu’ and select ‘Removable Devices.’ Then, your system will display the following message:
"Press any key to boot from USB"
- If you’ve created the installation media on DVD or CD, then you don’t have to go to the boot options because the system will automatically detect the inserted CD or DVD. Now your system will show the following message:
"Press any key to boot from CD or DVD"
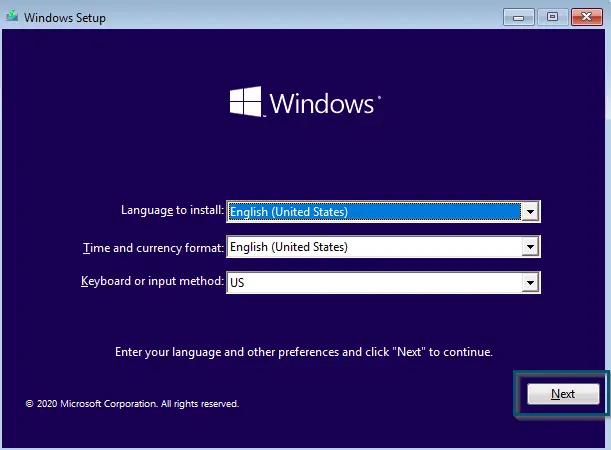
- After pressing the key, you will enter the Windows Setup wizard. From here, you will choose your Windows language, Time format, Input method and click on the Next option.

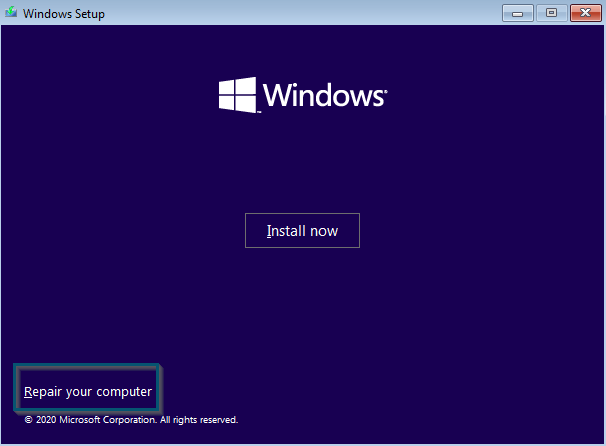
Clicking the Next button in Windows Setup - In the next window, choose the ‘Repair your computer’ option and wait for Windows to get ready for repairing your system.

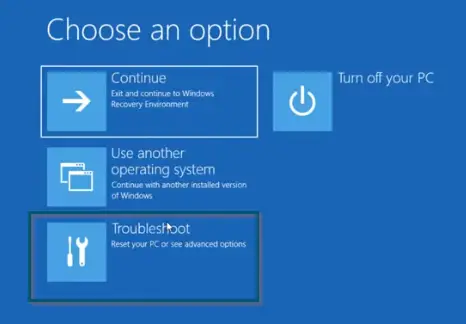
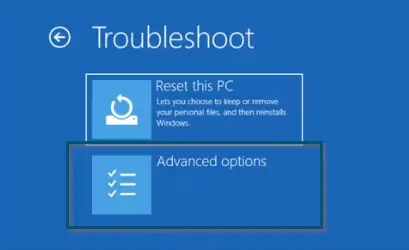
Selecting the ‘Repair your computer’ option - In the repair window, choose the ‘Troubleshoot’ option.

Choosing the ‘Troubleshoot option’ - Then, select ‘Advanced options’ in the Troubleshoot window.

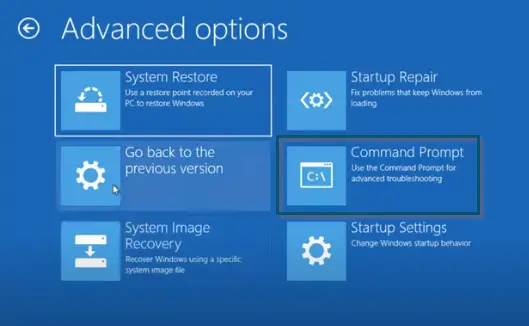
Choosing ‘Advanced options’ in the ‘Troubleshoot’ Window - Then, pick the ‘Command Prompt’ option to open the CMD window.

Choosing ‘Command Prompt’ in ‘Advanced options’ Window - In the CMD window, type the following command to view your system’s name and hit the ‘Enter’ key.
diskpart
- Then, type the following command and again hit the ‘Enter’ key. This will list all the created partitions and attached drives on your system.
list volume
- Now pick your System Reserved volume by looking at the ‘Info’ column and choosing the entry that is displaying ‘System’ as its value.
Note: System Reserved volume is usually the volume with the smallest size and if you have a UEFI system, then its ‘Fs’ (File System) will be FAT32

- Once you’ve found the volume number of your system reserved drive, then type ‘select volume 0’ and press the ‘Enter’ key.
Note: Replace the number ‘0’ with your System Reserved drive number
- After selecting the drive, the CMD will show the following message:
"Volume 0 is the selected volume"
- Now assign a temporary letter to the selected volume (as we’ve picked the letter ‘Z’) by typing ‘assign letter=Z’ and pressing the ‘Enter’ So, CMD will show the following message:
"DiskPart successfully assigned the drive letter or mount point"
- Now type ‘exit’ and press the ‘Enter’ key. This time, CMD will show:
"Leaving DiskPart…"
- After that, you need to generate the boot files for the UEFI environment. So, type the following command and press the ‘Enter’ key.
bcdboot C:\windows /s Z: /f UEFI
Note: In the above command, the letter ‘C’ represents the boot drive. So, replace this letter with your boot drive letter

- The CMD will show the following message upon successfully executing the above-typed command:
"Boot files successfully created"
- Now the whole process is completed. So, close the command prompt and restart your system.
After a successful restart, the ‘error code 0xc0000225’ will resolve. But if that didn’t work, try some other method.
2. Fixing it via Windows 10 Repair Environment Options
(For Windows 10 Users who don’t have the Boot or Repair Disc)
You can apply this solution if you’ve faced the ‘UNMOUNTABLE_BOOT_VOLUME’ issue and then your system went into the repair mode, but never recovered and now you’re facing the ‘error 0xc0000225’ in Windows 10.
In the following solution, we will try multiple methods from the Windows 10 Repair Environment. If any of these sub-methods didn’t work for you, then you can try the next solution.
- Power on your system and wait for the Manufacturer’s logo to disappear. Once the logo disappears and Windows 10 tries to boot, hold the power button for about 5-10 seconds.
Note: Perform the Step-1 Twice
- On the third attempt, Windows 10 should boot into the ‘Windows-10 Repair Environment.’
- In the repair window, choose the ‘Troubleshoot’ option.
Choosing the ‘Troubleshoot option’
From here, apply one of the three sub-methods (after following the three steps discussed above).
Checking for A System Restore Point
(For Users Having a Restore Point)
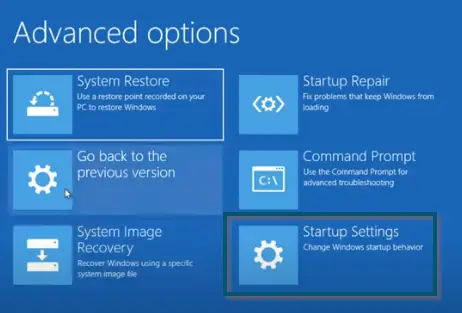
- Select ‘Advanced options’ in the ‘Troubleshoot’ window.
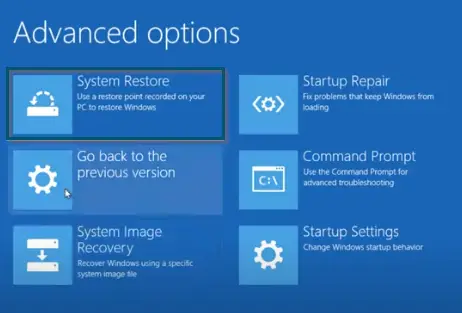
Choosing ‘Advanced options’ in the ‘Troubleshoot’ Window - In the next window, choose the ‘System Restore’ option.

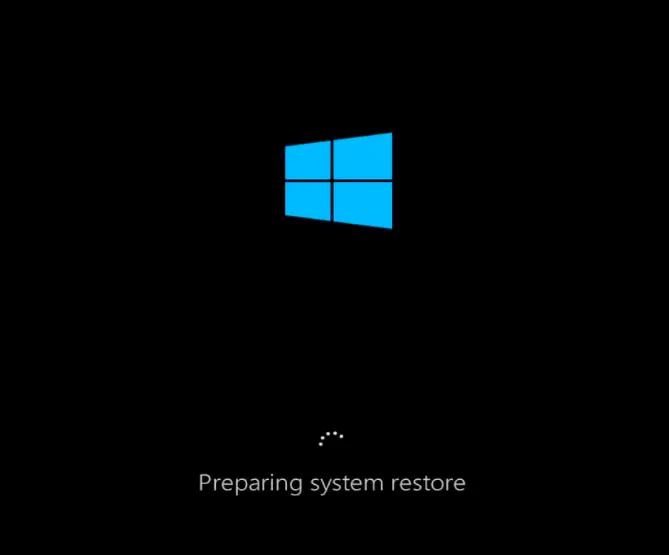
Choosing ‘System Restore’ in ‘Advanced options’ Window - Now, your system will start preparing the system restore point.

System Preparing for the System Restore - After the black screen, you will enter your password and then click Next.

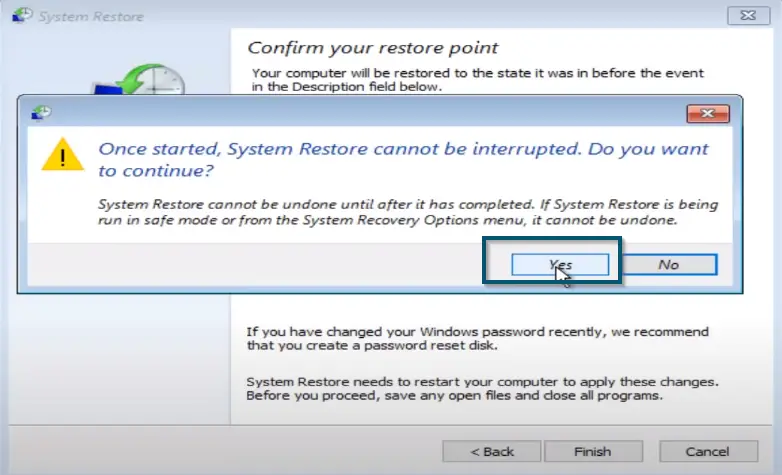
Clicking ‘Next’ in System Restore Point - Follow the wizard of System Restore and if the system finds the restore point, then click Yes to initialize the process.

Clicking ‘Yes’ Upon Finding the Restore Point - Once the system has finished restoring, click the Restart button.

Hopefully, this will resolve the issue. However, if there’s no system restore point or this process didn’t resolve your issue, then follow the rest of the Sub Methods.
Backing Up Data via Safe Mode and Rebooting
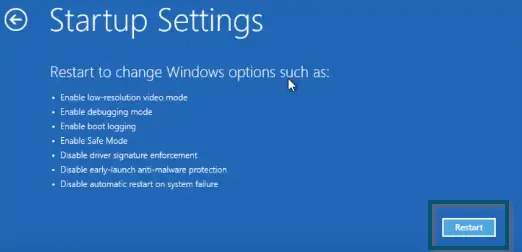
- In the ‘Advanced options’ window, choose the ‘Startup Settings’ option and click Restart.
Choosing ‘Startup Settings’ in ‘Advanced options’ Window 
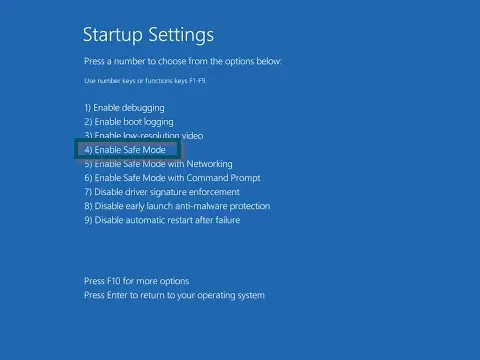
Clicking the ‘Restart’ for restarting in the Safe Mode - Upon restart, press ‘4’ to enter the ‘Safe Mode.’

Pressing ‘4’ to Enter the ‘Safe Mode’ - Once you’ve entered safe mode, then back up the necessary files and restart the system again.
If the system boots normally, then the issue has been resolved. Otherwise, follow the next sub-method.
Resetting the PC by Keeping All the Files
(For Users who have failed in previous Solutions)
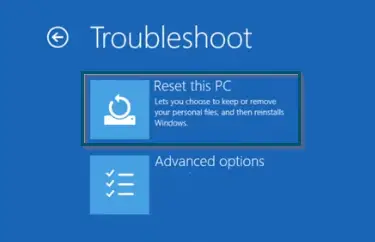
- In the ‘Troubleshoot’ window, select the ‘Reset this PC’ option.

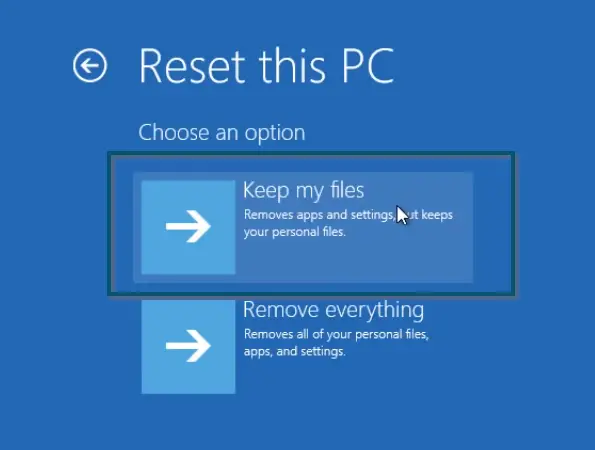
Choosing ‘Reset this PC’ in ‘Troubleshoot’ Window - Now, in the next window, choose the ‘Keep my files’ option. This option will reinstall Windows-10 without deleting your personal files.

Choosing ‘Keep my files’ in ‘Reset this PC’ Window - In the next window, Windows-10 will show you the apps that will be removed during resetting this PC. However, Windows will automatically restore the built-in apps (like Mail, Calendar, and others) with their default settings. So, click Next.
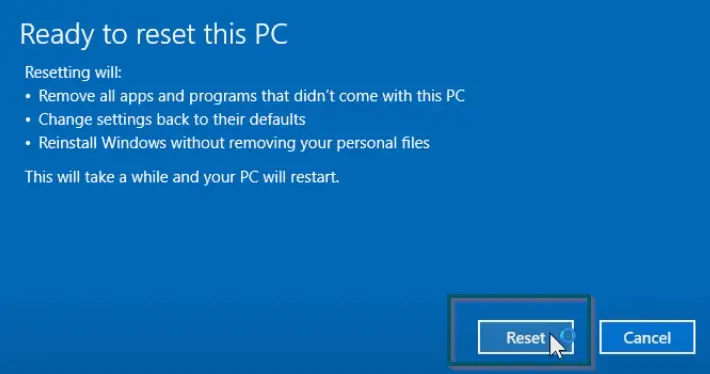
- Then, click the ‘Reset’ button to start the process.

Pressing the ‘Reset’ Button to Start the Reset
After resetting the PC, the issue will resolve. However, if the issue persists, then try the next method.
3. Resolving the Issue by Fixing the Boot Files
(For Users who can’t get into the Recovery Environment)
In this solution, we will again use the Windows-10 Installation Media for booting into the system. However, if you don’t have one, then you can create the Windows installation media via Microsoft’s ‘Media Creation Tool.’
- Follow the ‘first 8 steps of Solution 1’ for opening the CMD window via the ‘Repair your computer’ option through Windows-10 setup.
- Once you’ve opened the CMD, type the following commands and press ‘Enter’ after each command to let the command prompt execute each command:
bootrec /fixmbr

bootrec /fixboot
bootrec /scanos

bootrec /rebuildbcd
- After each command, the CMD will show the following message:
"The operation completed successfully"
- After executing all the commands, add the installation to the boot list by pressing the ‘A’
- Now close the CMD window and restart your system.
After a successful restart, the ‘error code 0xc0000225’ will resolve. But if that didn’t work and all the above methods didn’t work, then you have a hardware issue.
