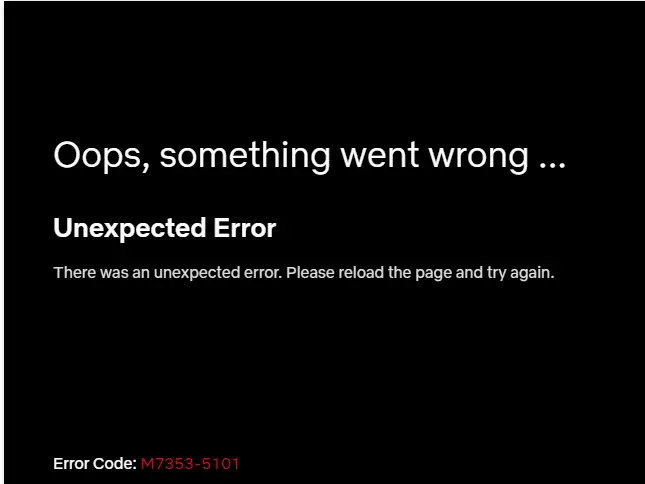
Error code M7353-5101 occurs on Netflix when the platform is unable to load videos mostly due to conflicts within the browser or in its cache system. DNS issues can also play a major role in this error message.
M7353-5101 isn’t only limited to Windows; it is reported to occur in other platforms like Hulu, Smart TVs, Ruku, etc. as well. According to the Official Netflix Support page for the error, the issue lies with the extensions active on your browser. However, even disabling all extensions doesn’t solve the issue completely in some cases.
What causes Error code M7353-5101
Here are a few causes that are valid for all platforms that Netflix currently supports.
- Bad extensions are conflicting with Netflix. Netflix has a sophisticated anti-piracy system working under the hood. If any extension somehow blocks this, Netflix will stop working and throw you the error.
- Corrupt browser storage is yet another reason for this error. Over time, your browser accumulates storage and makes cache entries to make things faster. However, there are cases where these get corrupt and start hindering the operations of web apps like Netflix.
- DNS issues can also cause M7353-5101. If your current DNS isn’t able to handle requests by Netflix, you will encounter the error message.
How to Fix M7353-5101 in Netflix
Below are some workarounds that help remedy the error message. Start with the first one and work your way down as they are ordered according to complexity and effectiveness.
1. Empty Browser’s Local Storage
Your browser saves key-value pairs of JavaScript sites in your browser’s local storage. Local Storage is used by many web applications like Netflix to store information locally on your machine for faster processing times. The minimum size of the storage is 4KB in a cookie as compared to 5MB in local storage. Hence platforms use the latter to store application critical data.
Over time, if this gets corrupt, you might not be able to play Netflix. Here, we will navigate to Google console and clear this storage to ensure smooth operation again.
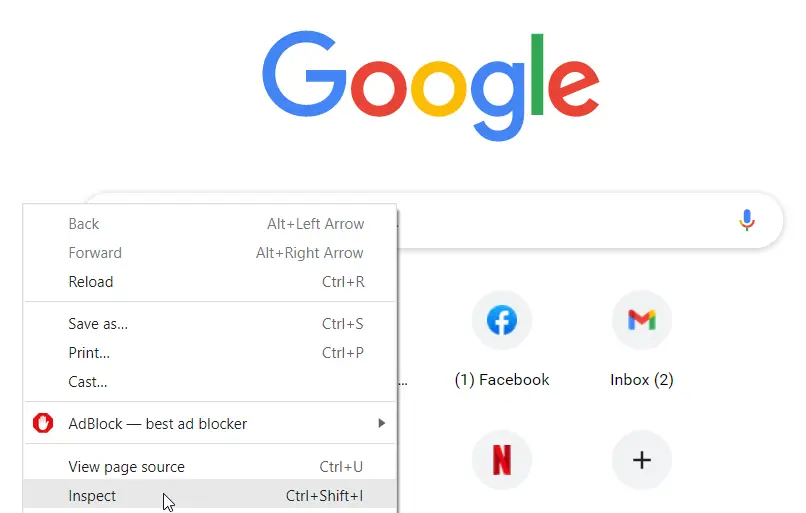
- Open your Chrome browser and right-click on any empty space. Now, choose Inspect or press Ctrl+Shift+I directly.

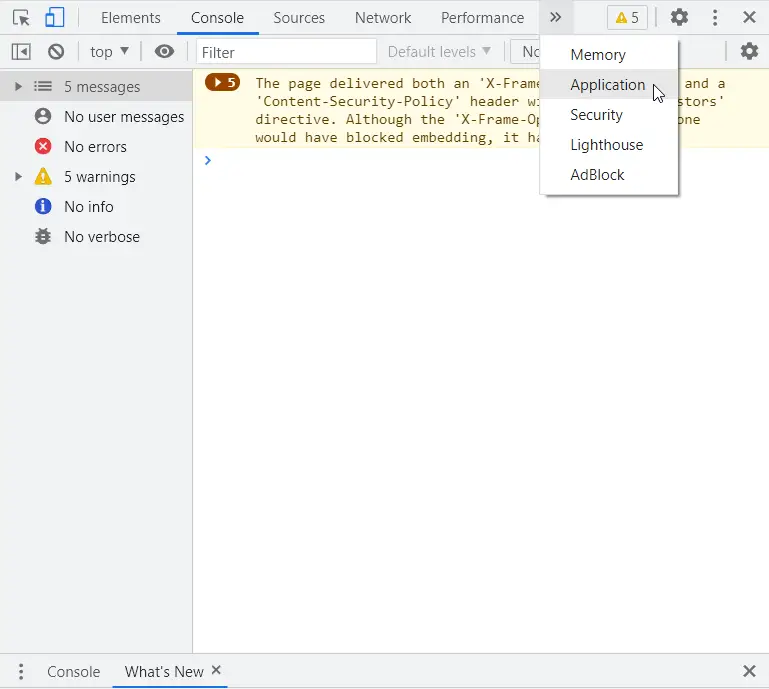
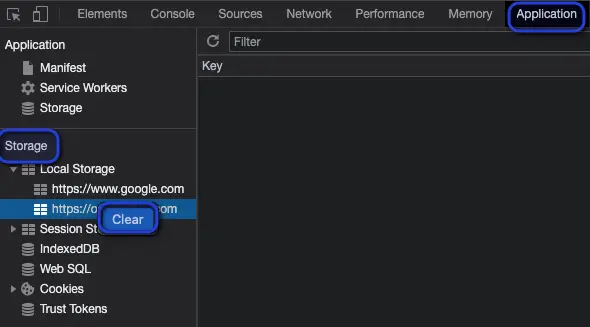
Inspect Console - A console will open in front of you. From the console, open Applications from the Console’s top menu (click the double-arrow if not visible).

Application – Google Console - Locate the Local Storage in the Storage menu on the left side of the Console. Select all sites one by one, right-click on them, and select Clear.

Clearing Local Storage – Netflix - Now, restart your browser and check if the issue is resolved.
2. Disable Extensions
Before changing the DNS settings, we will attempt at disabling Extensions on your browser as suggested by Netflix officials. If the error gets resolved after disabling these extensions, you can try enabling them one by one to find the culprit.
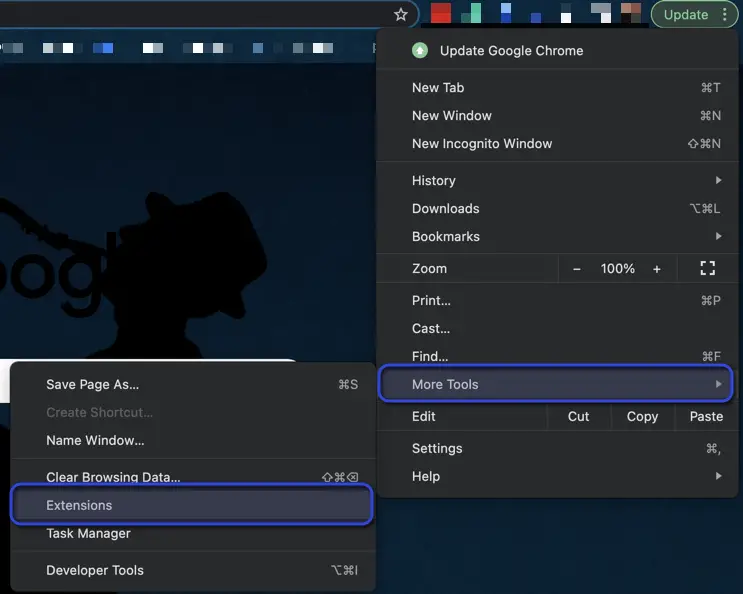
- Click on the three dots present at the top-right of the Chrome browser. Select More tools and then click Extensions.

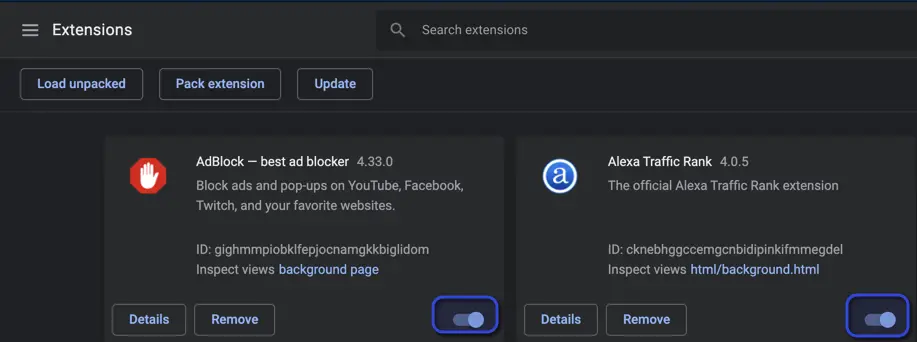
Opening Extensions in Chrome - A page containing all extensions will pop up. Disable all of them by toggling the button.

Disabling all Extensions in Chrome - Restart your browser and try using Netflix again.
3. Change DNS Settings
Another reason why you are facing M7353-5101 error is because your DNS isn’t working properly. DNS is used to translate the requests made by Netflix to correct computer addresses. If your default DNS which is your ISP’s DNS isn’t working, we can attempt at changing it to Google’s DNS.
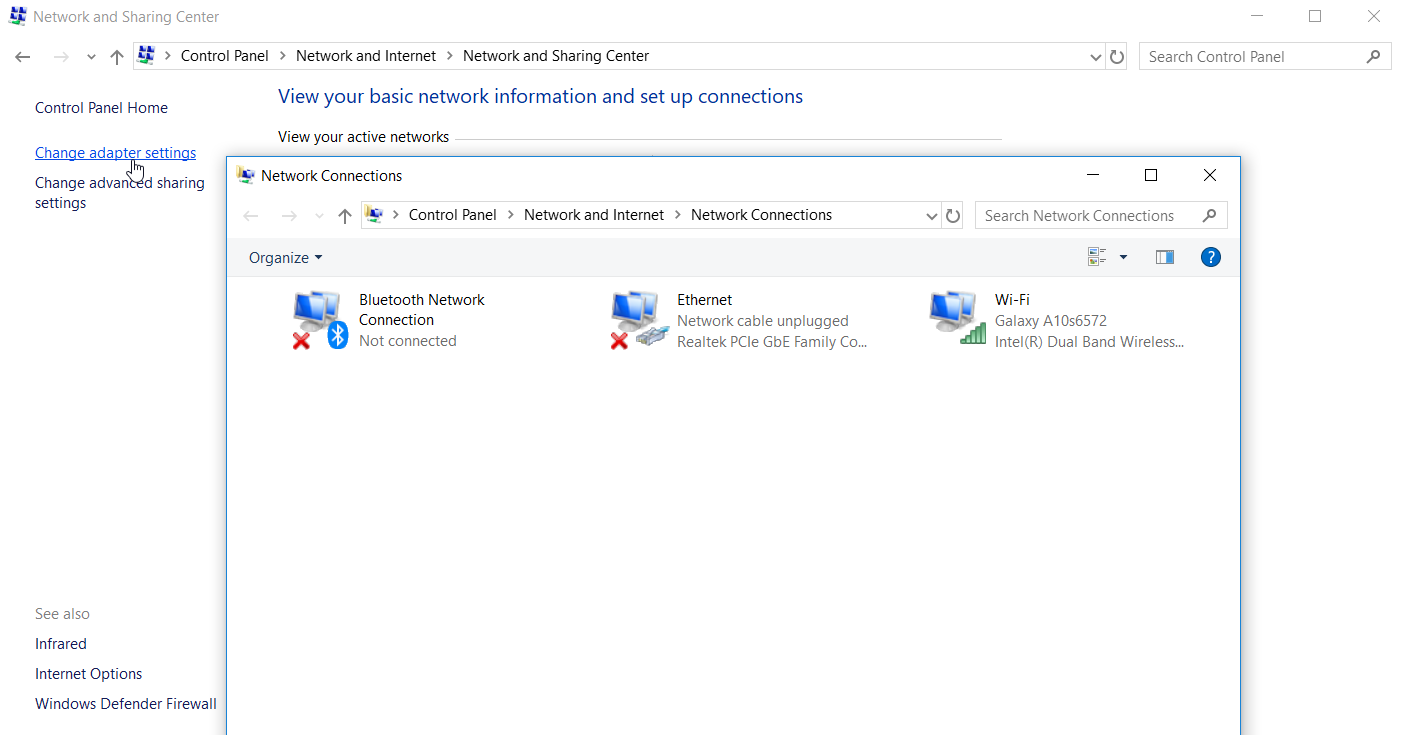
- Go to Control Panel by clicking on the start menu or by searching Control Panel in the search bar. Open Control Panel > Network and Internet > Network and Sharing Center and select Change adapter settings on the left side of the panel.

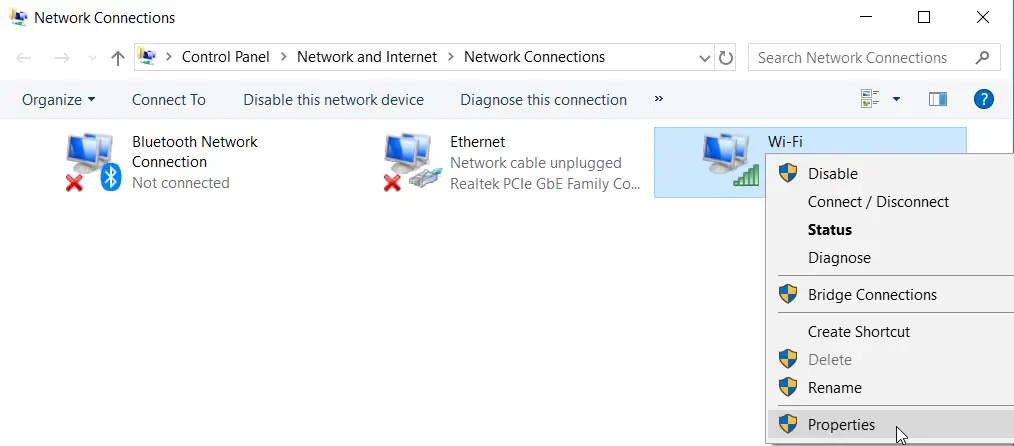
Change adapter settings – Control Panel - Select the network you are using, right click on it and select Properties.

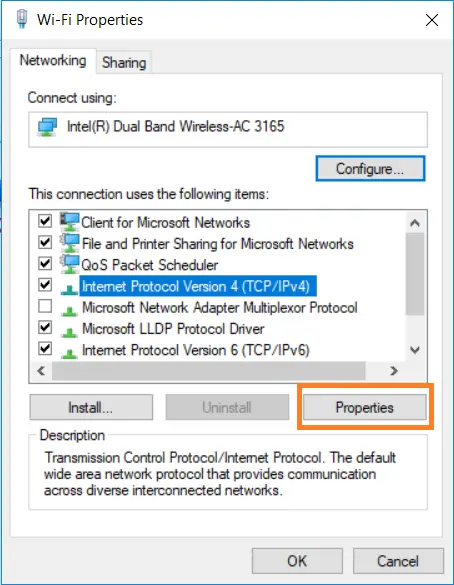
Adapter Settings - From the Networking tab under, locate the Internet Protocol Version 4 (TCP/IPv4) and then select Properties.
Note: Select IPv6 if you have specifically set up this protocol.
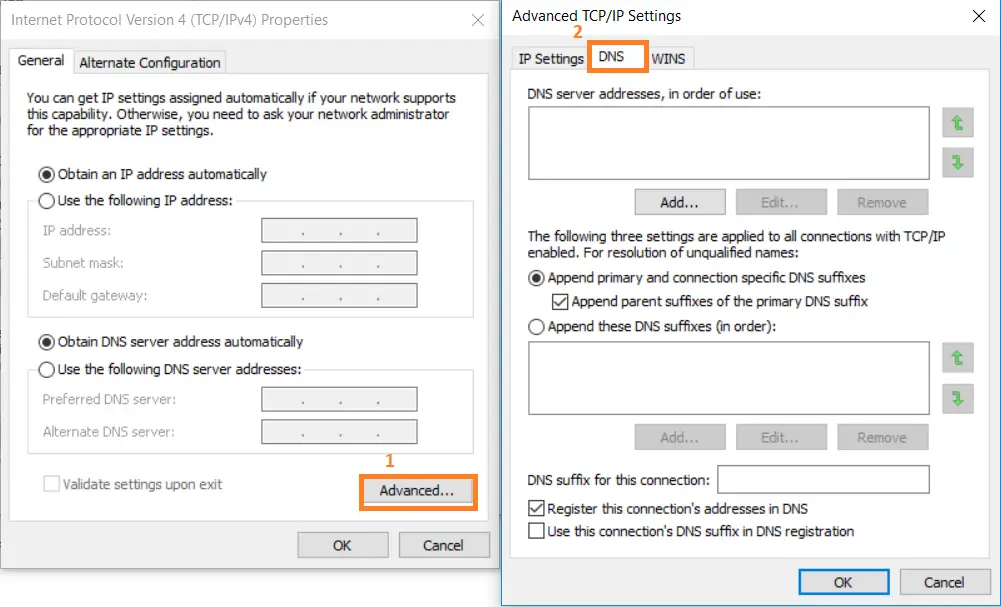
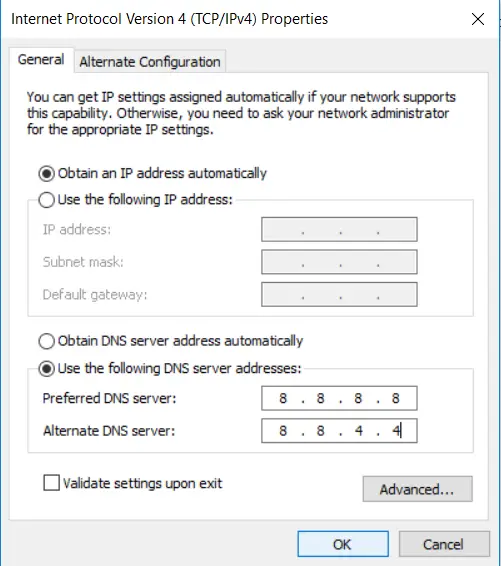
Wi-Fi Properties - Nex,t click on Advanced and select the DNS tab. Write down the DNS server IP addresses listed to a safe place (if any) for future reference and remove the entries from the window. Click OK.

TCP/IP Settings - If there are any IP addresses listed in the Preferred DNS server or Alternate DNS server, note them down for future use.
Now, select Use the following DNS server addresses and enter the following values:IPv4: Preferred DNS server: 8.8.8.8 Alternate DNS server: 8.8.4.4
IPv6:
Preferred DNS server: 2001:4860:4860::8888

Alternate DNS server: 2001:4860:4860::8844