Windows 10 has the functionality to attach multiple monitors to your existing setup. Personally, we’ve added more than three monitors in our setup but it really comes down to how many ports your setup has and how many monitors does your hardware support (motherboard & graphics card).
Pre-requisites:
There are two pre-requisites you need to check first:
1. Hardware Specifications
Make sure that your system has the capability to support multiple monitors. If you have a graphics card, you can look up the graphics card details on its official website and make sure multiple monitors are supported.
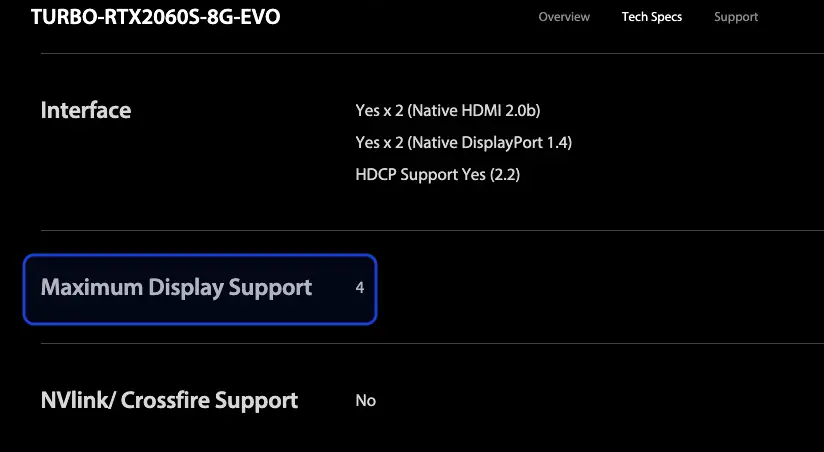
As an example, look at the specs for TURBO-RTX2060S-8G-EVO taken from Asus’s official website. As you can see, the Maximum Display Support for it is set to 4.
2. Multiple Displays are Enabled
If you have multiple display functionality enabled, you need to make sure it is enabled by your Windows operating system first (this is by default enabled).
Update: There was previously an option in Windows 10 control panel which had the option to enable/disable displays but that seems to have been depreciated and you will not find any display in Control Panel. If you do have outdated Windows, follow the steps:
- Press Windows + R, type ‘control’ in the dialogue box, and press Enter.
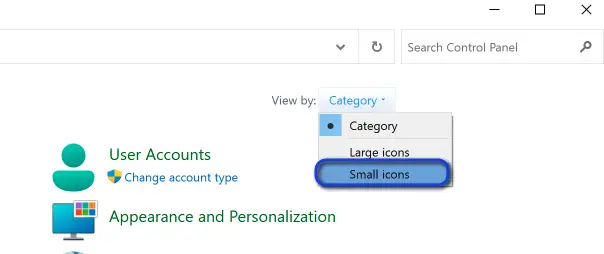
- Now, at the top-right side of the screen, select View by: Small icons.

View by: Small icons – Windows Control Panel - Now select Display and then Display Settings.
- Here, an old screen will come forward. Select the extended monitor (gray/black) and make sure the option of Multiple Displays is set to Enabled.
- Do this for all the displays and then click Apply when done.
How to Add Multiple Monitor in Windows?
Now that you have verified that your system supports multiple monitors, we can go ahead and try enabling them on your computer. First, plug in the external monitor to the correct port.
Connect Monitor to Port
If you are using a graphics card, make sure you connect the monitor’s cable to the port on the graphics card. This is true for all monitors if you want your graphics card to output to the monitor.

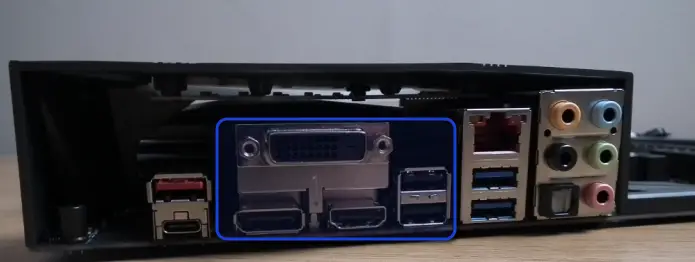
If you don’t have a graphics card, connect the monitor’s cable to the motherboard’s ports present in the back.
Access Display Settings and Configure
Before configuring multiple monitors on your device, make sure that all the necessary cables are connected to the monitors and the computer. This includes connecting power and video signal using VGA, VGA Splitter, DVI, HDMI, USB to HDMI, or DisplayPort (recommended) cables & display drivers must be installed.
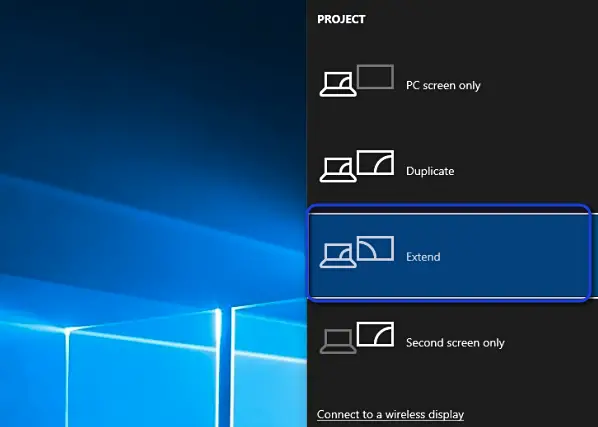
- First, you need to press the Windows logo key + P, from the right side a pop-up screen appears. Now click select the Extend Option.

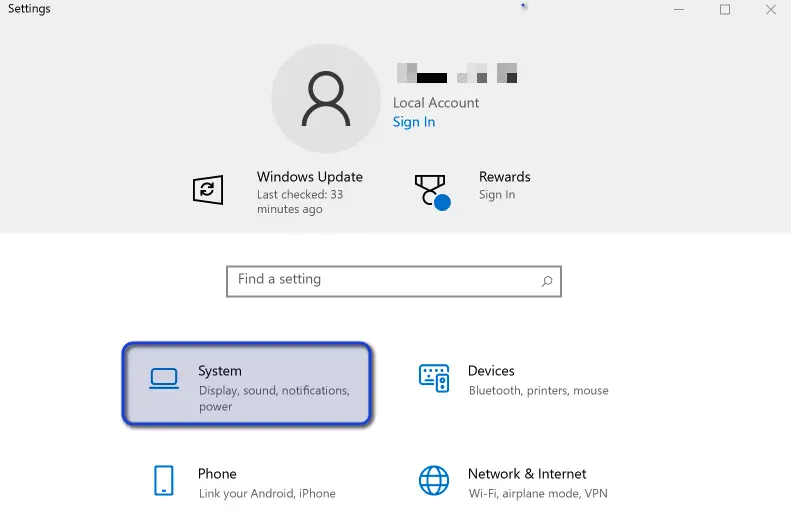
Extending Windows 10 Display - Now Press Windows + I to open Settings, Click on System Option.

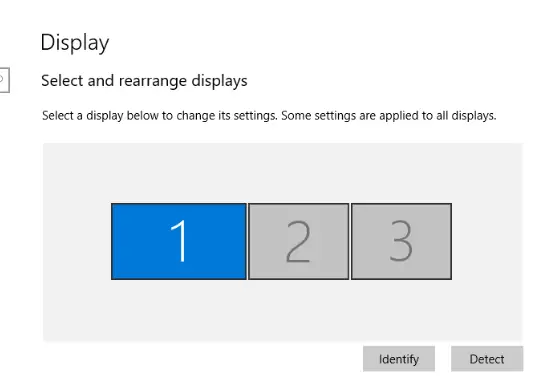
System – Windows Settings - In the Display menu, you will see currently connected displays.

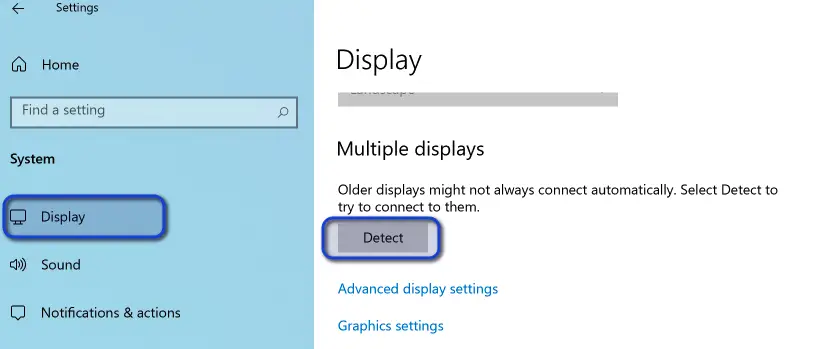
Graphical Display screens - If any monitor missing, Click on the “Detect” option and wait. The system will detect him (If Not detecting then update drivers).

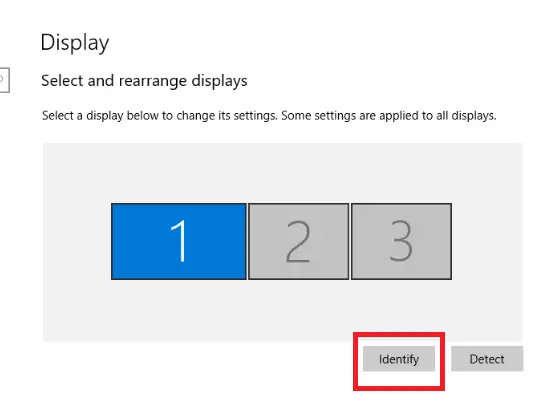
Detecting Windows 10 Displays - Now you can set your Primary and Secondary displays here. First, you need to identify your monitors’ location. Just click on identify option and now you will be seen on your all connected monitors screen displays the number like 1, 2, 3, etc.

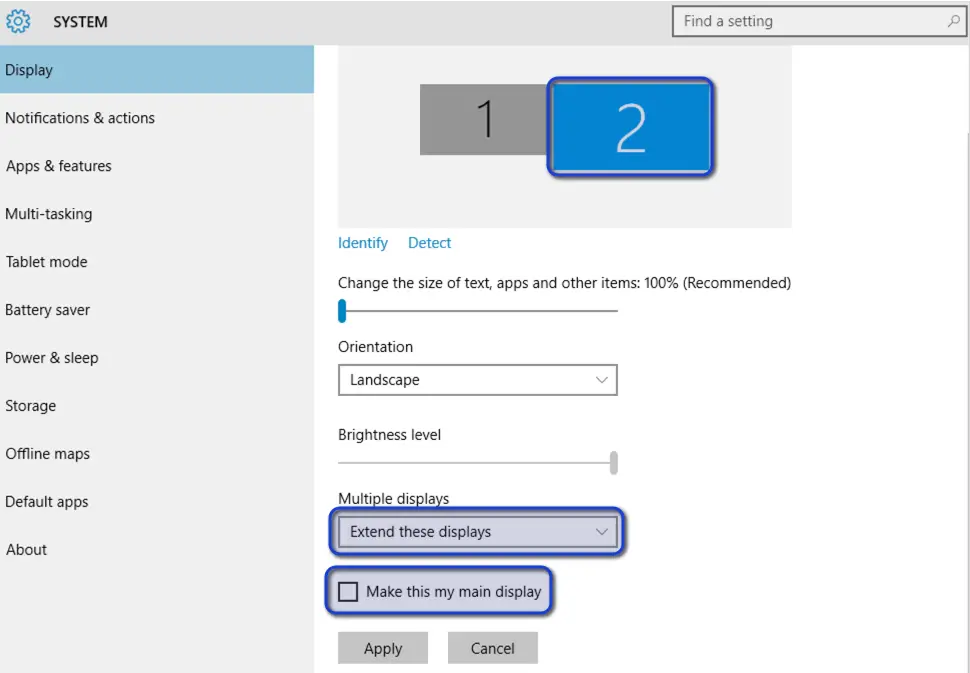
Identify monitors - After identifying the monitors, click on the monitor which you want to make the primary monitor. Scroll down the window, under the ‘Multiple displays‘ section, use the drop-down menu and make sure ‘Extend these display‘ must be selected Just below that ‘make this main display’ mark is on the check box.

Setting main display – Windows Display
When your extended monitors are set, you can just click and drag on the title bar of any program to move it to the other monitors.
You can also duplicate both screens. The extend option means that each monitor will have a separate desktop. In case of a duplicate, one screen will be duplicated for each monitor.
