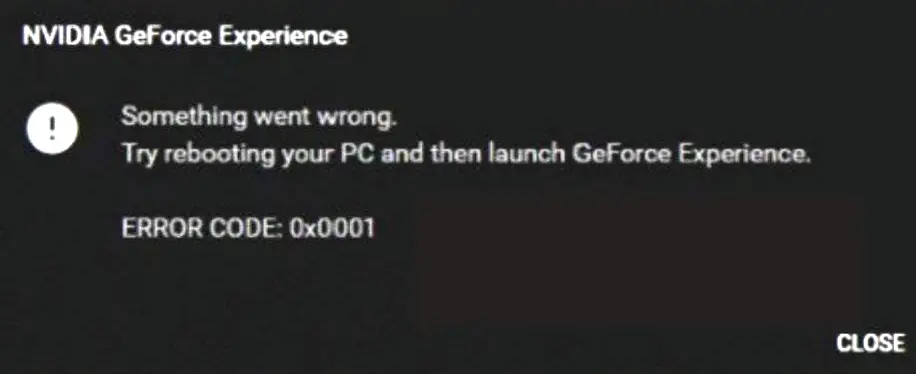
Users experience the Error Code ‘0x0001‘ in GeForce Experience along with the ‘Something went wrong‘ message. The application crashes all of a sudden and any progress made in underway work is usually lost.
This error is mostly caused because of the following reasons:
- Outdated Windows Operating System
- Improper Configuration of the Nvidia Services or Processes during installation
- Wrong Configuration of Nvidia Directories’ Permissions
- Corrupt Installation of GeForce Experience
There are numerous workarounds available to tackle this issue. We will start with the most effective one and work our way down accordingly.
1. Update Windows to the Latest Build
You may encounter the Nvidia Error 0x0001 if the PC’s Windows is outdated as it may have become incompatible with other OS modules (especially, the graphics driver). Here, updating the PC’s Windows to the latest build may solve the problem.
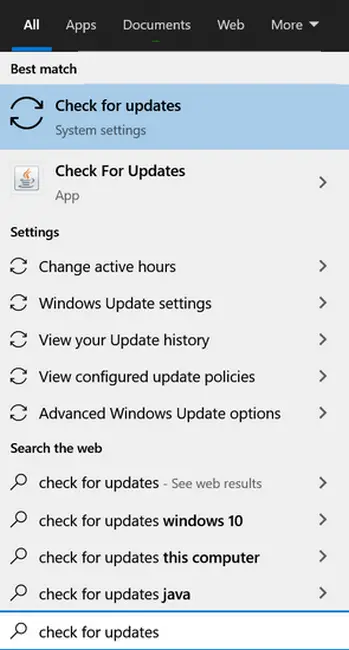
- Click Windows, search for Check for Updates, and open it.

Opening ‘Check for Updates’ - Now, in the right pane of the window shown, click on Check for Updates and if any updates are available, make sure to install them. Also, do not forget to install the optional Windows updates as well.

Check for Windows Updates. - Once the OS is updated, restart your system and upon restart, check if the Nvidia error code 0x0001 is cleared.

2. Disable or Uninstall the VPN Client
If GeForce Experience was in a middle of an update and a VPN connection is enabled, then it may conflict with the upgrade mechanism of Nvidia, leading to the error code 0x0001. This is primarily because of disturbances in the web sockets manipulated by the VPN.
- Expand the system’s tray and double-click on the VPN client icon (e.g., Nord VPN).
- Now click on Disconnect and afterward, check if the GeForce Experience is working fine.
If this doesn’t work, you can attempt to uninstall the VPN from your system completely and then see if this makes a difference.
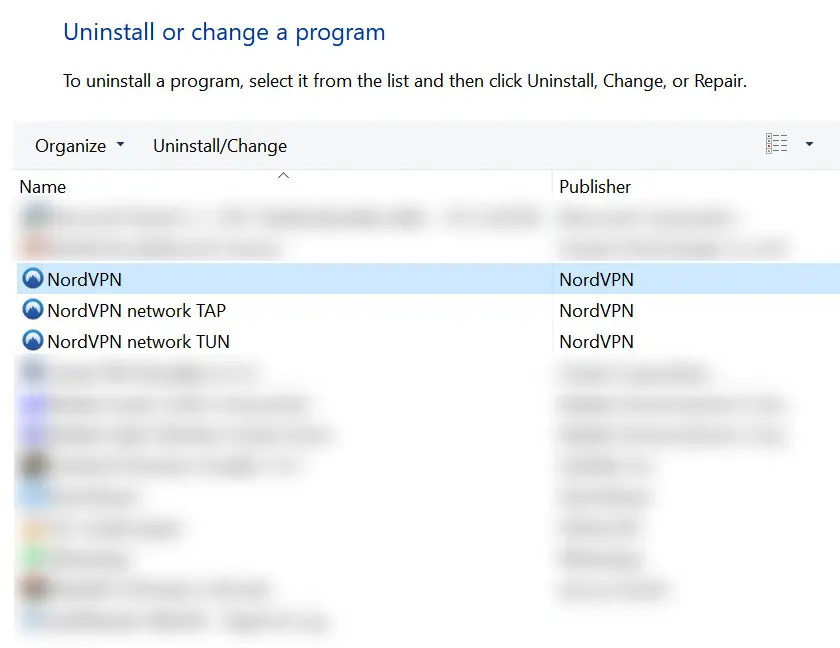
- If not, right-click Windows and select Apps & Features. Now, expand the VPN client (e.g., Nord VPN) and click on Uninstall.

Uninstalling NordVPN - Then confirm to uninstall the VPN application and afterward, follow the prompts to uninstall the client.
- Once uninstalled, restart your system, and upon restart, check if the error 0x0001 is solved.
3. Enable Nvidia Processes & Services at System Startup
There are certain processes & services required by the GeForce Experience to be enabled on the system startup and if any of these services or processes are disabled, then the GeForce Experience might show the Nvidia error at hand. In such a case, you can fix the error by enabling these Nvidia processes & services at the system startup.
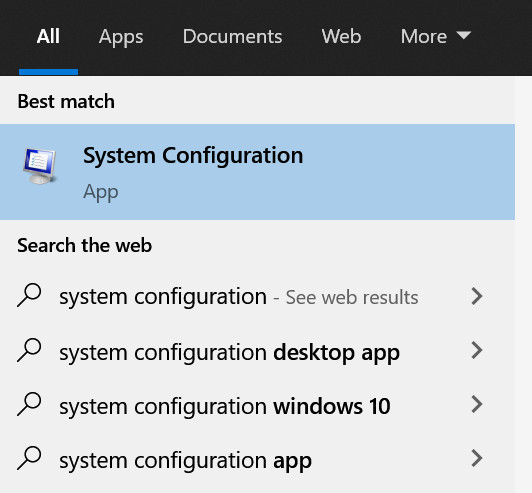
- Click Windows, search and open System Configuration.

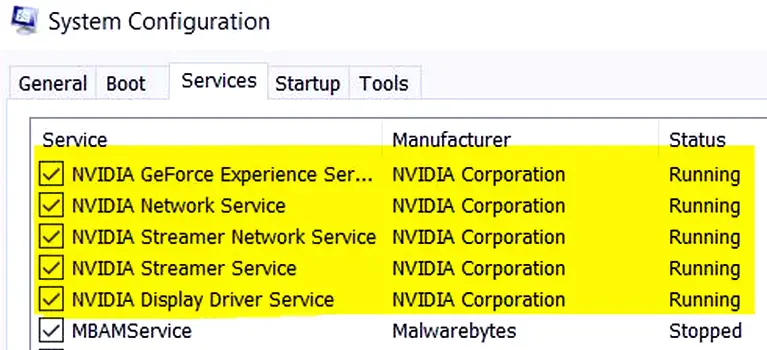
Open the System Configuration from the Windows Start Menu - Now, head to the Services tab and click on the checkbox of Hide All Microsoft Services.
- Then make sure all the Nvidia-related services/processes are enabled and head to the Startup tab.

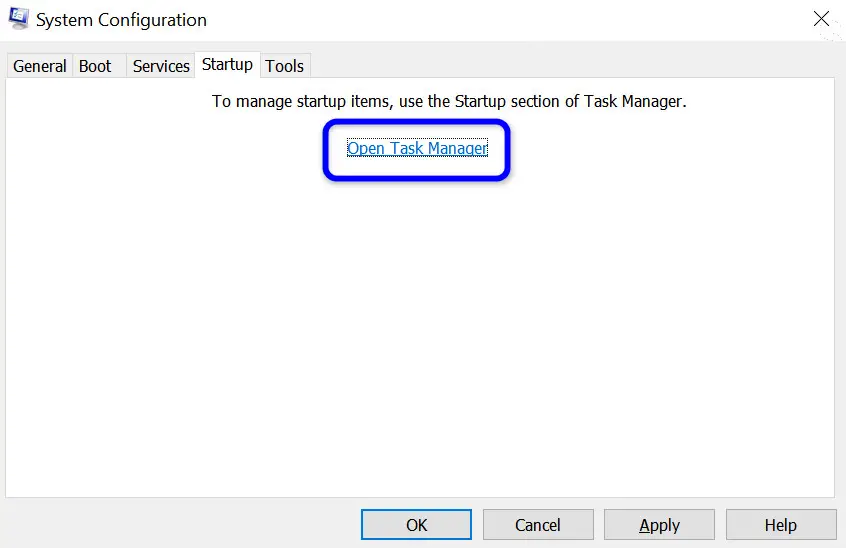
Enable Nvidia Services at the System Startup - Now click on Open Task Manager and make sure every Nvidia-related item is enabled.

Open the Task Manager from the System Configuration - Then apply your changes in the Task Manager and System Configuration.
- Now restart your system and upon restart, check if the system is cleared of the Nvidia error code 0x0001.
4. Scan the System Drive for Errors
If the system drive has some errors on it (like bad sectors, etc.), then GeForce Experience might throw the Nvidia Error 0x0001 as it fails to access resources essential for its operation. In such a case, scanning the system driver for errors may solve the problem as the data from corrupt memory blocks will be shifted to the working ones.
- Firstly, exit all the running applications after saving their data.
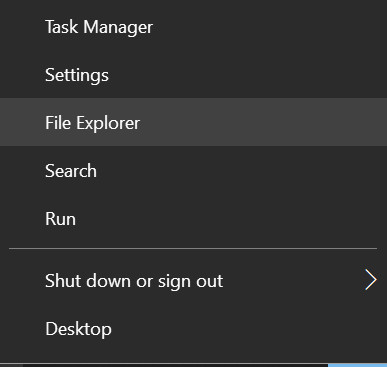
- Right-click Windows and select File Explorer.

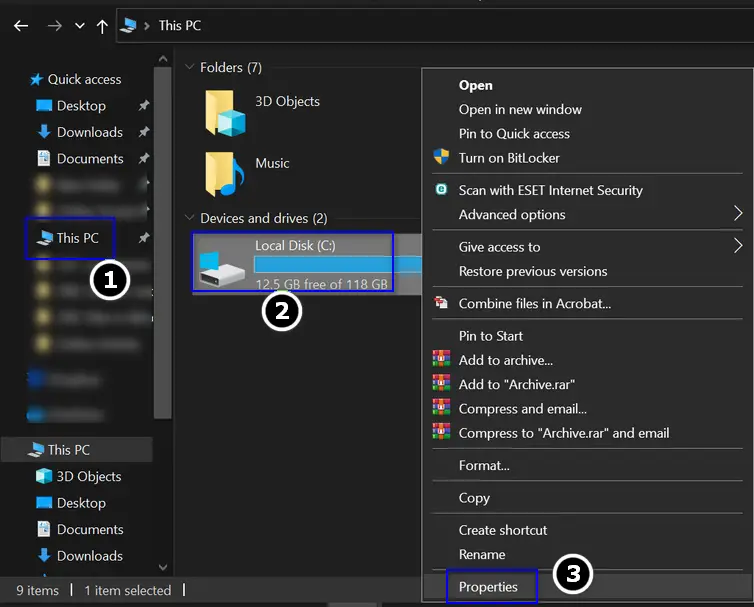
Open File Explorer - Now, in the left pane, select This PC, and in the right pane, right-click on the system drive (usually, C).

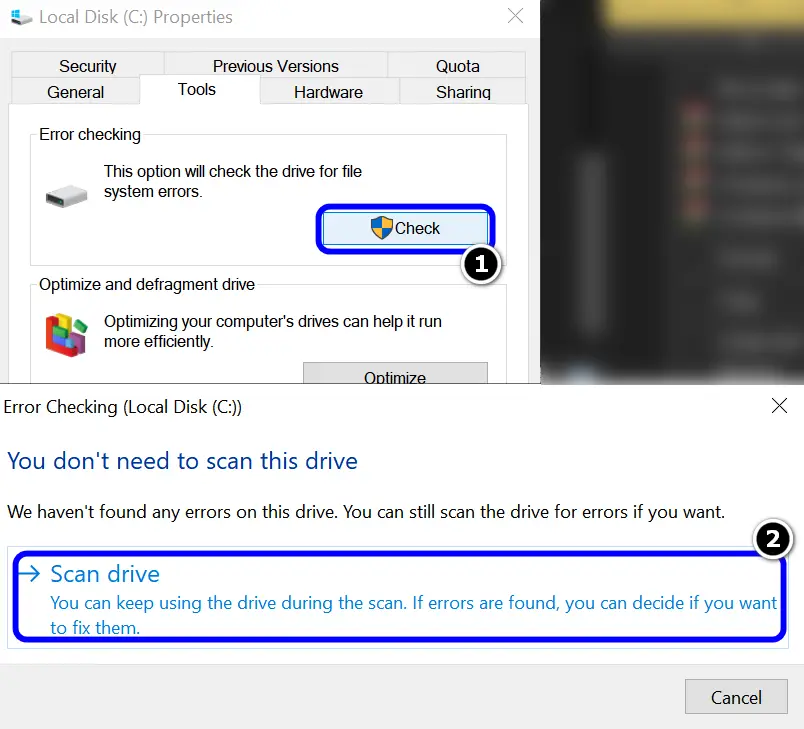
Open Properties of the System Drive - Now select Properties and head to the Tools tab.
- Now, in the Error Checking section, click on the Check button and then click on Scan Drive.

Check the System Drive for Errors - Then, wait till the scan is complete and if some errors are shown, try to fix them.
- Once fixed, restart your system, and upon restart, check if the Nvidia error code 0x0001 is cleared.
5. Edit the Properties of Nvidia-Related Services
If the services essential for the operation of NVIDIA are in an error state or not properly configured, it might cause the error under discussion. In this scenario, we can attempt at changing some properties of these services and see if this does the trick.
Start/Restart/Enable All the Nvidia-Related Services
- Click Windows, search for Services, right-click on its result, and select Run as Administrator.
- Now right-click on any of the Nvidia-related services (e.g., Nvidia Display Container) and select Start or Restart. If the Nvidia service is disabled, double-click on it and set its Startup Type to Automatic to enable it.

Restart Nvidia Services in Windows Services Manager - Then repeat the same on all the Nvidia-related services. These are the most common ones:
Nvidia Display Container

Nvidia LocalSystem Container

Nvidia NetworkService Container

Nvidia Telemetry Container
- Afterward, restart your computer and see if the issue is resolved.

Set Logon of the Nvidia Services to Local System Account
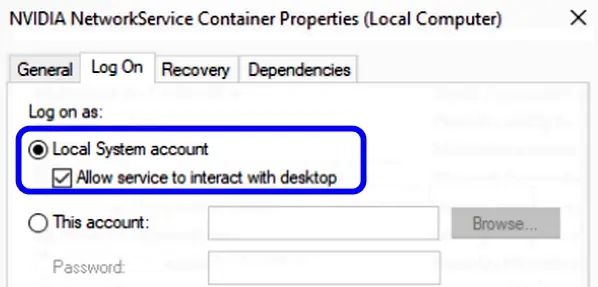
- Double-click on any of Nvidia services (e.g., Nvidia Display Container) in the Windows Services Manager and steer to its Log On tab.

Changing ‘Log on as’ settings for NVIDIA Services - Now select the radio button of Local System Account and then checkmark Allow Service to Interact with Desktop.
- Then apply your changes and repeat the same to all the Nvidia-related services as mentioned previously.
- Now restart your system and upon restart, check if the GeForce Experience is working fine.
Keep in mind that you may have to repeat the above process if the issue re-arises after an Nvidia update.
6. Edit the Folder Permissions of Nvidia Directories
If the permissions on Nvidia directories restrict access to certain types of user accounts or system services, then the GeForce Experience may fail to access these directories, causing the Nvidia error 0x0001. In this scenario, properly configuring the permission of the Nvidia Directories may solve the problem.
Note: Proceed at your own risk as editing the permissions of a directory may completely block its access or expose the system or data to threats.
- Firstly, make sure viewing of hidden and protected system files is enabled.
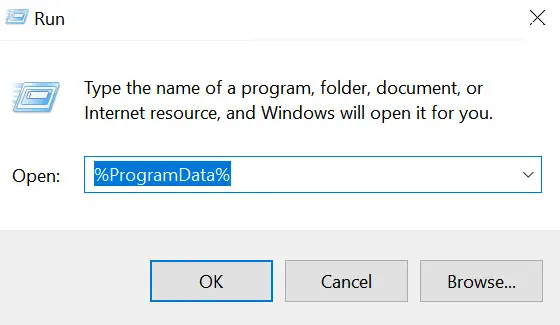
- Then, right-click on Windows and select Run.
- Now navigate to the following path:
%ProgramData%

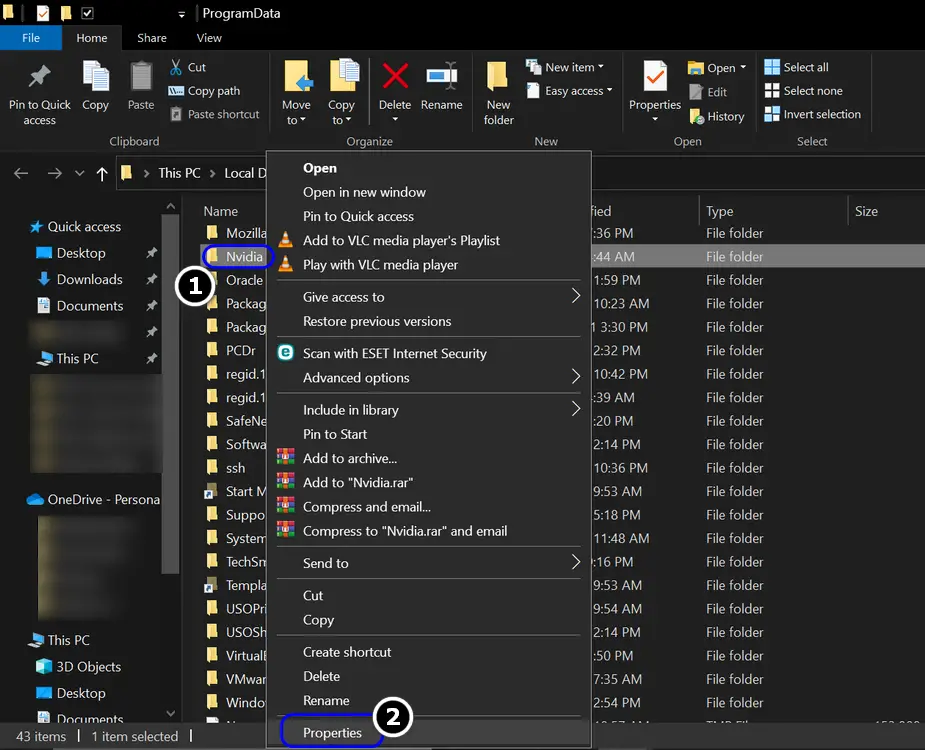
Open the ProgramData Folder - Then right-click on the Nvidia folder and select Properties.

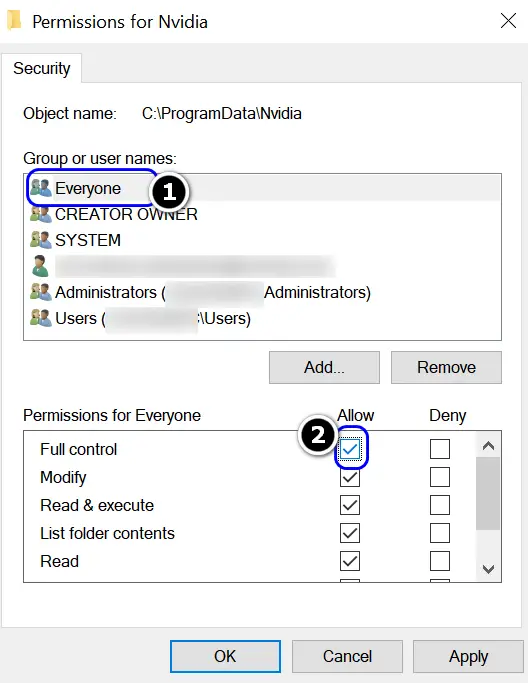
Open Properties of the NVIDIA Folder in ProgramData Directory - Now head to the Security tab and click on Edit (in the Group or User Name section).
- Then click on Add and afterward, click on Advanced.

Open Advanced is Users & Groups of the Nvidia Folder Properties - Now click on Find Now and in the Search Results box, double-click on Everyone.

Double-click on Everyone in the Search Results of Users & Groups - Then click on OK and in the Group or User Names section, select Everyone.
- Now, in the Permissions section, select Full Control in the Allow Column and apply the changes made.

Allow Everyone the Full Control of Nvidia Folder in the ProgramData Directory - Then, repeat the same on the following folders:
\ProgramData\Nvidia Corporation

\Program Files (x86)\Nvidia Corporation
- Now reboot your PC and upon reboot, check if the Nvidia products are clear of the error code 0x0001.


If that did not work, then check if giving all the user accounts Full Control to the above-mentioned Nvidia directories solves the problem.
7. Revert the System Directories Path to the OS Drive through Registry
Many users tend to install the OS on an SSD driver while programs on the other type of storage device (like HDD) to save precious space on the SSD drive. But Nvidia’s GeForce Experience, due to security concerns, does not comply with this setup and shows the error 0x0001 when launched.
Here, editing the system’s registry to revert the system’s directories path to the OS drive may solve the problem.
- Click Windows, type Registry Editor, right-click on its result, and select Run as Administrator.
- Now navigate to the following path:
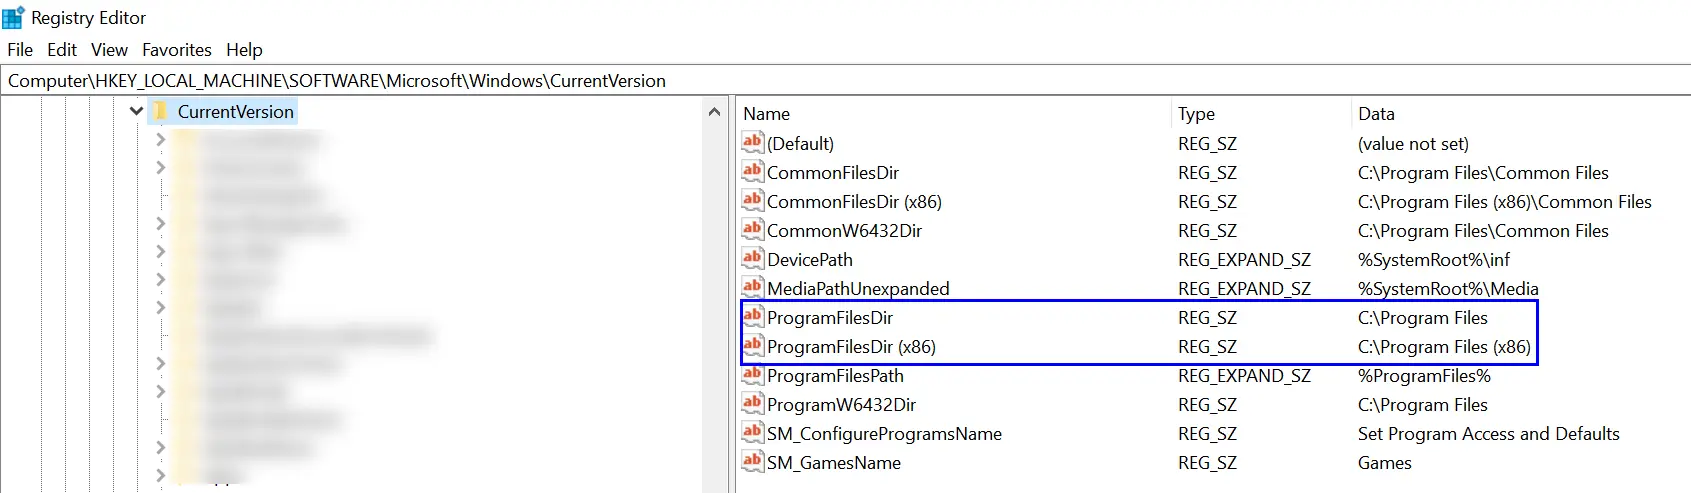
Computer\HKEY_LOCAL_MACHINE\SOFTWARE\Microsoft\Windows\CurrentVersion
- Then, in the right pane, double click on the ProgramFilesDir string and set its value to the following (make sure the backslash “\” is present in the value):
C:\Program Files
- Then repeat the same to the ProgramFilesDir (x86) string and set its value to:
C:\Program Files (x86)

Set the ProgramFilesDir and ProgramFilesDir (x86) Registry Values to the Defaults - Now close the Registry Editor window and reboot your system.
- Upon restart, check if the Nvidia GeForce Experience is working fine.
- If the issue persists, then check if setting all the paths in the above-mentioned CurrentVersion key as per the image shown in step 4 clears out the error.
8. Reinstall the GeForce Experience Application
If your very installation of GeForce experience is corrupt or missing essential files, then the application will encounter internal errors and display error messages like this one. Here, reinstalling the application from scratch will fix the problem.
If the installation of the GeForce Experience application is corrupt, then it may cause the Nvidia error code 0x0001. In this scenario, reinstalling the GeForce Experience may solve the problem.
- Right-click on Windows and select Apps & Features.
- Now expand the GeForce Experience and click on Uninstall.

Uninstall Nvidia GeForce Experience - Then confirm to uninstall the GeForce Experience and follow the prompts to uninstall it.
- Now reboot your system and upon reboot, download the latest version of GeForce Experience.
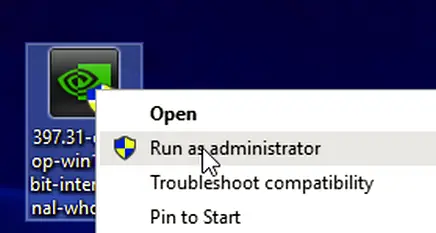
- Once downloaded, right-click on the GeForce Experience installer and select Run as Administrator.

Run the GeForce Experience as Administrator - Then accept the license agreement and select Custom (or Advanced) Install.
- Now, checkmark the option of Run Clean Install and click on Next.

Perform a Clean Installation of Nvidia - Then follow the prompts on the screen to complete the installation process but during the process, make sure you are installing GeForce on the system drive.
- Once installed, launch the GeForce Experience as administrator and check if the Nvidia error 0x0001 is cleared.
- If this didn’t work, then repeat the Services solution (discussed above) and check if that resolves the issue.
- If the issue persists, then check if uninstalling the Nvidia products by using a 3rd party utility like Display Driver Uninstaller (DDU) and reinstalling them solves the problem.


9. Create Another User Profile on the System
User profiles can get corrupted every now and then. This mostly happens after you change your drives or system OS location. Testing out the application on another user profile can be a good move.
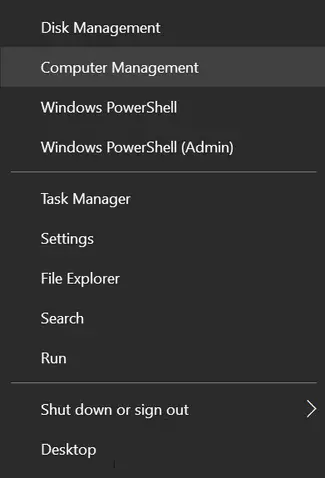
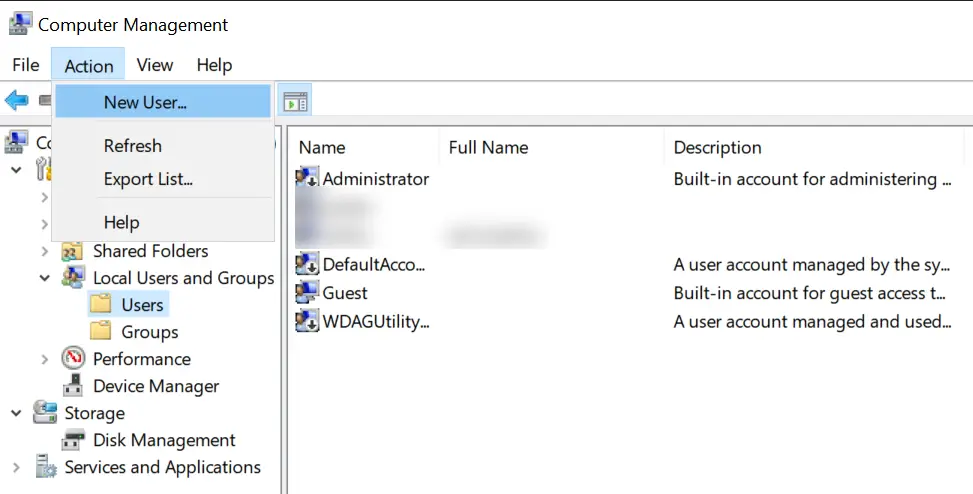
- Right-click Windows and select Computer Management.

Open Computer Management - Now, in the left pane, double-click Local Users and Groups and select Users.

Open Action Menu in Computer Management and Select New User - Then, expand the Action menu and select New User.
- Now enter the details as per requirement and then click on Create.
- Then, right-click on the newly created user profile and select Properties.
- Now head to the Member of tab and check if the account is a member of administrators.
- If not, click on Add and then click on Advanced.
- Now click on Find Now and double-click on Administrators.
- Then, click on OK and apply the changes.
- Now restart your system and upon restart, log in using the new profile.
- Then launch GeForce Experiences and check if it is clear of the Nvidia error 0x0001.
If this works, then you may transfer the data from the old profile to the new profile (a tedious task) and use it as the main system account. If that did not work, then you may have to perform a clean installation of the system’s Windows to clear the Nvidia error at hand.
