A clean installation of graphics drivers is the easiest way to resolve driver issues that might be corrupt or outdated. DDU (Display Driver Uninstaller) has been in the market for quite some time and has been used for a decade now to easily remove remnants of old drivers. Today, we are going to discuss how to perform a clean installation of NVIDIA drivers on Windows systems using DDU.
Why do you need a Clean Installation of NVIDIA Drivers?
The typical way of installing the NVIDIA drivers leaves a lot of bloatware processes. For example, if you have to reinstall the drivers, then the typical uninstallation module of Windows is not powerful enough to remove the residuals completely. Plus, we can’t even tweak the registry items by ourselves because it is dangerous. So, that’s where the clean uninstallation process and DDU will come in handy.
The Procedure
First of all, we will remove the currently installed NVIDIA drivers via DDU (Display Drivers Uninstaller). Then, we will perform the installation process. We will divide this entire procedure into two steps.
Step 1: Perform a Clean Driver Files Removal Operation
- First, head over to the following link to download the ‘Display Driver Uninstaller (DDU).’ This will let you install the drivers cleanly and better than NVIDIA.
https://www.guru3d.com/files-details/display-driver-uninstaller-download.html
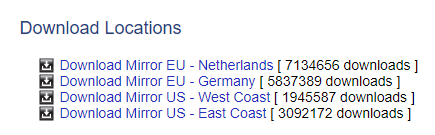
- Then, scroll down and choose the download mirror according to your region.

Choose the ‘Download Location’ according to your region - After that, the website will take you to a new webpage where your download will start after 5 seconds.
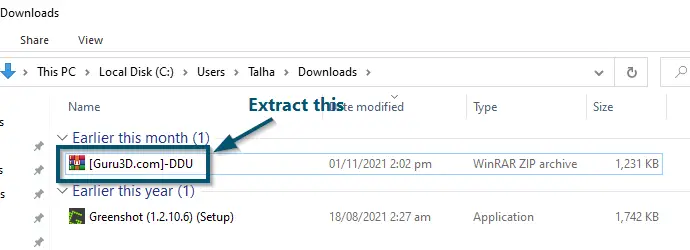
- Now, extract the downloaded file to explore its contents.

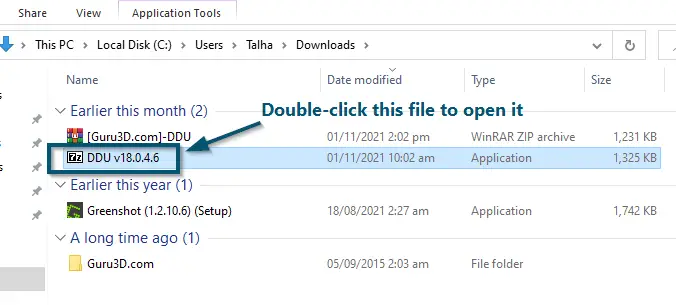
Extracting the Downloaded ‘DDU’ (.zip) File - After that, double-click the 7-Zip file named ‘DDU v18.0….’ to open the 7-Zip file.

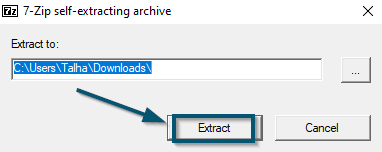
Double-clicking ‘DDU’ 7-Zip file to open it - Then, click on the ‘Extract’ button. This will bring the ‘DDU v18.0….’ folder.

Clicking on the ‘Extract’ button to extract the contents of ‘DDU’ 7-Zip file - Now, double-click the ‘DDU v18.0….’
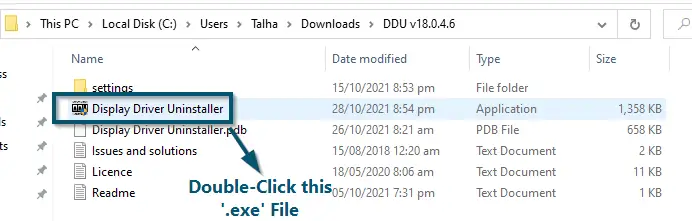
- Inside the ‘DDU v18.0….’ folder, double-click on the ‘Display Driver Uninstaller’ to execute it.

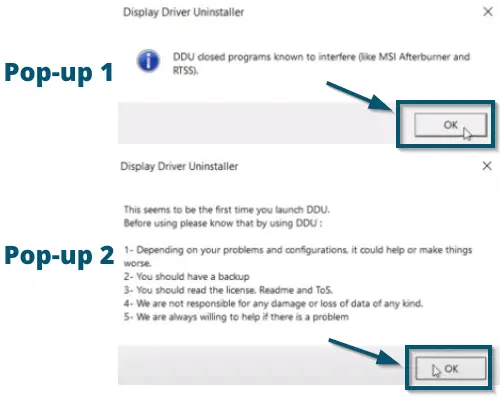
Opening the ‘Display Driver Uninstaller’ application inside the ‘DDU v 18.0….’ folder - When the application runs, it will present you with two pop-ups. So, you can click the ‘OK’ buttons on both of them.

Splash Pop-ups of DDU - Now, check all the options under the ‘NVIDIA Specific Options’ section in the next pop-up. This will remove the drivers completely.

Checking all the options inside ‘NVIDIA Specific Options’ and clicking on the ‘Close’ button
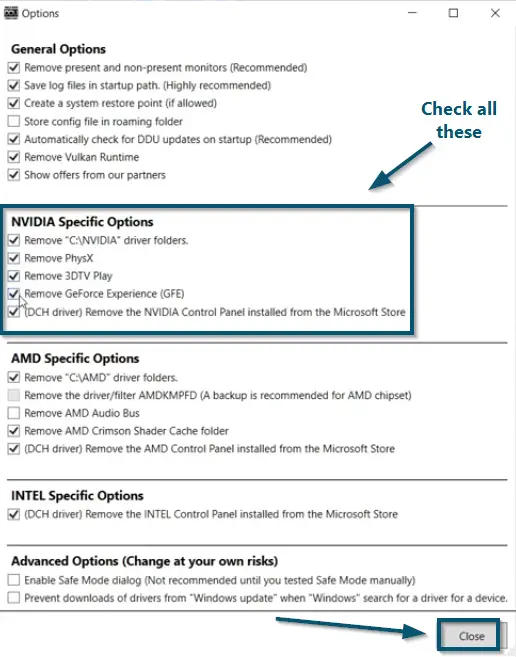
Note: Leave everything else as it is in Step-10
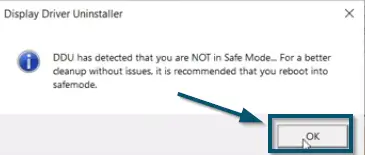
- After that, click on the ‘OK’ button in the next pop-up.

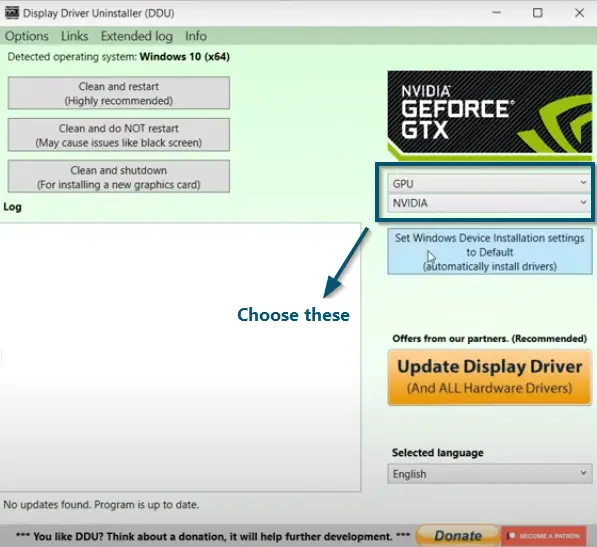
Clicking on the ‘OK’ button for Safe Mode checking pop-up - Now, click on the ‘Select device type’ and change it to ‘GPU.’ The software will automatically change the ‘Select device’ to ‘NVIDIA.’

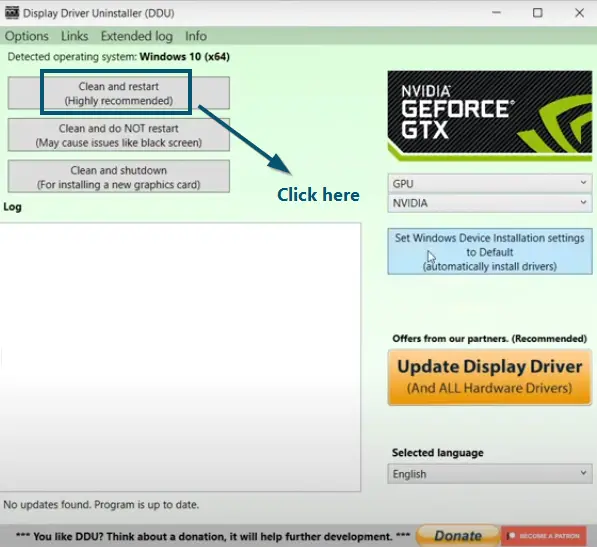
Changing the ‘Select device type’ to ‘GPU’ and ‘Select device’ to ‘NVIDIA’ - After that, click on the ‘Clean and restart’ button to execute the driver’s uninstallation process.

Clicking on the ‘Clean and restart’ button to execute the driver’s uninstallation operation - Once the operation is complete, this software will reboot your system.
Step 2: Downloading and Installing the Drivers
- After the system restarts, go to the following link:
https://www.nvidia.com/Download/index.aspx?ncid=afm-chs-44270&ranMID=44270&ranEAID=pITOEqOhvpQ&ranSiteID=pITOEqOhvpQ-6JQjGJQK3Wz3TREqE0Fgfg
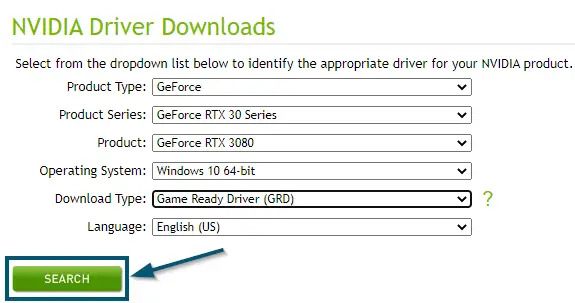
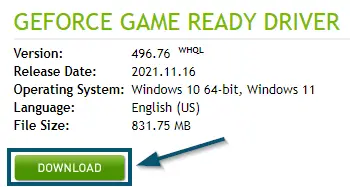
- Fill in the required information according to your graphics card and click on the ‘SEARCH’ button.

Entering the required information and clicking on the ‘SEARCH’ button - The website will take you to the download page. So, click on the ‘DOWNLOAD’ button to download the drivers.

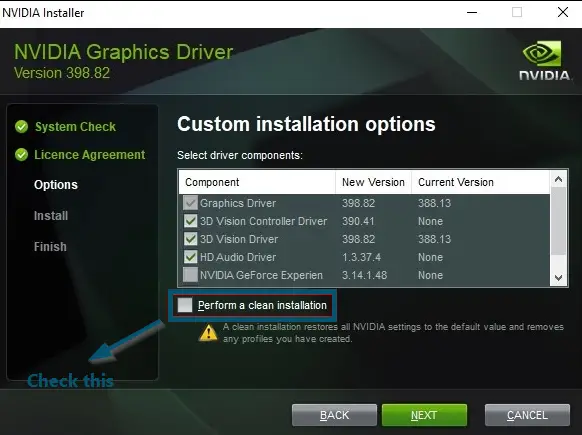
Clicking on the ‘DOWNLOAD’ button to download the driver of the graphics card - Once the download is complete, then run the downloaded file and follow the on-screen instructions to complete the driver’s installation process.
Note: Make sure to select ‘Custom (Advanced)’ and check the box that says ‘Perform a clean installation’ while installing the new drivers
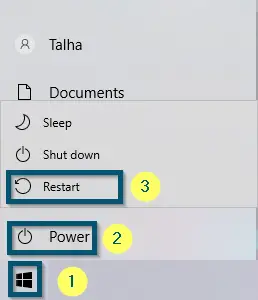
- Once the driver installation is complete, then restart your system.

Restarting the system
Properly uninstalling the programs reduces the load on your system, which subsequently increases the lifetime of the system. These are the small things that can leave a huge impact on your system’s performance.
