An in-place upgrade is necessary when a user doesn’t want to or cannot upgrade his system via the ‘Update & Security’ option. An In-place upgrade installs the latest version of the operating system without deleting your files, as long as you’re selecting the option of keeping personal files.

PC experts and Microsoft recommends in-place upgrades in a scenario where you’re upgrading from Windows-8.1 to Windows-10 or when your Windows update is stuck. For troubleshooting purposes, the in-place upgrade is a very good alternative if the normal process of updating Windows doesn’t work as expected.
Steps to Perform an In-place Upgrade:
In the following procedure, we will see the step-by-step instructions to perform an in-place upgrade via the Windows Update Assistant, also known as the Media Creation Tool.
Step 1: Downloading the Tool
- Open any browser and search for the ‘Media Creation Tool’. Open the Media Creation Tool link.

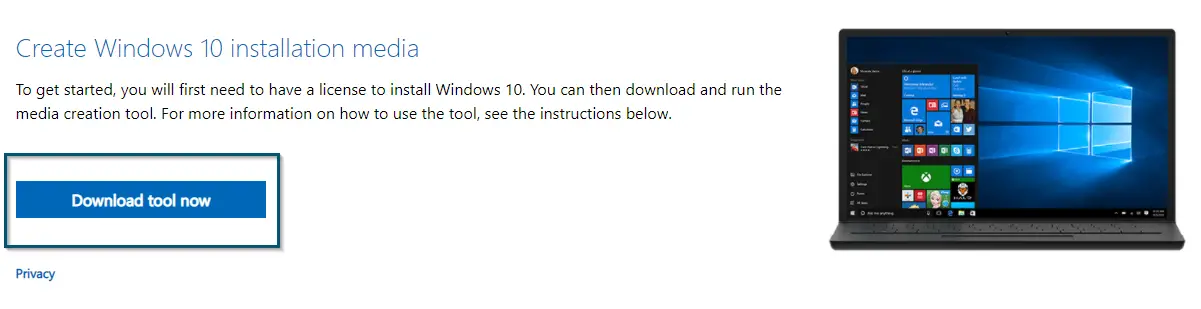
Searching for the Media Creation Tool and Opening the First Link - On the new web page, click on the Download tool now under the ‘Create Windows 10 installation media’ section.

Downloading the Media Creation Tool

Step 2: Configuring the Settings for Performing In-place Upgrade
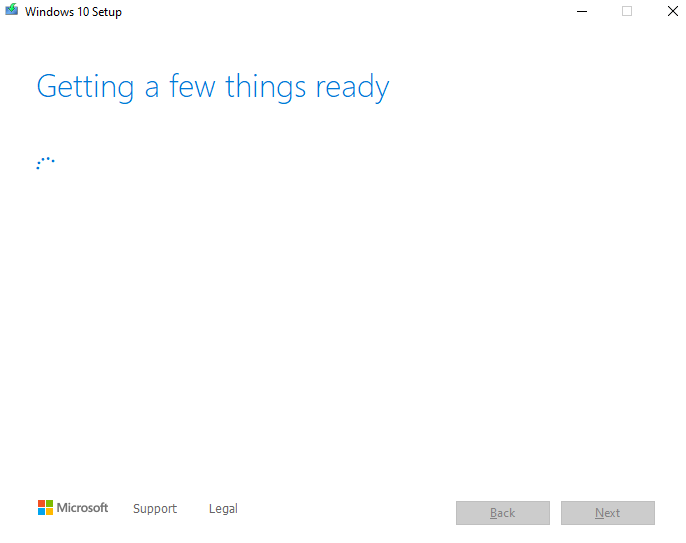
- After downloading, open the executable file of the Media Creation Tool and allow it to ready the necessary things.

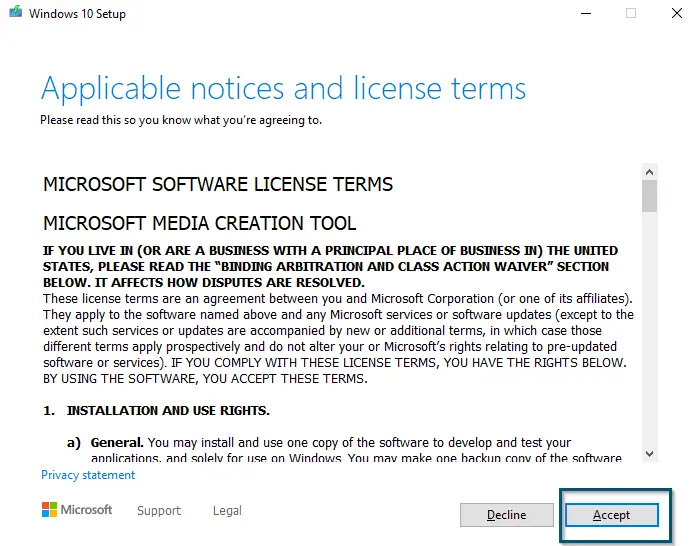
Media Creation Tool – Getting the Things Ready - Then, accept the license agreement from Microsoft by clicking on Accept.

Accepting the 1st License Agreement - Again, the software will take a few moments to set up the necessary things.
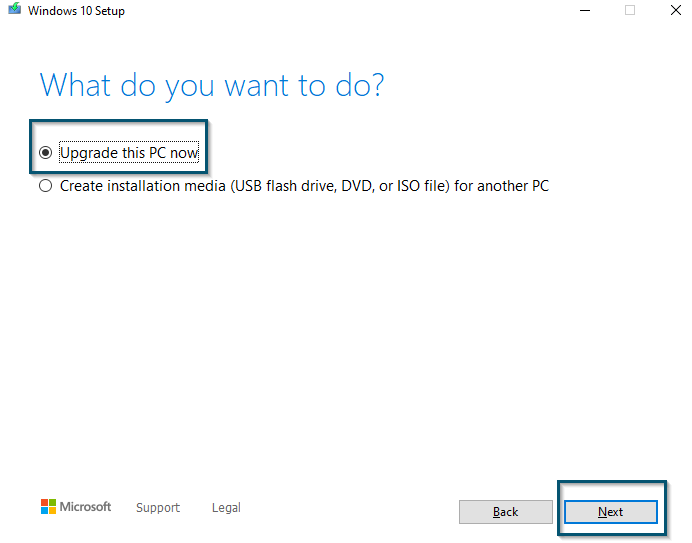
- After that, choose ‘Upgrade this PC now’ and click on Next. Because we don’t want to create an installation media for either USB or DVD, instead we are just upgrading the version of PC to the latest build.

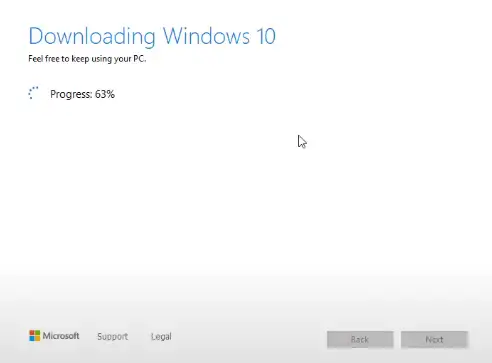
Selecting the Option to Upgrade the PC - Now, the software will start downloading the upgrade and this procedure can take some time (depending on your internet connection).

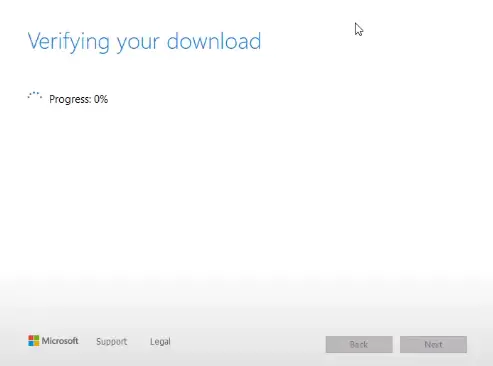
Media Creation Tool – Downloading the Update - Once the software has downloaded the upgrade, then it will verify the download. Here the software will check whether all the files required for the upgrade are available or not.

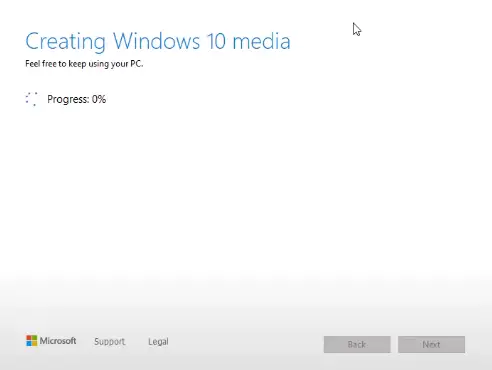
Media Creation Tool – Verifying the Download - Then, the software will create the Windows 10 media.

Media Creation Tool – Creating the Windows 10 Media - After that, the tool will check your PC and again set up a few things.
- Now you will again click the Accept button to accept the license agreement.

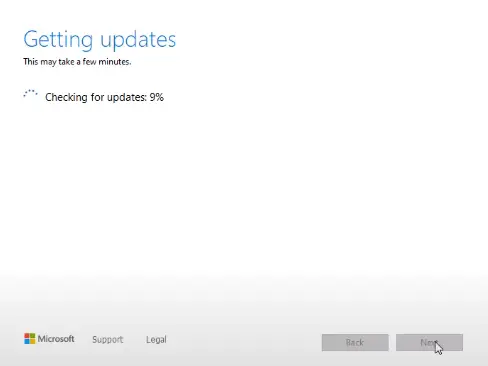
Accepting the 2nd License Agreement - Media Creation Tool will now check for the updates and again its speed will depend upon your system’s specs and internet connection.

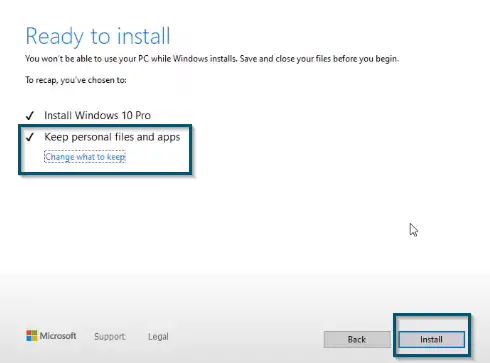
Media Creation Tool – Checking the Updates - Once done, then you’re ready to install the latest update of Windows-10. But make sure that the ‘Keep personal files and apps’ option is checked. But if this option is not checked, then click the Change what to keep option.Optional – For people whose ‘Keep personal files and apps’ option isn’t checked and they’ve entered the ‘Change what to keep’ option: Here you will choose the files, apps that you want to keep. Make sure to select your windows settings as well in this option.
- Now, click on the Install button.

Verifying that Keep personal files and apps is Checked and Clicking on Install button

Step 3: Installing the In-place Upgrade
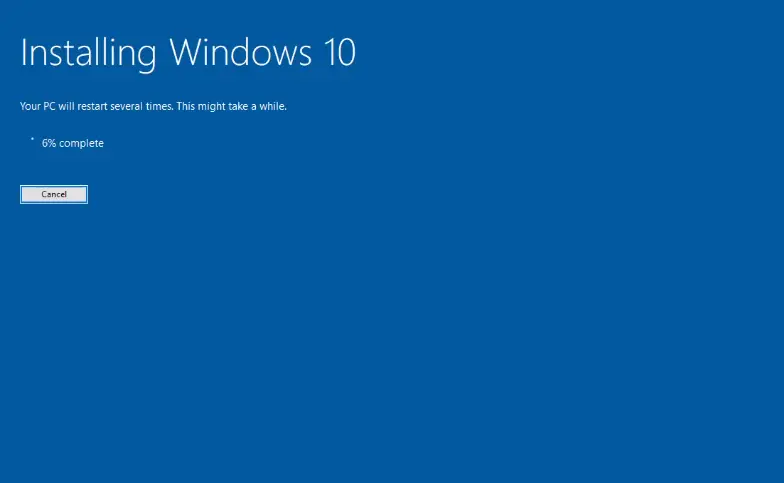
- Now the software will start the upgrade installation and from here on, your system will restart several times, so don’t worry.

Installing the Windows 10 Upgrade - After several restarts, the system will ask you to enter your login credentials. Once you’ve entered those, then the procedure will continue with the following messages appearing (one after the other):
Hi

We’ve got some updates for your PC

This might take several minutes

These updates help protect you in an online world

Almost there
- After the messages mentioned above, the upgrade operation will be successful and you’ve entered your PC.
Step 4: Checking the Updated Windows Version
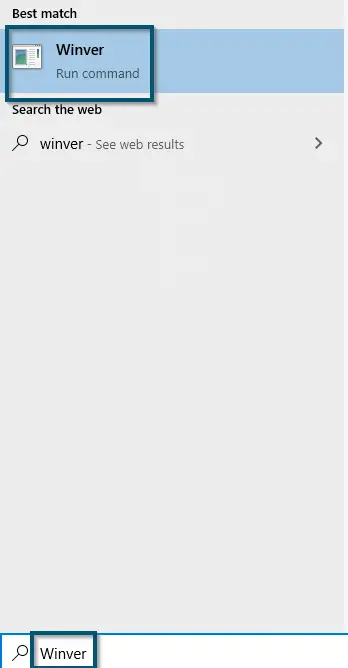
- You can check the newer version by either going to ‘Settings < System < About‘ or searching ‘winver’ in the Start Menu and opening this application.

Searching and Opening the ‘Winver’ - According to the current date, the following windows version is the latest one. So, windows updated successfully.

Windows Updated Successfully
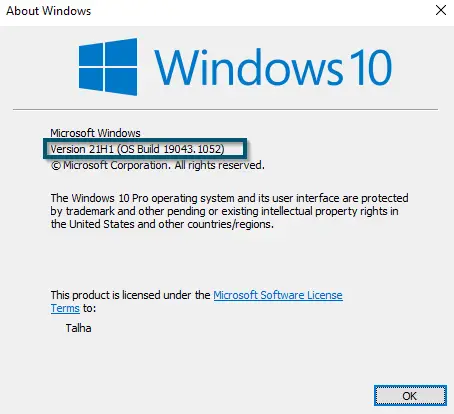
Now, you have the latest version of Windows-10 according to the date of this article. So, enjoy the fixed issues and improvements in this version.
