Discord recently launched its screen sharing functionality which allows users to share their screen when in a voice/video call server. This feature was initially launched in Desktop applications but has now made its way to mobile apps as well.

Here in this article, we will go through the steps on how to share screen on both, the Desktop application and the Mobile application.
How to Share Screen in Windows / Mac Application?
In order to share your screen, you need to have a server up and running already. For demonstration purposes, we created a dummy server and are sharing our screen in the general channel.
- Click on the Voice Channel to start a call in the channel.
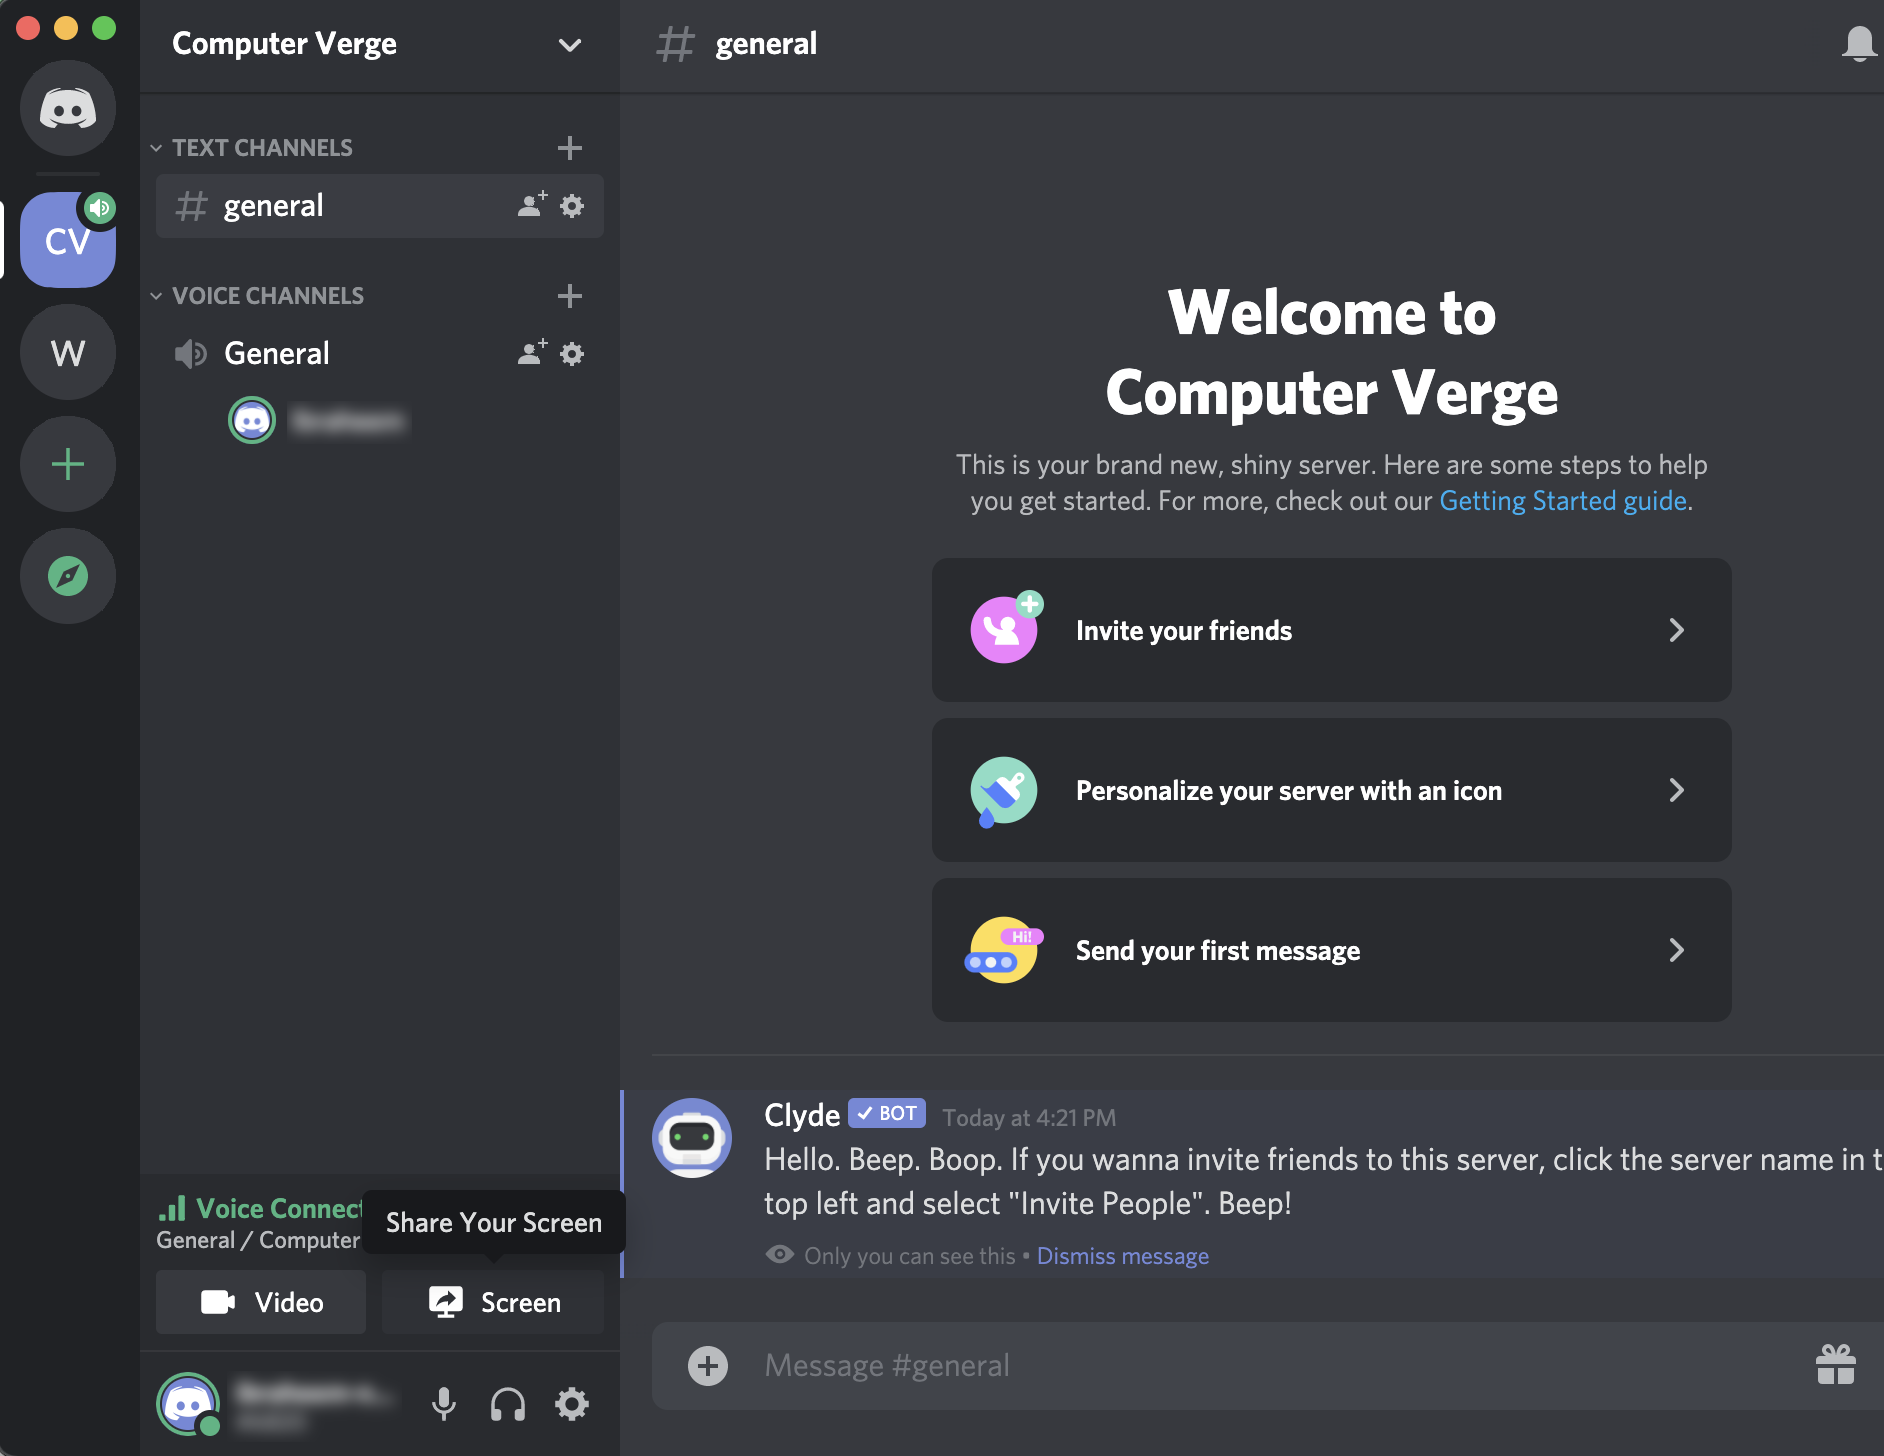
- Once the call has started and you are connected to the voice call, click on the share screen icon with the text Screen.
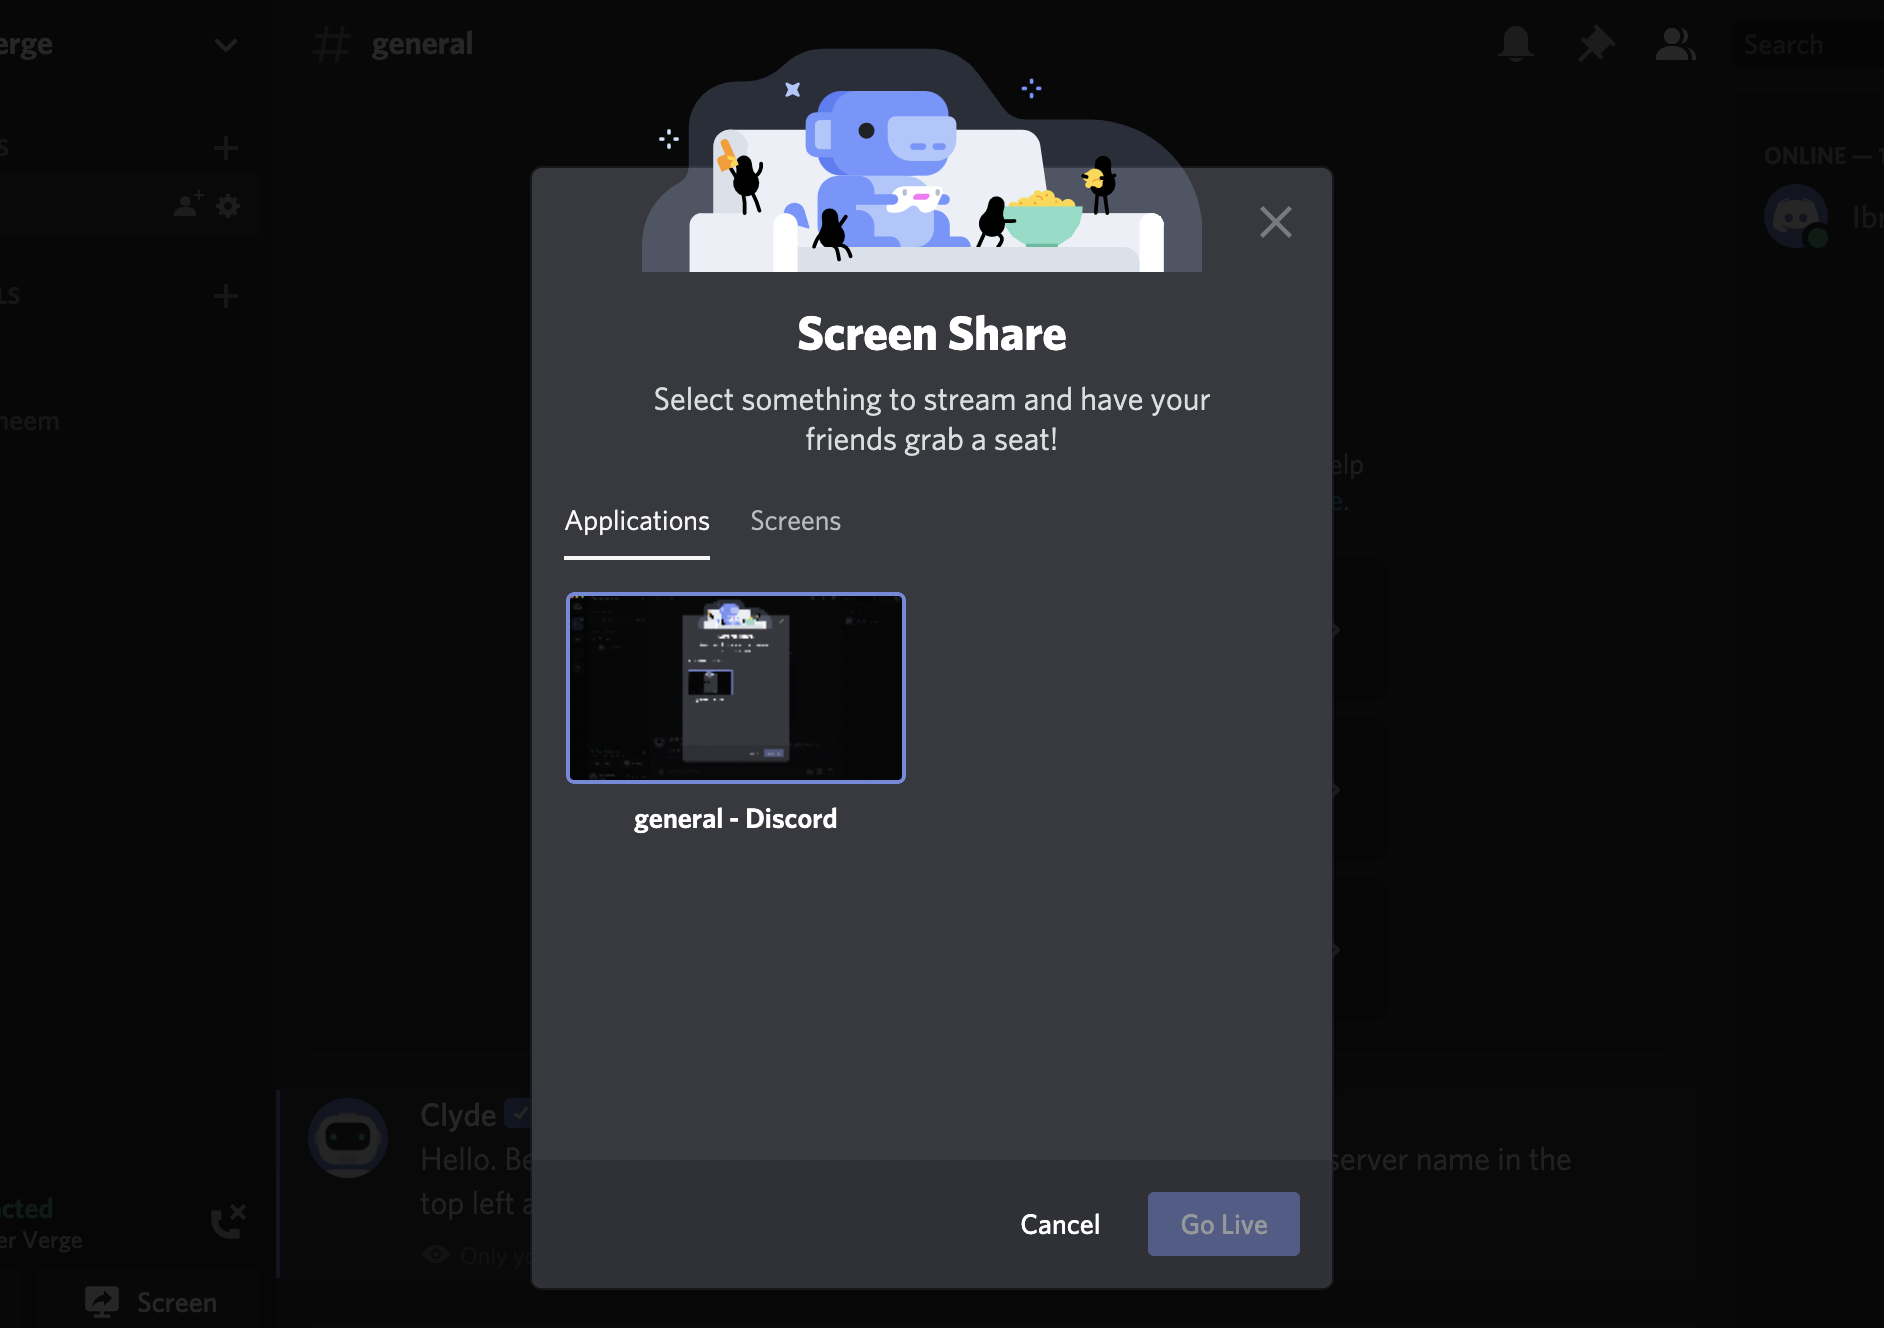
Starting Screen Share- Discord - Next, you will be given two options: Applications & Screens. Once you select the one you want to share, click on Go Live.
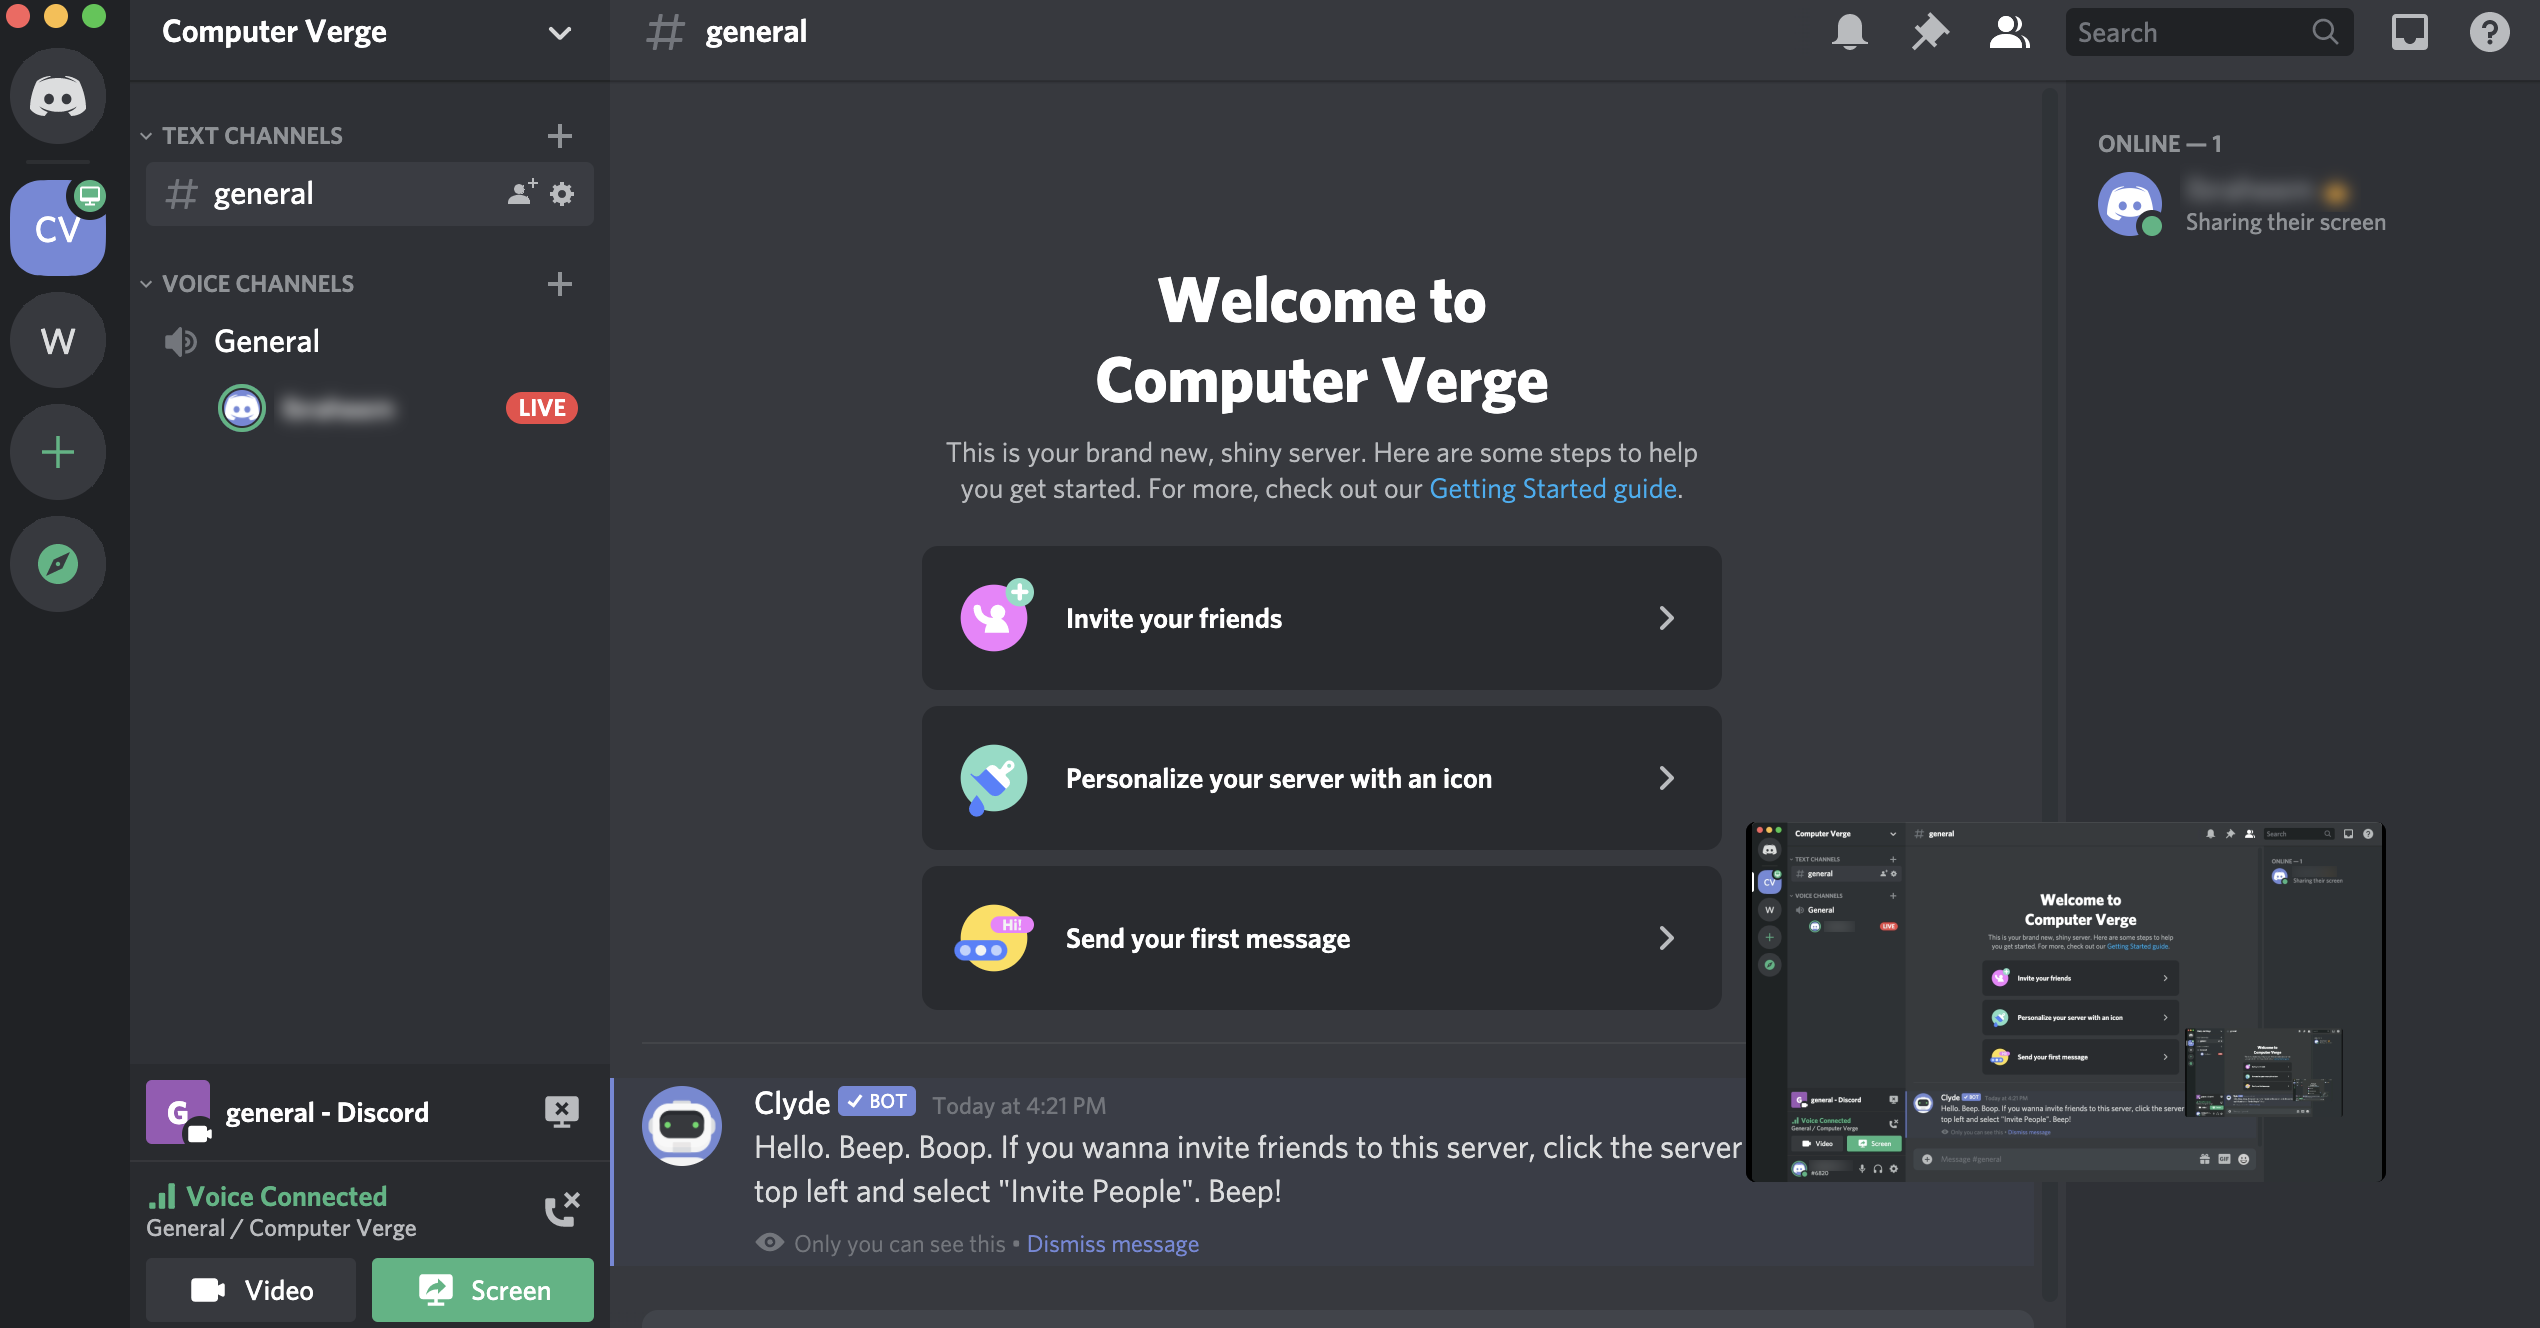
Selecting Screen to Share – Discord - And it is that easy! You will be sharing your screen and a little pop-up will come forth as well where you can see what you are mirroring.
Screen being Shared on Discord
Note: You can also change the screen quality, FPS, and other attributes by clicking the shared screen pop-up and changing the settings from there.
How to Share Screen in iOS / Android Application?
Here, we are going with the same assumptions as before i.e. you already have a server up and running. For demonstration, we are connecting and sharing the screen to the same server as we did earlier.
- Open the server and click on Voice Channel so the call can be initiated.
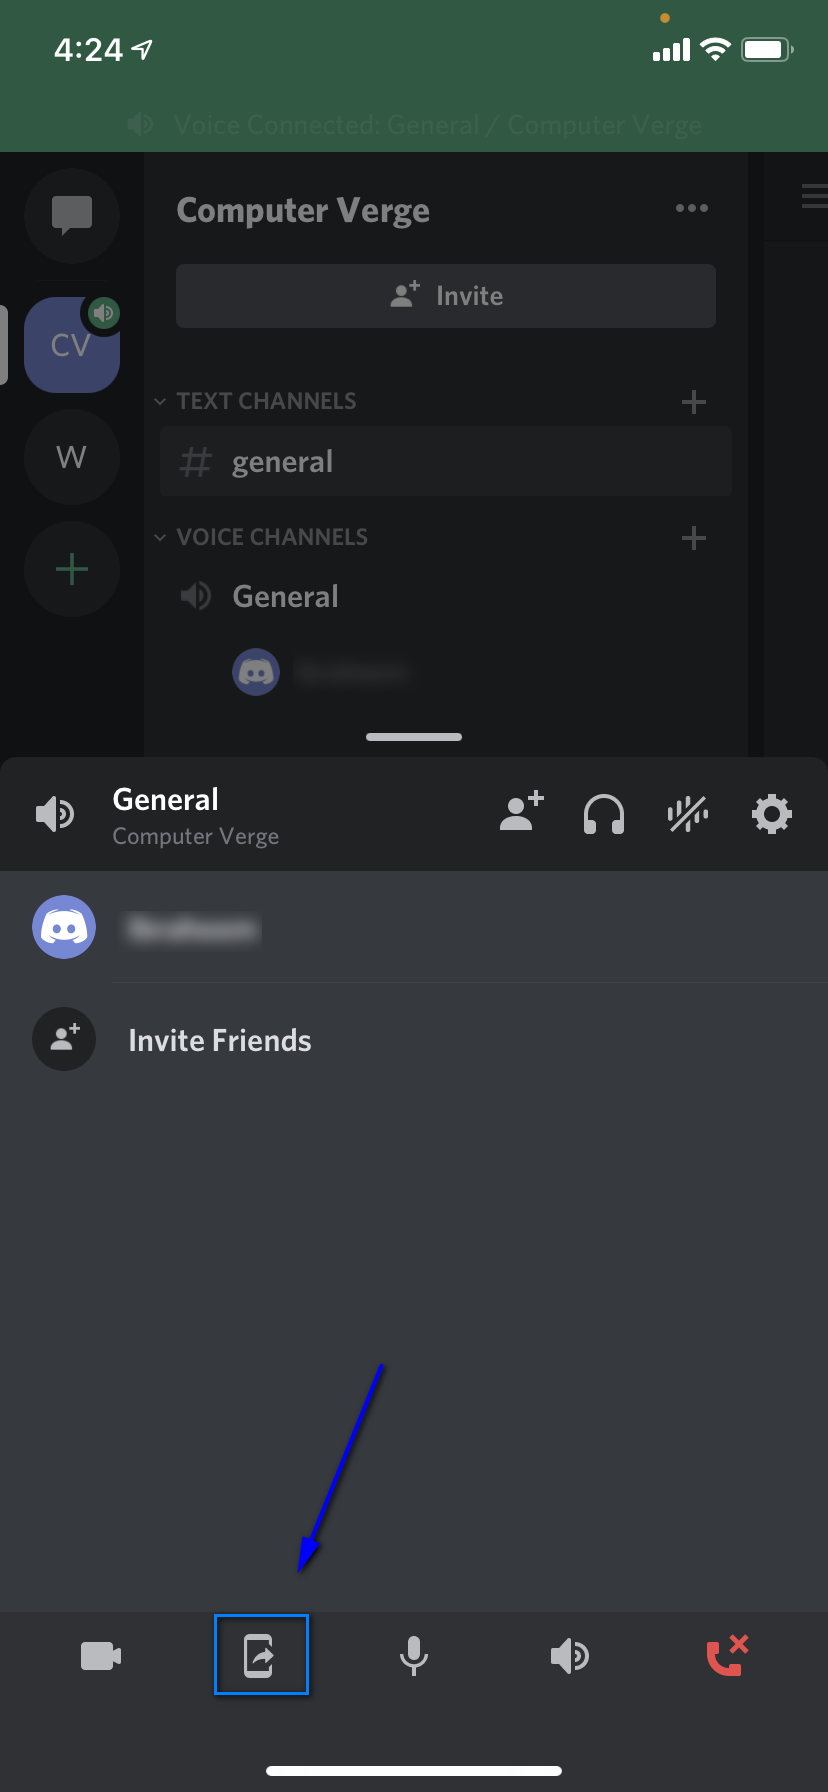
- Next, click on call when it is connected. Now you will see further call options and an icon to share the screen present at the lower end. Click it.
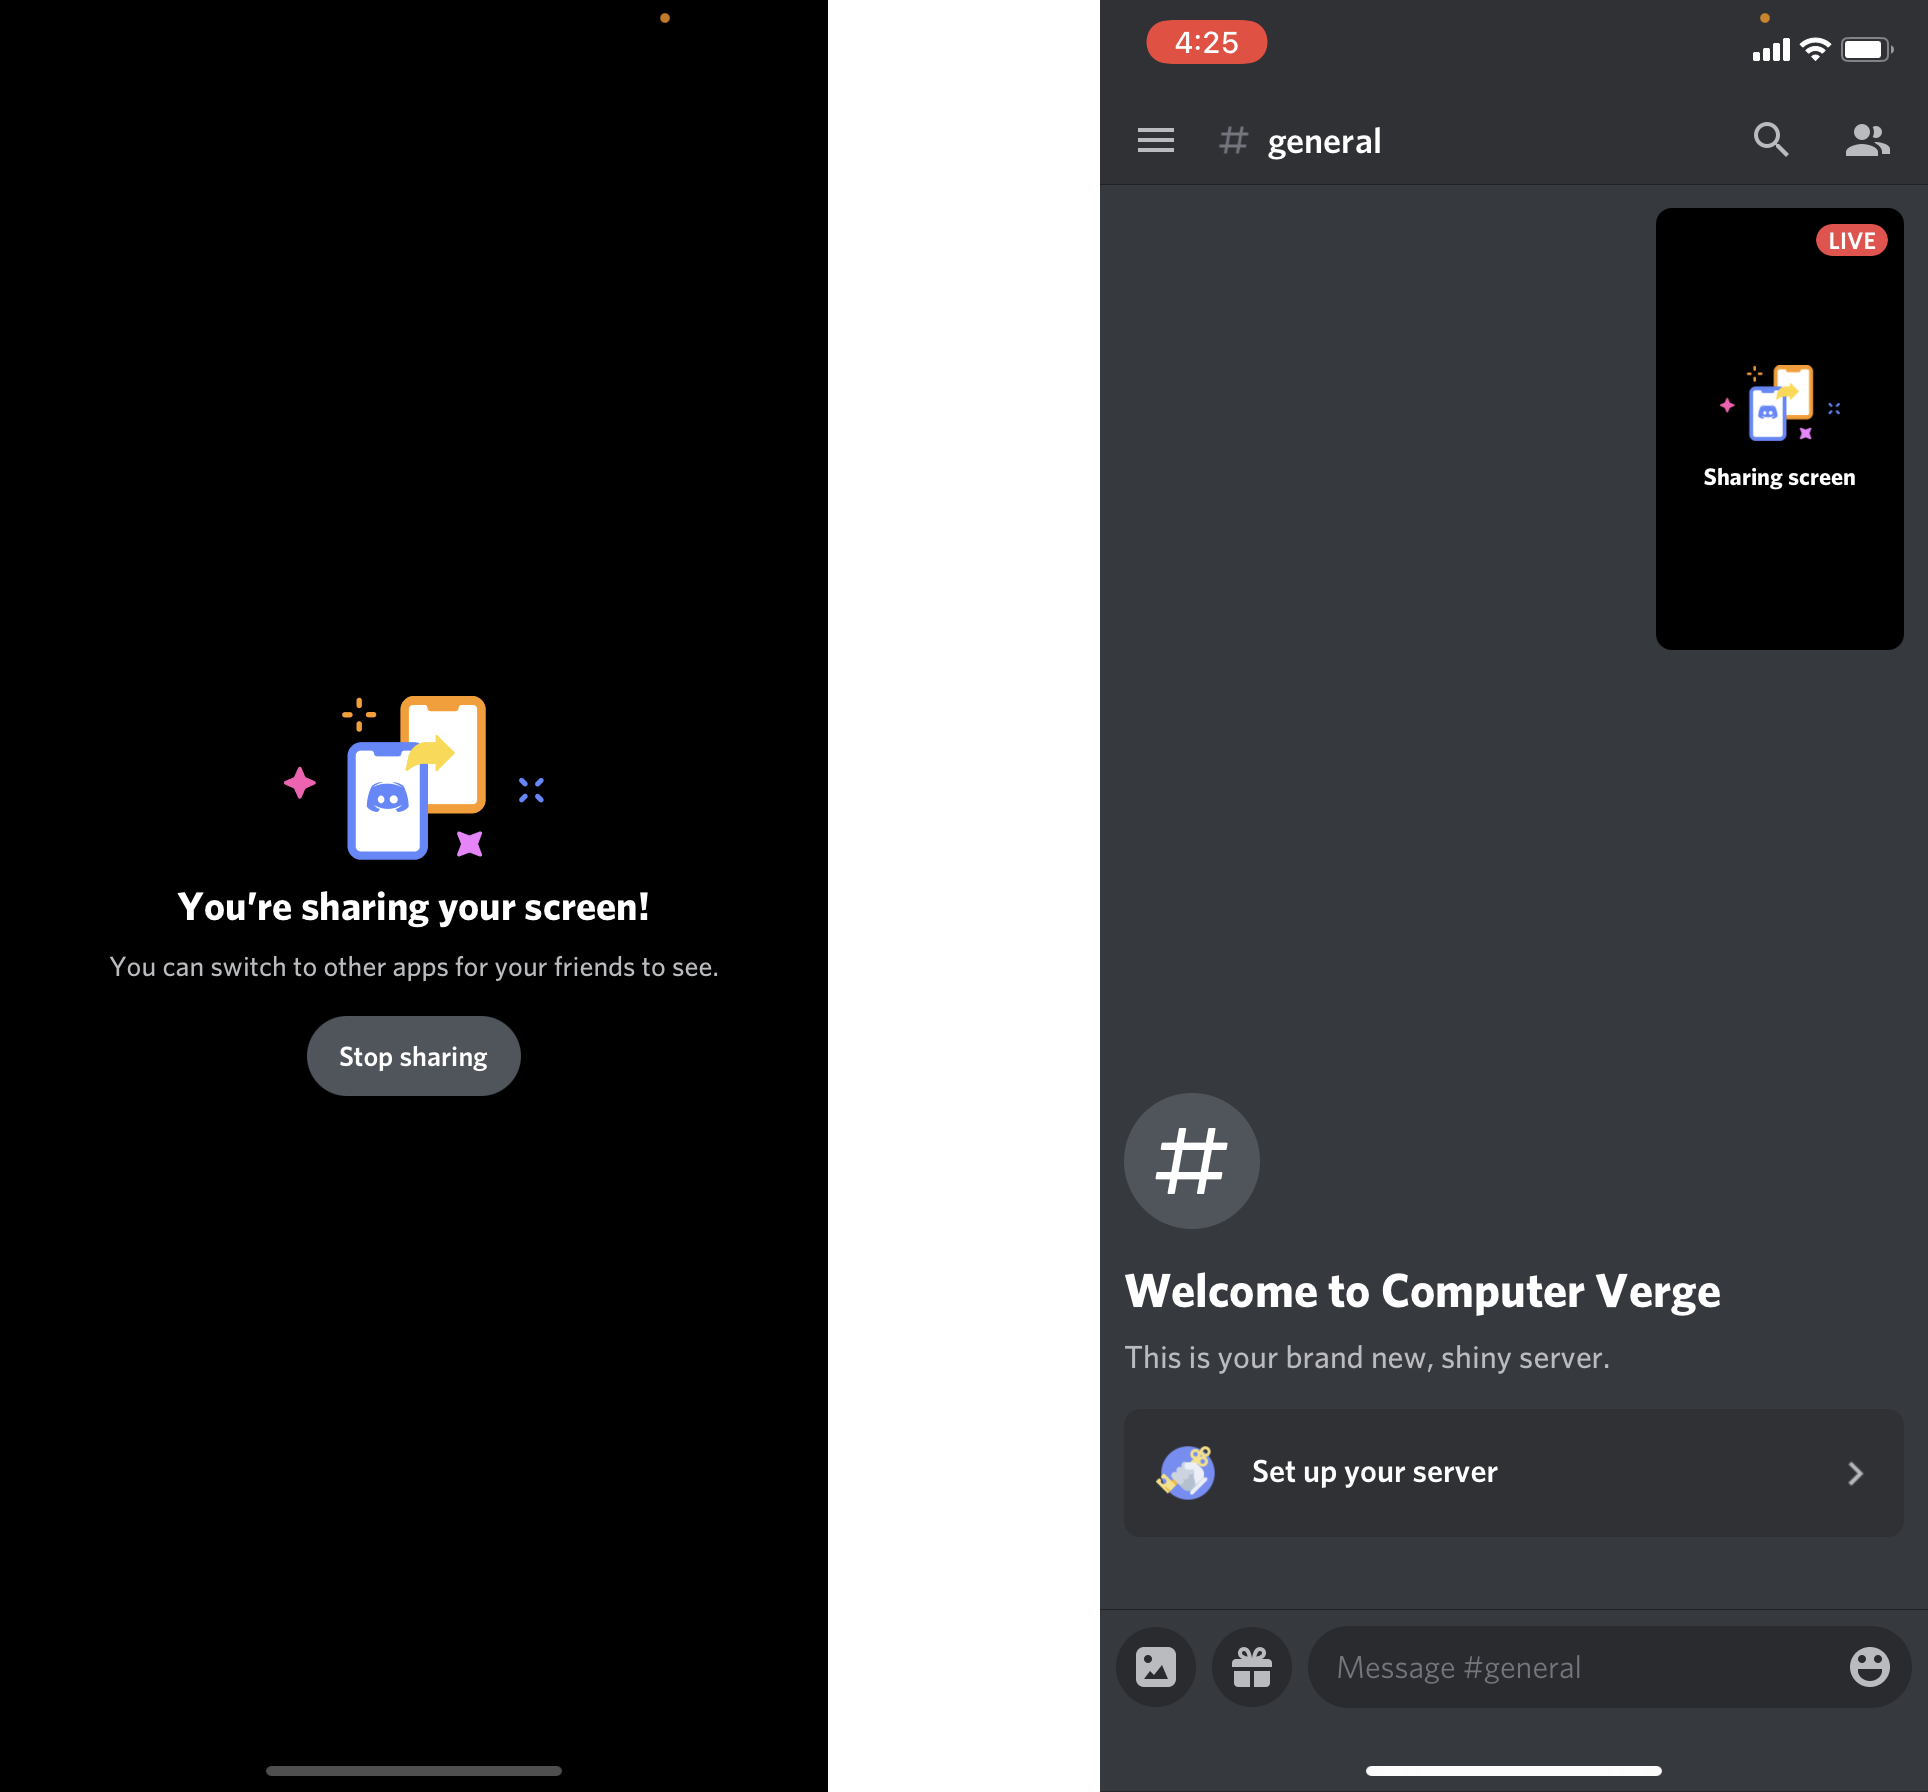
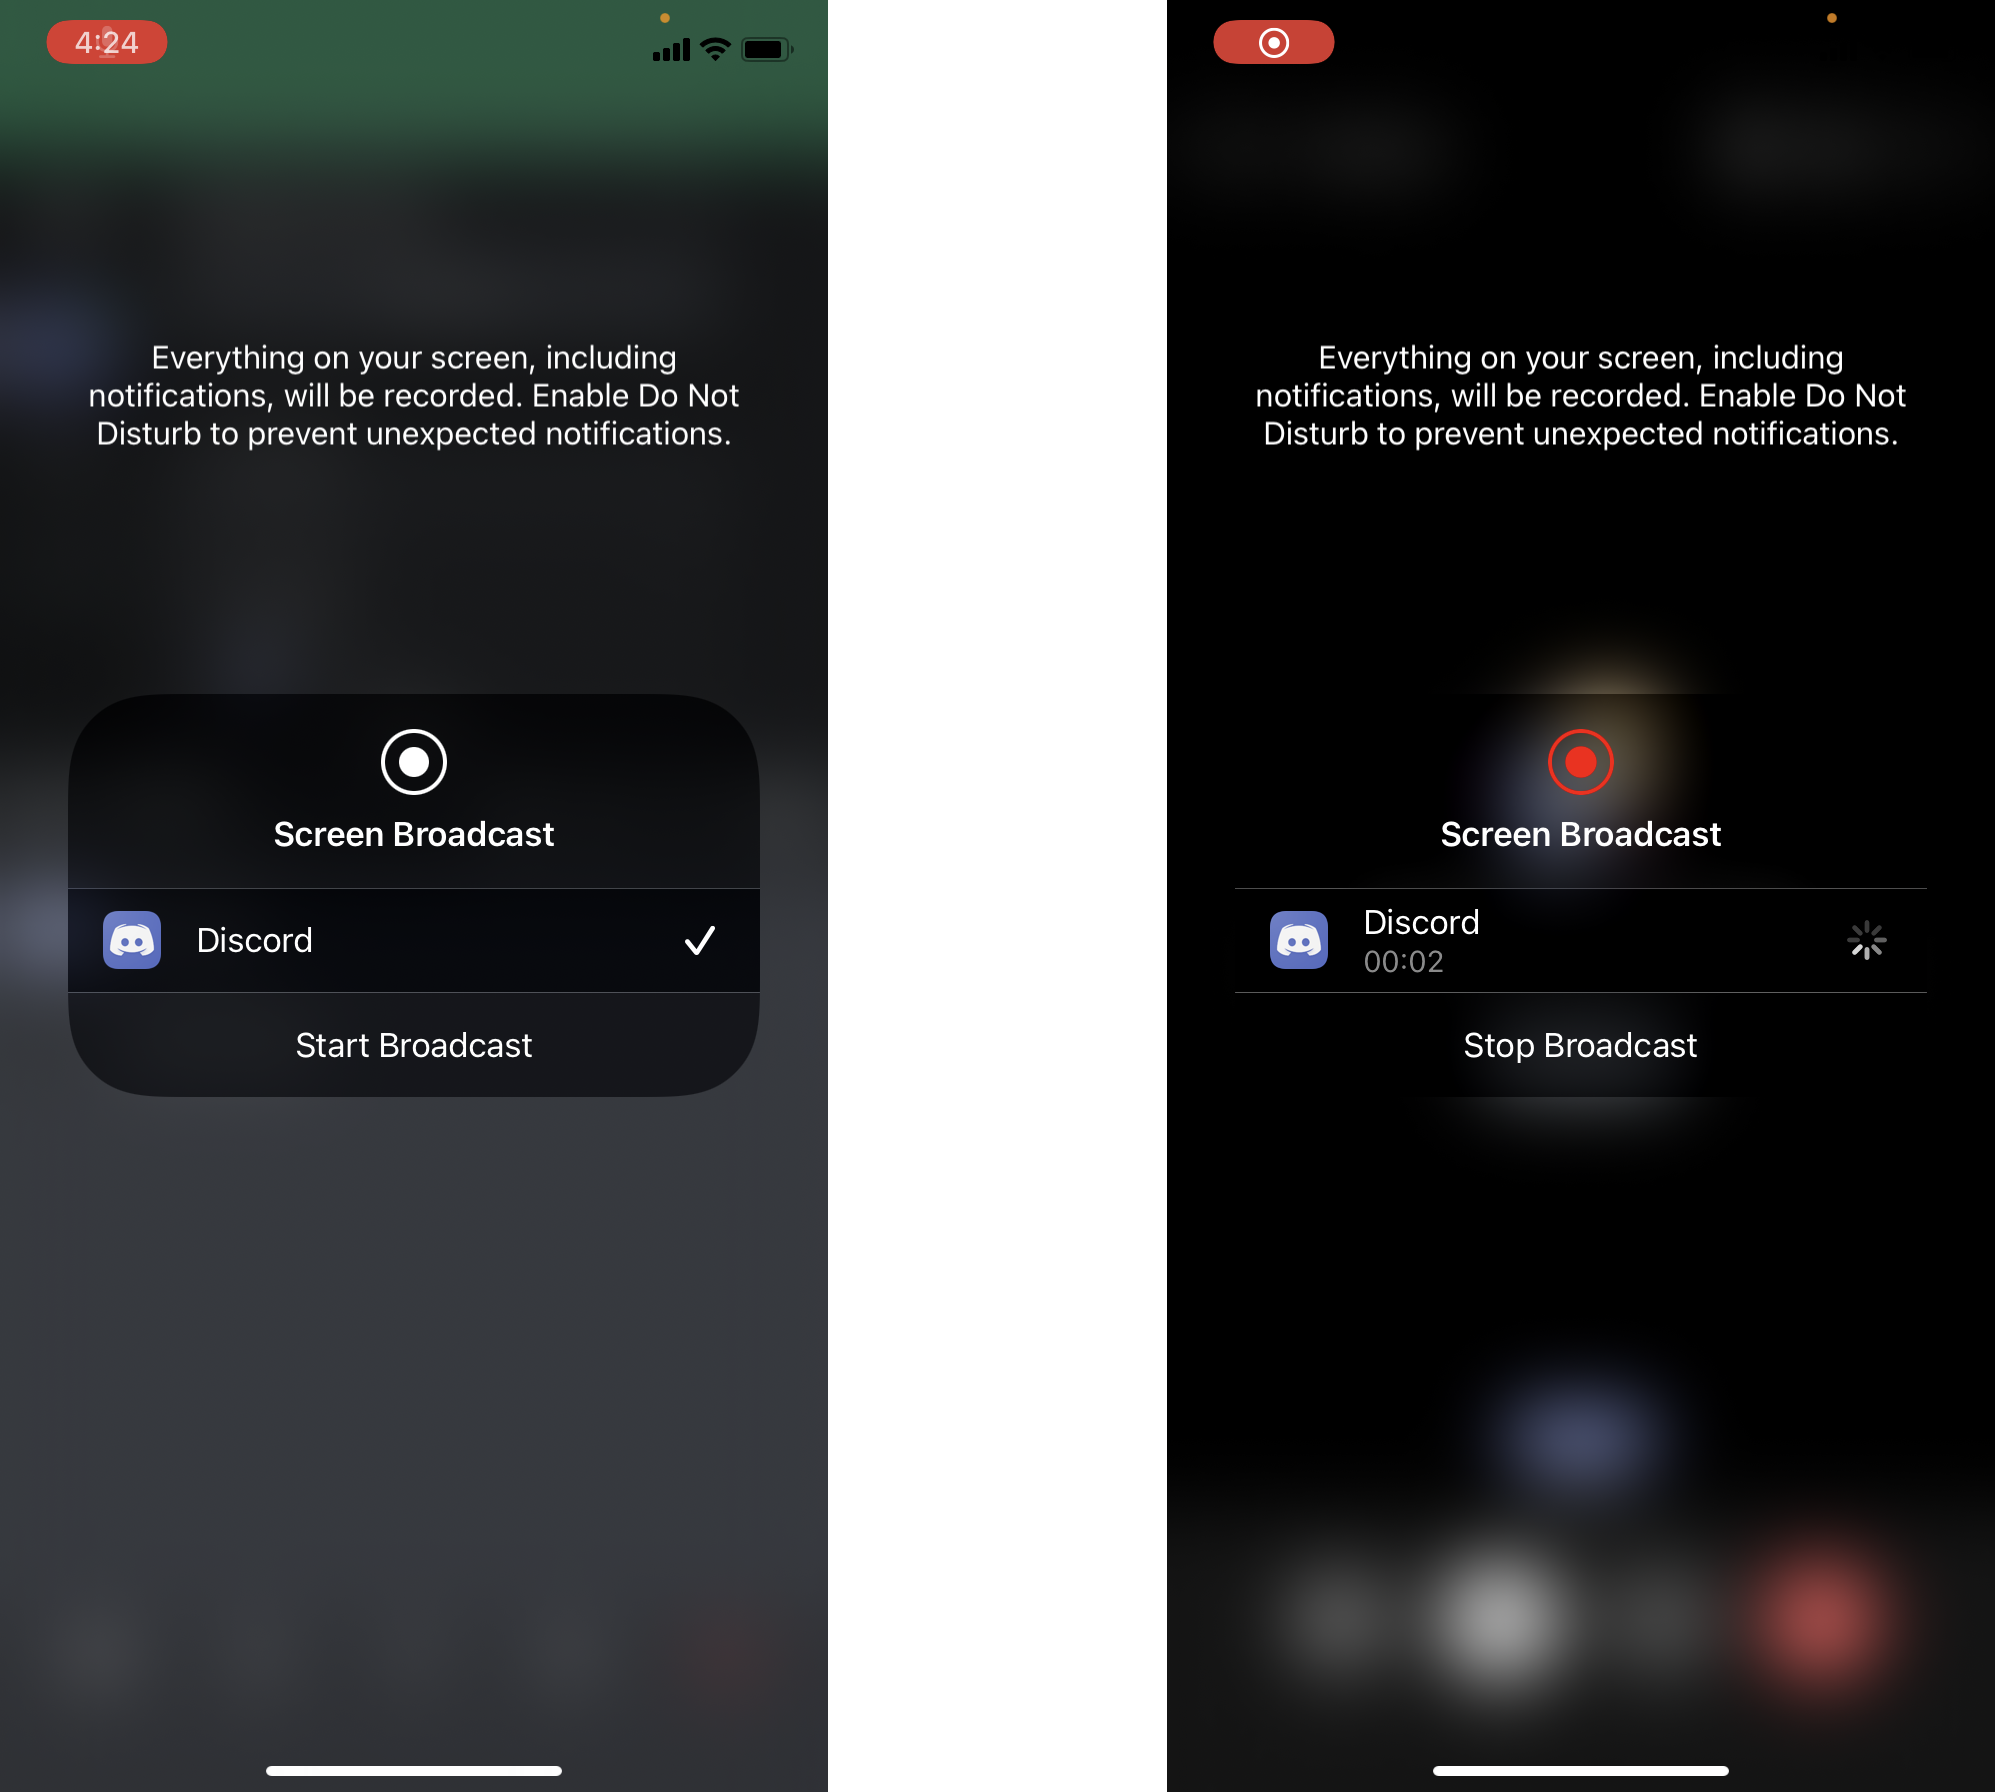
Selecting Screen Share – Discord Mobile - Now, you will see a confirmation to start broadcasting your screen. Click on Start broadcast.
Starting Screen Share Broadcast – Discord - Your screen will start sharing with a confirmation. A small pop-up will appear which will be showing you what you are mirroring.
