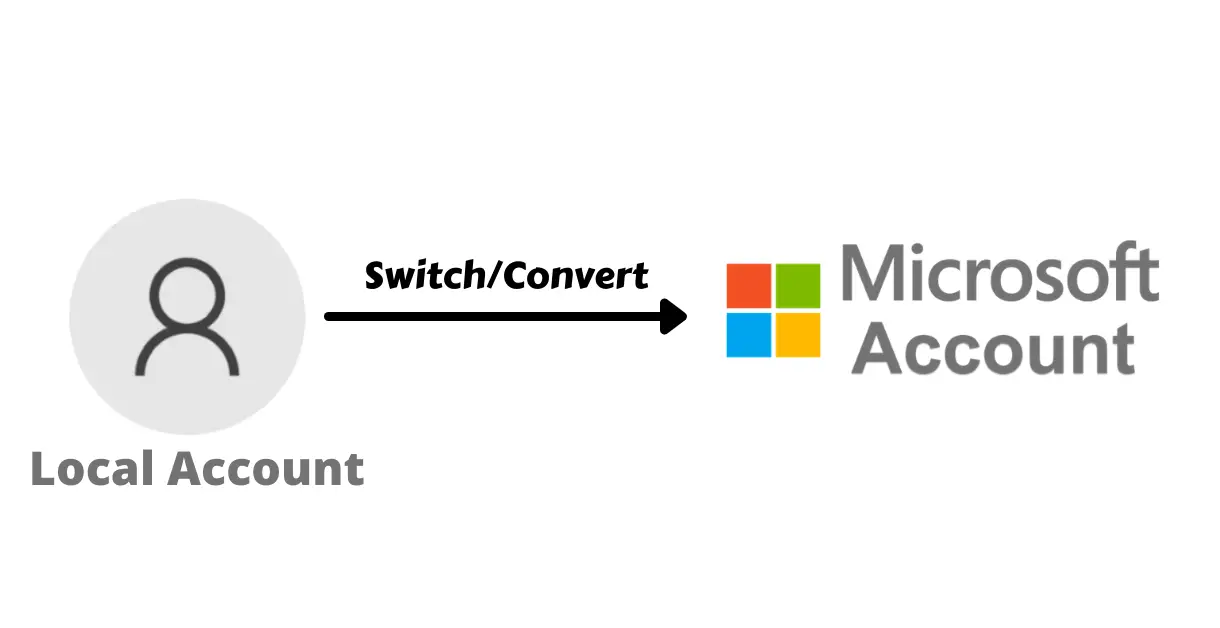
Windows-10 offers two sign-in methods. You can either use your local account to sign in and use its features or sign in to your Microsoft account. But if you want to switch from a local to Microsoft account, then we have got you covered.
How is a Local Account Different from Microsoft Account?
A local user account comes with limited features. For example, you can’t use Microsoft Store, Your Phone, and various other applications without signing in to Microsoft account.
In such situations, signing into a Microsoft account becomes necessary because it’s a lot easier to sign in just once rather than inputting your email and password in every application. So, let’s get to the procedure.
Steps to Switch from a Local to Microsoft Account
Switching from a local to a Microsoft account will not delete or affect your data. So, try the following steps.
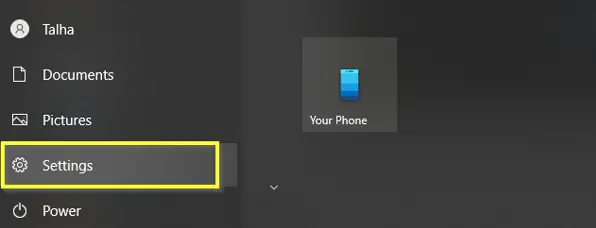
- First, you’ll head over to the ‘Settings’ option from the start menu.

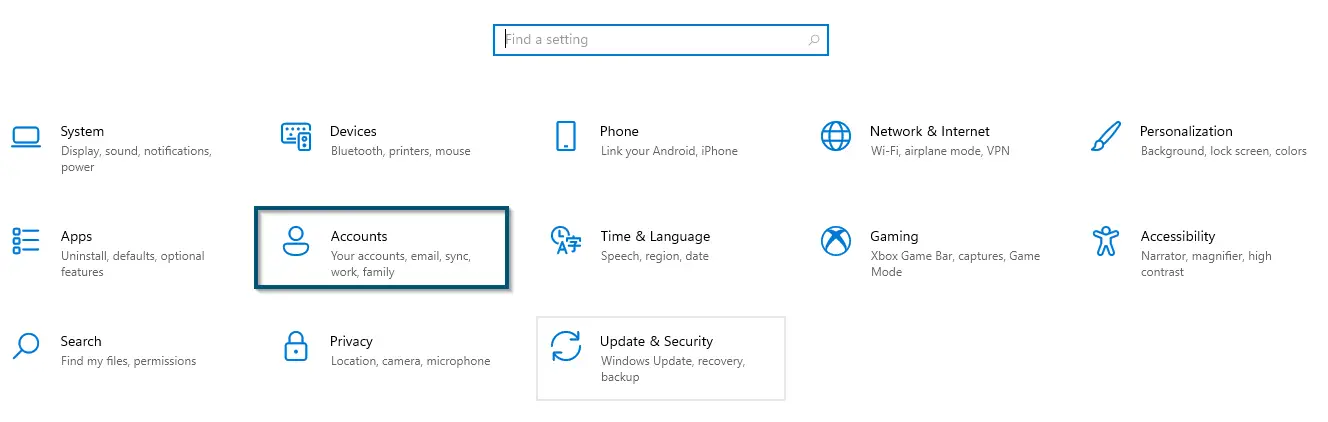
Accessing the ‘Settings’ option via the start menu - Then, you’ll choose the ‘Accounts’ option inside the ‘Settings’ window.

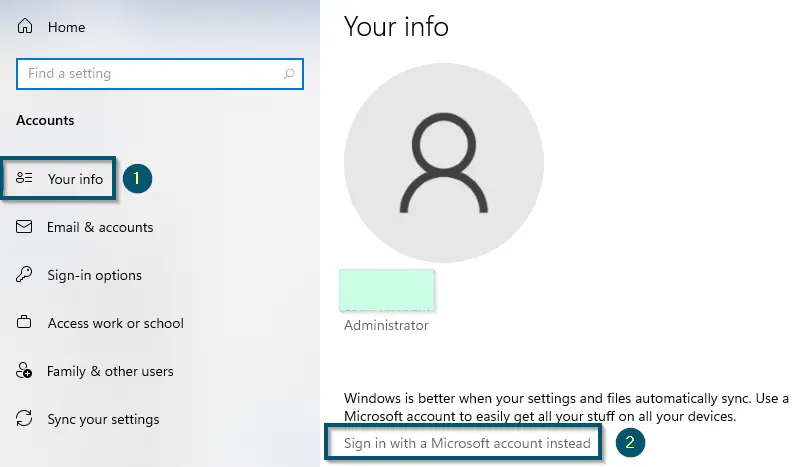
Choosing the ‘Accounts’ option inside the ‘Settings’ window - After that, you’ll click on the ‘Sign in with a Microsoft account instead’ option in the ‘Your info’ option.

Clicking on the ‘Sign in with a Microsoft account instead’ option in the ‘Your info’ option - A new window will pop up and you will enter the details of your Microsoft account and click on the ‘Sign in’ button.
Note: If you don’t have a Microsoft account, then you’ll click on the ‘Create one!’ option and follow the on-screen instructions. After you’ve created your Microsoft account, you can follow from step-5
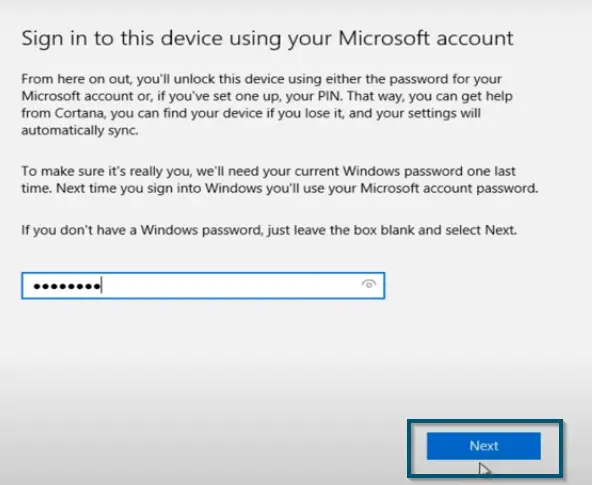
- After that, you will enter your local account’s password and click on the ‘Next’ button.

Entering the local account’s password and clicking on the ‘Next’ button - The process will take some time and after some time, it will ask you whether you want to set up a pin code or not. So, it’s up to you but we have chosen to ‘Skip this step.’
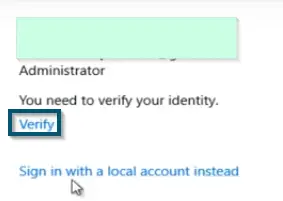
- Now, you’ll need to verify your added Microsoft account by clicking on the ‘Verify’ option under it.

Clicking on the ‘Verify’ option to verify the newly added Microsoft account - Once you’ve clicked on this option, Microsoft will send you a link to your inbox and you can click on that link to verify your account.
We have discussed these steps by keeping in mind that you’ve already created a Microsoft account. But if you don’t have a Microsoft account, then we recommend creating one first before trying these steps.
