SpeechRuntime.exe is an executable file that is a part of the Microsoft Windows operating system. This executable file belongs to the Speech Runtime Executable process and is typically located in the following directory:
C:\Windows\System32\Speech_OneCore\common
SpeechRuntime.exe is a critical windows component because it is related to Cortana – windows’ virtual assistant. So, it’s responsible for speech functions like “Hey Cortana”. Therefore, removing this file is not recommended.

When the registry scan is run, the problem appears as ActiveX/COM Issues with the Data pointing towards:
LocalServer32\C:\Windows\SysWOW64\Speech_OneCore\Common\SpeechRuntime.exe -ToastNotifier
with the path of the Registry Key as HKCR\CLSID\{…}
However, people often face different issues with this file while using a cleaning utility that leads them to think – Is this executable file harmful to the system?
Is it Harmful?
Cyber thieves often use executable files to inject malware into the system. Therefore, people are hesitant to open any unknown executable file. Similar is the case with speechruntime.exe. But there are ways of verifying its authenticity.
Checking the Authenticity via Task Manager
If the executable file is running in the background, then you can follow the following procedure:
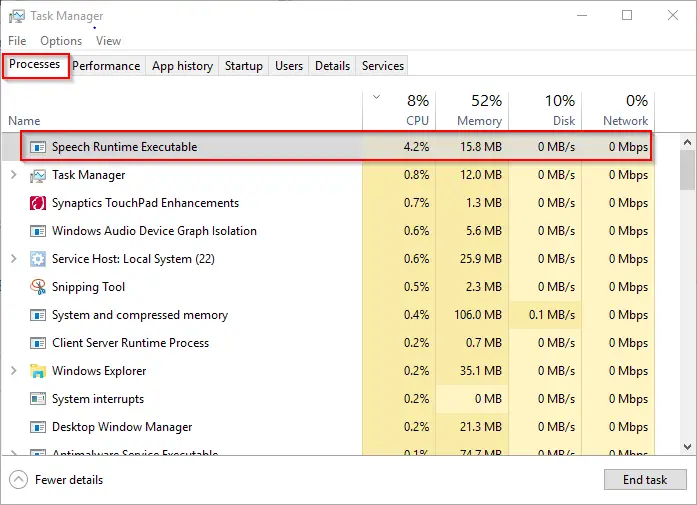
- Open the ‘Task Manager’ by pressing ‘Ctrl + Alt + Delete’ or searching in the Start Menu.
- Now go to the ‘Processes’ tab and locate the ‘Speech Runtime Executable’.

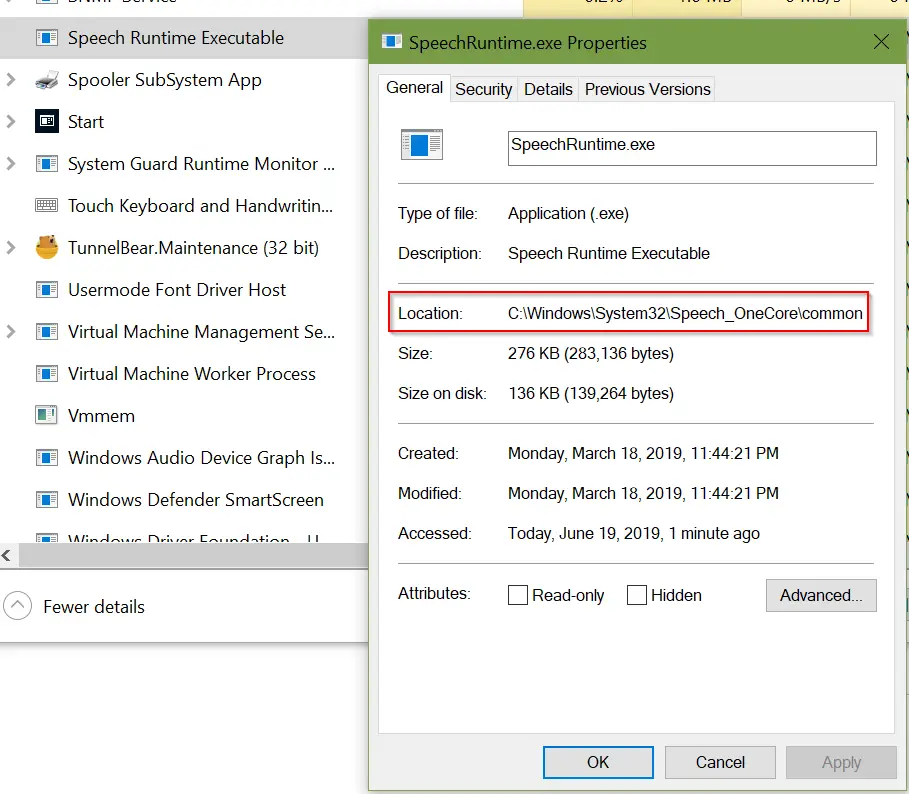
Locating Speech Runtime Executable - Right-click on it and choose the ‘Properties’ option.
- The file is authentic if the Properties dialog is displaying the following location:
C:\Windows\System32\Speech_OneCore\common
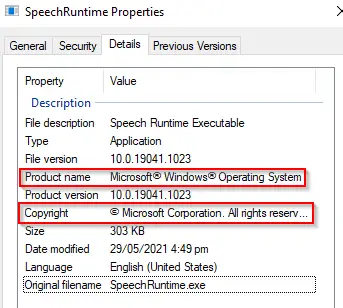
- However, you should also check the ownership of this file by moving to the ‘Details’ tab. So, if you find the following highlighted things in the Details tab, then the file is authenticated and there is nothing to worry about.

Information of SpeechRuntime.exe
Checking the Authenticity via File Explorer
If you can’t find the Speech Runtime Executable in the Task Manager, this means the file is not running in the background. For this, check the authenticity by using the following method:
- Open ‘This PC’ (if you’re on Windows-8/10 and ‘Computer’ for Windows-7) and in the address bar type the following:
C:\Windows\System32\Speech_OneCore\common
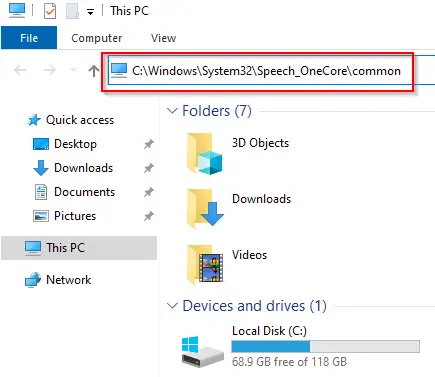
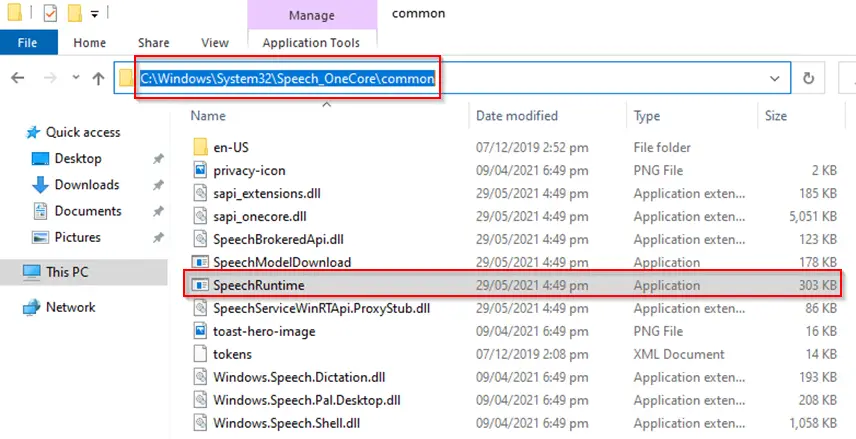
- Now, windows should take you to a folder where you’ll find the following files:

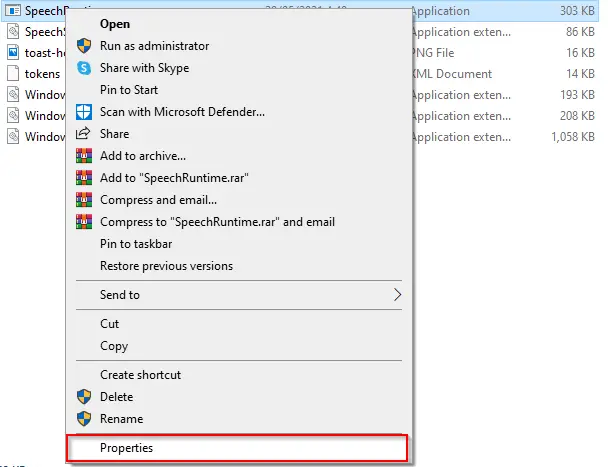
SpeechRuntime.exe Folder - From here, you’ll open the ‘Properties’ of ‘SpeechRuntime’ by either pressing ‘Alt + Enter’ or via right-clicking and selecting the ‘Properties’ option.

Selecting the Properties Option of SpeechRuntime - The rest of the ownership authentication procedure is the same as ‘Step 5 of Method # 1’.
Exceptions:
The file can be harmful in the following cases:
- If you find a suspicious directory in the ‘General’ tab of the executable file’s properties.
- If you find any other ownership in the ‘Details’ tab of the executable file’s properties.
- If the file is using too many GPU and CPU resources. Because often .exe files containing malware are using most of the system’s resources without opening them.
Why does CCleaner Show it?
As mentioned earlier that speechruntime.exe is a windows entry, so if you’re using Windows 10, it’s recommended not to mess with the speechruntime.exe file. Because it’s necessary for the proper functioning of Accessibility options of Cortana for visually impaired users. Plus, Microsoft strictly prohibits the use of registry cleaners on windows.
Specifically talking about Windows 10, its registry entries are often changing, so registry cleaners can’t keep up with that. You can also check Microsoft’s guide regarding using Registry Cleaning utilities on Windows 10.
Even if CCleaner is marking speechruntime.exe as an issue, then it’s still not an issue. Because
- First of all, CCleaner is a junk cleaner and not a malware cleaner. So, that means it can’t detect malware which shows that this executable file is not malware.
- Secondly, Windows OS needs this executable file.
Plus, the officials of CCleaner don’t recommend using registry cleaner on Windows 10 unless:
- You want to clean or locate the leftover entries of a software application that you have uninstalled.
So, it’s recommended not to mess with these files because deleting these files might lead you to reinstallation of windows. Plus, CCleaner will hopefully resolve this issue as well.
How to Disable it?
Unless CCleaner resolves this issue, you can apply the following solutions for disabling it:
1. Disable it by Rolling Back to the Previous Windows Update
Most people who are facing this issue on Windows 10 are using the KB4601319 version of windows. If you uninstall this version, this issue will be resolved. So, in this step, we will discuss the procedure for rolling back to the previous version:
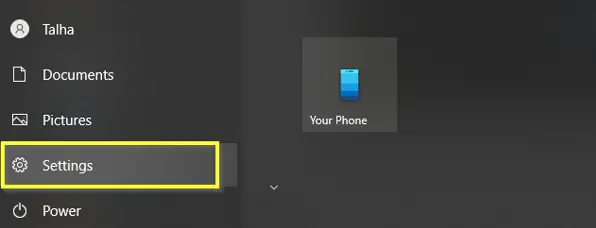
- Navigate to the ‘Settings’ of Windows 10. You can do that by either pressing the ‘Window + I’ keys or via ‘Start Menu’ and then choosing the ‘Settings’ option.

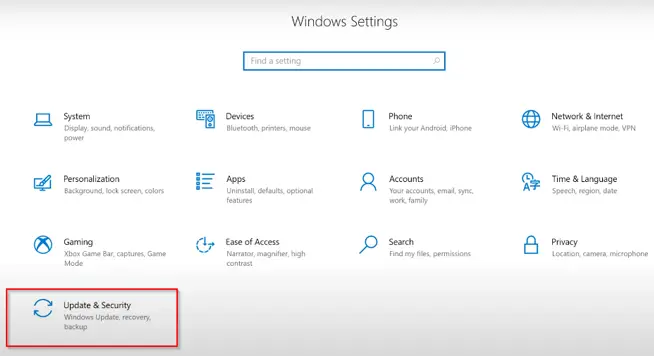
Accessing the Settings Option via Start Menu - Now inside the Settings, click on the ‘Update & Security’ option.

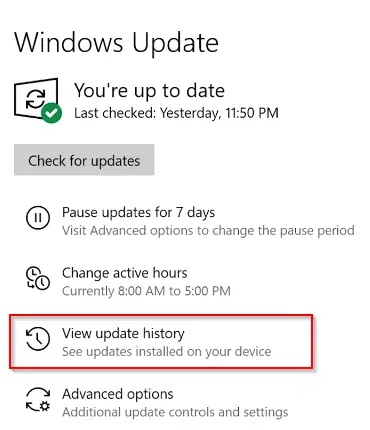
Settings of Windows Version KB4601319 - Upon opening of the Update & Security window, you will see various options. From there, you will choose the ‘View Update History’ option.

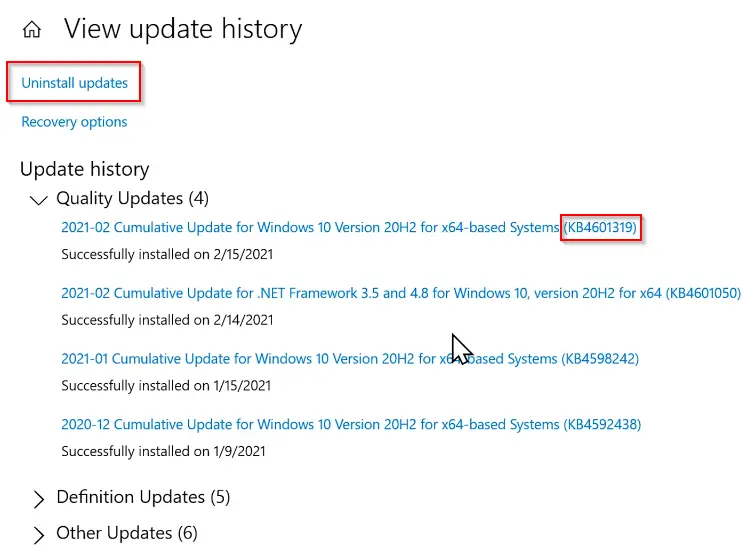
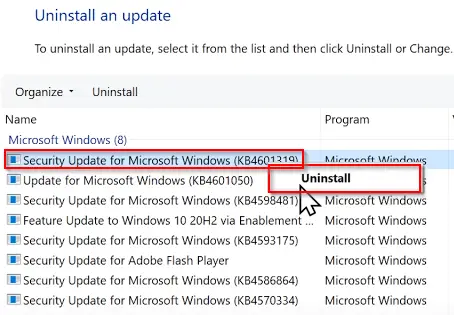
Choosing Update History Option Inside Update & Security - In the new window, you will see all the recently installed updates. But from here, you will choose the ‘Uninstall Updates’ option.

Choosing the Uninstall Updates Option - Now choose your Update and click ‘Uninstall’. Then, ‘Yes’ to confirm the uninstallation process.

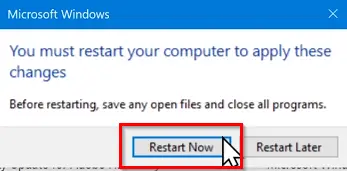
Clicking the Uninstall Option - The process will take some time. But once the system has completed the process, then it will ask for a system restart. So, click on ‘Restart Now’.

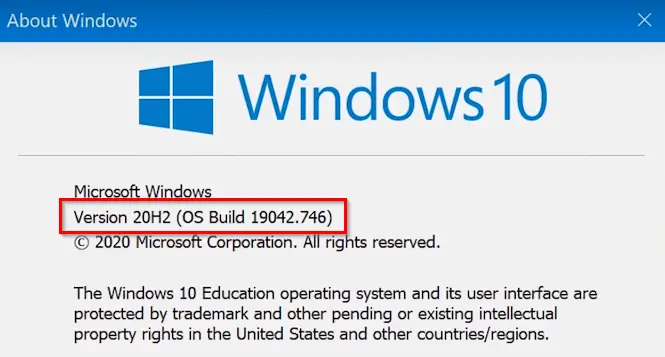
Restarting the System - The process will be completed when the system has restarted successfully. Now, you can recheck your windows version by typing ‘Winver’ in the search bar and opening the program.

Successful Downgrading of Windows Version KB4601319
2. Whitelisting the SpeechRuntime.exe in CCleaner
The second thing you can do to fix this issue is by whitelisting the exe file in CCleaner. So, let’s how to do that:
- In the opened window of CCleaner, click the ‘Options’ icon on the left.
- Then, select the ‘Exclude’ option and click on the ‘Add’ button.

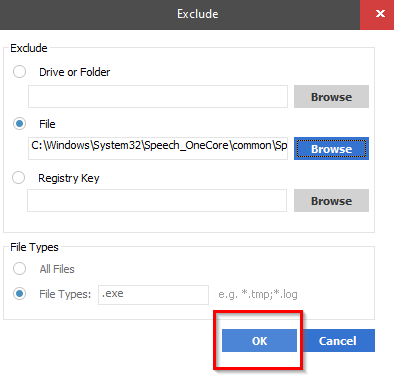
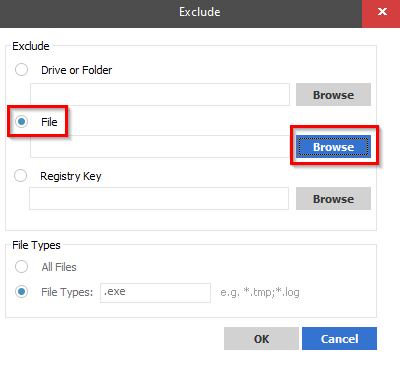
Choosing Exclude and Clicking on Add - From there, choose the ‘File’ option and click on ‘Browse’.

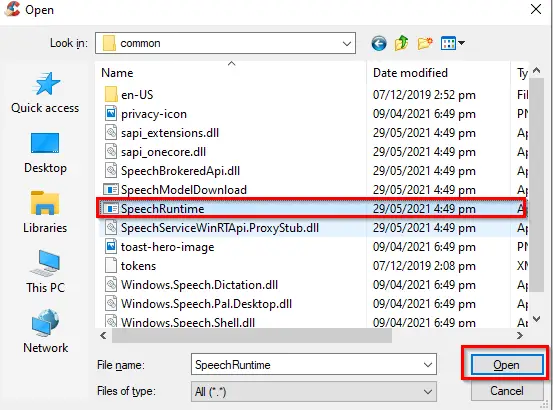
Click on Browse by Choosing the File Option - Now you’ll locate to the same following address:

C:\Windows\System32\Speech_OneCore\common
- Choose the executable file of ‘SpeechRuntime’ and click ‘Open’.

Choosing SpeechRuntime and Clicking Open - Lastly, click on ‘OK’ to confirm the addition to the whitelist.

Confirming the Whitelisting of SpeechRuntime