Windows Update Medic Service (or WaasMedicAgent) is a part of the Windows Update feature. This Windows service often runs in the background and repairs the Windows Update component (if it has experienced any corruption or damage). This way, the users will receive Windows updates without any interruptions.
Microsoft introduced ‘waasmedicagent.exe’ in Windows-10 as a helper service but often people face the issue where this System process is using 100% disk, RAM, or CPU, which makes them unable to perform any task. The ratio of system resources’ usage might vary system-to-system.
So, is this a virus and harmful to a system? If it is a virus, then, can you remove this Waasmedic Agent Exe virus? Let’s discuss all that and possible remedies to the issue of system high disk usage.
Is it Harmful?
Some third-party software applications may detect ‘waasmedic agent exe‘ as a threat or virus. However, there’s an even chance of this being an error of judgment. Malware creators can use this to their advantage in two ways:
- Malware creators can develop some third-party antivirus and program it in a way that it’ll judge WaasMedicAgent.exe as a virus. So, when a user will disable this executable file, it’ll allow them to exploit the security flaws of the user’s system.
OR
- That executable file can be malware. Because often malware creators use executable files to inject malware into a system.
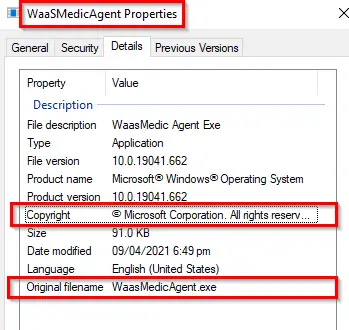
Therefore, never use any unknown third-party antivirus. Instead, rely on the popular ones. However, if popular ones also mark that executable file as a threat or virus, you should confirm that executable file’s ownership. The file is not malware if it’s marked as
© Microsoft Corporation. All rights reserved
Now, there are two processes of checking Microsoft’s ownership. So, let’s see both of them!
Verifying Microsoft’s Ownership via File Explorer
This method will follow the path from the File Explorer and it’s preferable for people who don’t have waasmedicagent.exe running in the background at the moment.
- Open ‘This PC’ (assuming you’re using Windows 10 because it’s a Windows 10 based issue).
- Then, copy and paste the following path in the address bar of File Explorer and press Enter to navigate to the address.
C:\Windows\System32
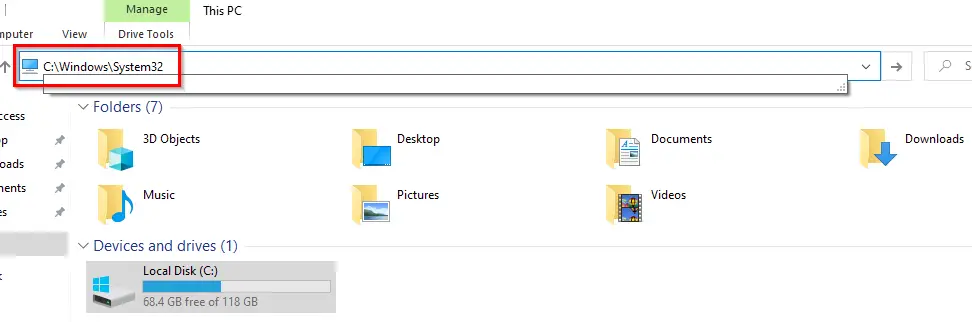
- Now when you’ve reached the System32 folder, press “F3” to search for “WaaSMedicAgent.exe” file.

Searching for WaasMedicAgent’s .exe File in System32 Folder - When you’ve found the file, press Alt + Enter to enter its Properties and move to its Details tab to check its ownership.

Checking Microsoft’s Ownership Via File Explorer

Verifying Microsoft’s Ownership via Task Manager
If the executable file is running in the background, then you can follow the following procedure:
- Open the Task Manager by pressing Ctrl + Alt + Delete or searching in the Start Menu.
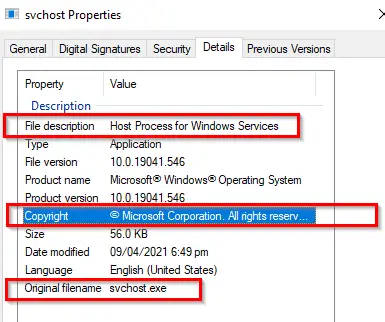
- Now, in the Processes tab, look for “wusvcs” because Windows Update Medic Service will be a subtask of this task. Then, enter its Properties by right-clicking on it.

Finding Windows Update Medic Service in Task Manager - Switch to the “Details” tab to find Microsoft’s copyright information.

Verifying Authenticity via Task Manager

In both ways, if you didn’t find Microsoft’s copyright information in the Copyright section, then there’s a chance of that executable file being malware. Here, you should use either Windows Defender or some popular antivirus software to check your system for malware.
How to Fix the High Resource Consumption?
As mentioned earlier, people often face “max. system resource utilization error” with this executable file. Therefore, they want to uninstall this executable file. However, being a windows component, you can’t uninstall this file. Instead, you can disable waasmedic agent from running in the background. This way, you can keep working on your tasks.
You should also know that even if you disable Windows Update services, Windows will try to re-enable them at some point in time. Anyway, let’s get to the solutions.
1. Allowing WaasMedicAgent.exe to Complete its Operation
WasMedicAgent.exe uses most of the system’s resources while downloading and installing the windows update. According to Microsoft:
Microsoft releases security patches on the second Tuesday of every month and non-security updates on the fourth Tuesday of every month
When the update process is complete, you can restart your computer and the high usage issue will be resolved.
Another thing that you look for is the ‘out of band‘ updates. Microsoft releases these updates on days other than Tuesday. This update occurs when security is being exploited or for an extreme security issue. So, for the ‘out of band’ updates, this solution will fail and if your solution hasn’t been resolved, then try other methods.
2. Unplugging the Standalone Hard Drive
If you’re using an external hard drive and ‘waasmedic agent exe’ is using 100% (or most) of your hard drive, then maybe the service is somehow using the external drive instead of your primary one. This is a bug and can be easily fixed but first, make sure the external drive is indeed involved:
- Navigate to the Task Manager via Ctrl + Alt + Delete or search in the Start Menu.
- Head over to the Performance tab and select Open Resource Monitor.

In the Performance Tab, Selecting the “Open Resource Monitor” - If you find WaasMedicAgent.exe as the culprit which is excessively using your external hard drive, then unplug the external hard drive and hopefully, everything will be back to normal.

3. Upgrading to the Latest Windows Version
If you’re using older versions of Windows 10, then try updating your Windows to the latest one. We found a lot of cases where running an older version of Windows and not updating it causes high CPU usage. At the time of writing, the latest version is KB4601554.
- Navigate to Settings from your Start Menu by right-clicking on the Windows icon.

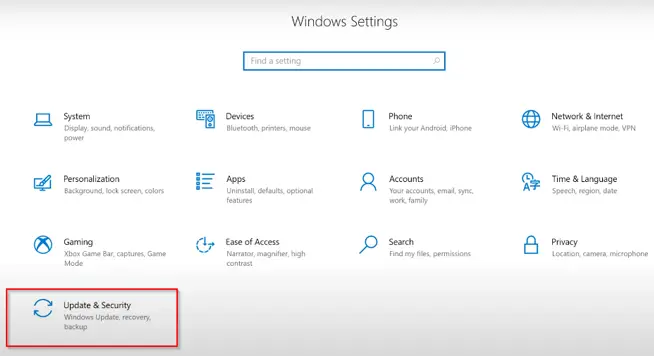
Accessing the Settings Option via Start Menu - Then, select Update & Security.

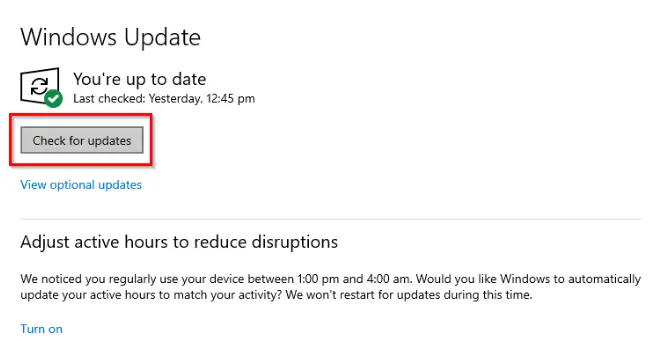
Settings of Windows Version KB4601319 - Now, click on Check for Updates. Depending on your network speed, it will download the updates that are compatible with your device.

Clicking on the Check for Updates Button

After downloading, Windows will install those updates and automatically restart the system for completing the installation procedure. Now, check whether your issue has been resolved or not.
How to Disable WaasMedicAgent.exe
If none of the above methods worked, we can attempt to manually disable the service and make some changes in the registry so it doesn’t spawn again.
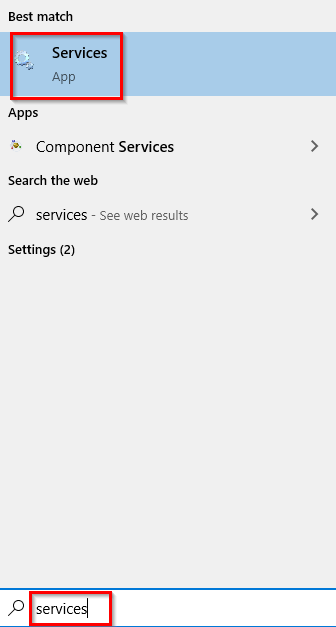
- Open the Services by searching it from the start menu.

Searching “Services” in the Start Menu - Now look for the Windows Update Medic Service and double-click on it to open its Properties.

Looking for “Windows Update Medic Service” in Services - In the new windows, change the Startup type to Disable and then hit Apply/OK.

Changing Startup Type and Hitting Apply - But when you click Apply/OK you’ll get the Access is denied error.

“Access is denied” error


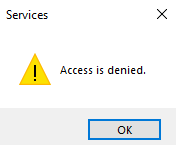
As waasmedicagent.exe is a windows component, you can’t disable this component directly by going to the Services. To get access, you need to change some registry values.
Now, there are two ways of changing the registry values: You can either use a third-party tool named “Windows Update Blocker” or use the “built-in Registry Editor.” Since we don’t consider unknown third-party software applications safe, therefore we will discuss the built-in method. So, let’s continue the process further:
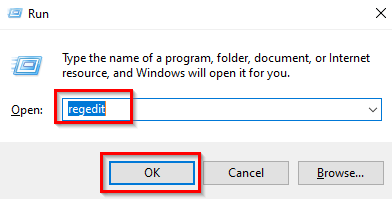
- Press Windows + R to open the Run dialog box and type “regedit” for opening the Registry Editor.

Typing the regedit to open the Registry Editor - Now, paste the following path after “Computer/” in the address bar to enter the folder of waasmedic agent exe:
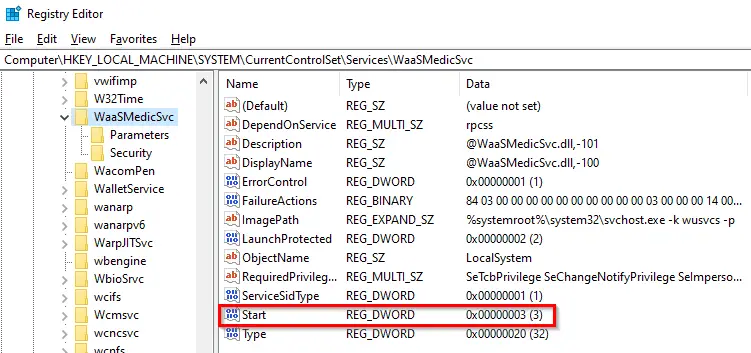
HKEY_LOCAL_MACHINE\SYSTEM\CurrentControlSet\Services\WaaSMedicSvc

- In the WaasMedicSvc registry editor folder, find Start and double-click to open its options.

Choosing the “Start” option in Registry Editor - Now change its Value Data from “3” to “4”. Then, click OK to confirm your changes and reboot your system.

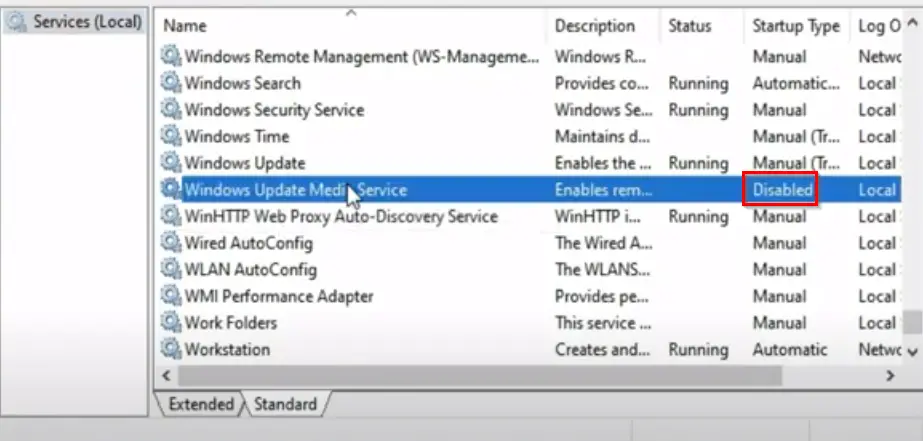
Changing Value Data and Clicking OK - After a successful system restart, again go to the “Services” (or services.msc) and look for “Windows Update Medic Service” which is disabled now.

Successfully Disabled Windows Update Medic Service - To re-enable, you can again change the Value Data of “Start” in the Registry Editor folder of WaaSMedicSvc to “3” (for a Manual Startup). If you still face any errors, type “2” instead of 3.