‘YourPhone.exe’ is an executable file, which represents the ‘Your Phone’ application of Windows-10. This application resides in the following folder:
C:\Program Files\WindowsApps
This application works by running the same Microsoft account between the synced devices. It provides a unique cross-device experience by synchronizing the Windows-10 system with an android or iOS smartphone.
However, some users have reported several errors with this executable file, like
- YourPhone.exe is stealing all the usernames and passwords.
- YourPhone.exe is constantly opening the Command Prompt window.
- YourPhone.exe is extensively using GPU.
All these use cases lead the users to think – about whether this executable file is harmful to their system or not. So, let’s see all this in detail.
Is ‘YourPhoneServer.exe’ Safe?
In most cases, this executable file is safe because it has the digital ownership of Microsoft. So, even if it is running in the background, it’s normal in most scenarios, as this application needs to keep sending notifications between the synced devices.
However, it is better to check the ownership of Microsoft on this executable file before marking it as safe. Because an application like ‘Your Phone’ won’t and shouldn’t consume much CPU or GPU resources. Please take a look at our article on How to Check whether an Executable File is Safe or not. This will guide you through all the steps to validate its authenticity and whether it is malware or not.
How to Disable/Fix ‘YourPhone.exe’?
If the ‘YourPhone.exe’ is safe in your scenario and it doesn’t consume much CPU or GPU resources, then we don’t recommend disabling this application. This is because it is a built-in application and disabling this might create some conflicts.
However, if you want to the executable or the executable file isn’t safe in your scenario, then you should permanently delete this program. So, let’s see the procedure for both tasks.
1. Disable YourPhone.exe through the ‘Settings’ App of Windows 10
In this solution, we will disable this executable file by going to the Settings of Windows-10.
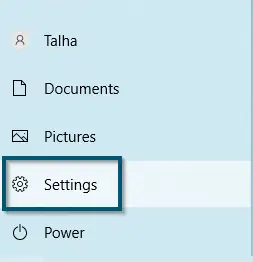
- First, you’ll go to the Start menu and from there, you’ll pick the ‘Settings’ option.

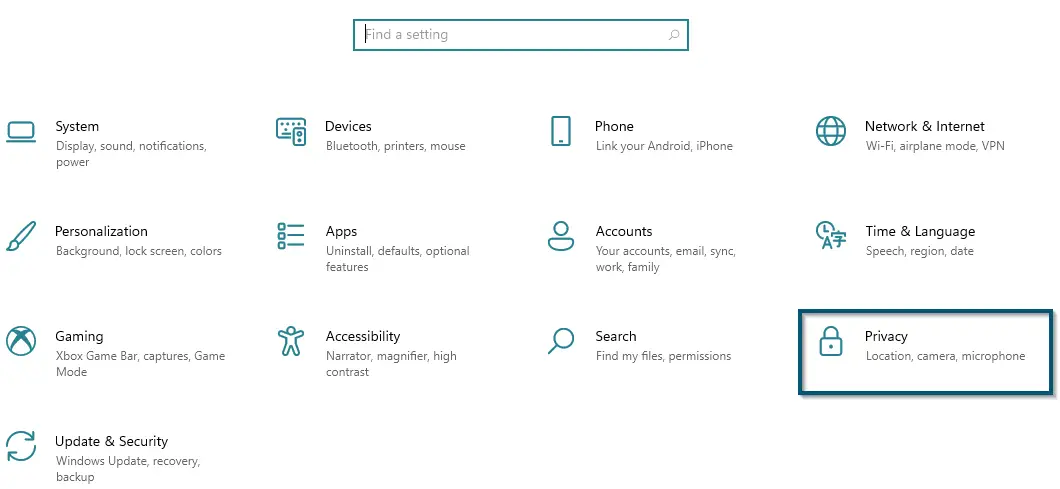
Choosing the ‘Settings’ option from the Start menu - Then, you’ll choose the ‘Privacy’ option from the ‘Settings’ main page.

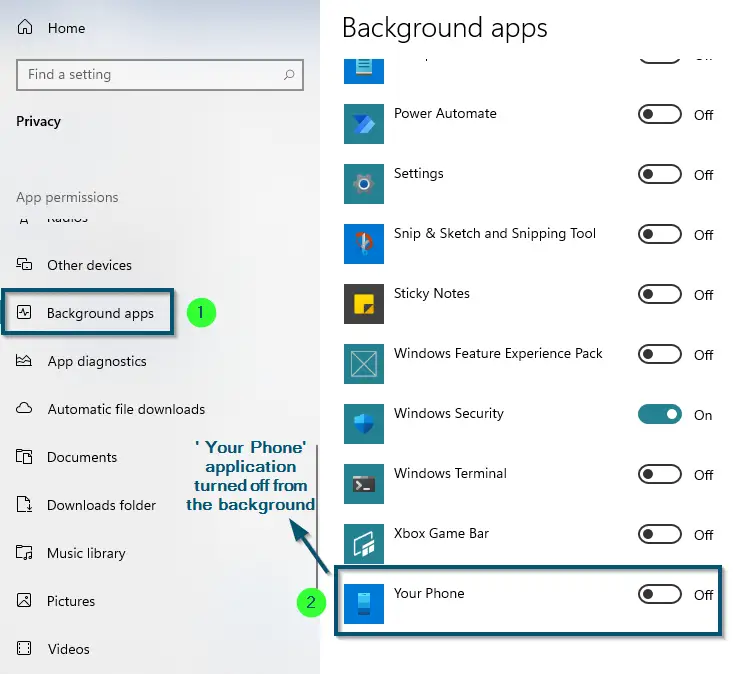
Choosing the ‘Privacy’ option - In the ‘Privacy’ window, you’ll scroll down to find the ‘Background apps’ option (on the left side of the screen).
- Once you’re in the ‘Background apps’ window, you can then turn off the toggle of the ‘Your Phone’ application. This will turn off the ‘Your Phone’ application from running in the background.

Turning off the ‘Your Phone’ application from running in the background
This will keep the application from running in the background and consuming your CPU or GPU resources. However, if you want to permanently uninstall this application, then try the next solution.
2. Completely Uninstall YourPhone.exe via Windows PowerShell
If the executable file of the ‘Your Phone’ application is a virus or spyware in your case, then we recommend uninstalling that file. So, try the following steps.
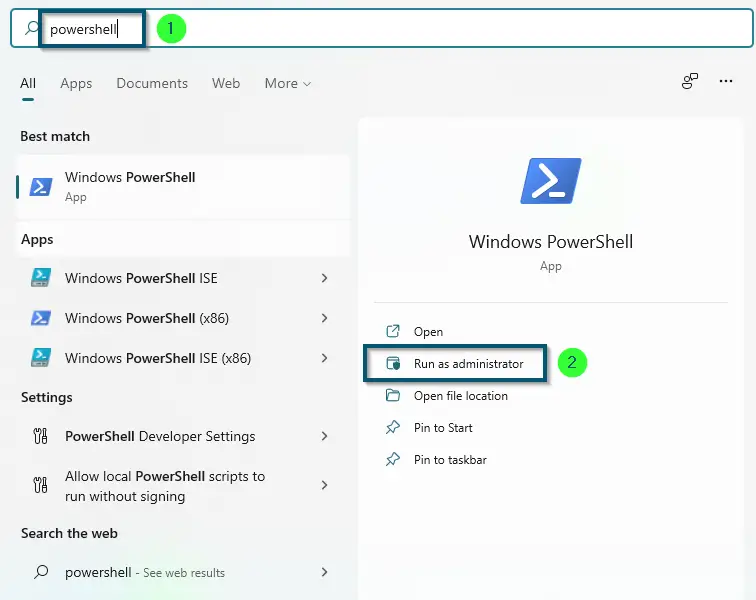
- First, you’ll search the ‘PowerShell’ in the Start menu and click on the ‘Run it as administrator’ option.

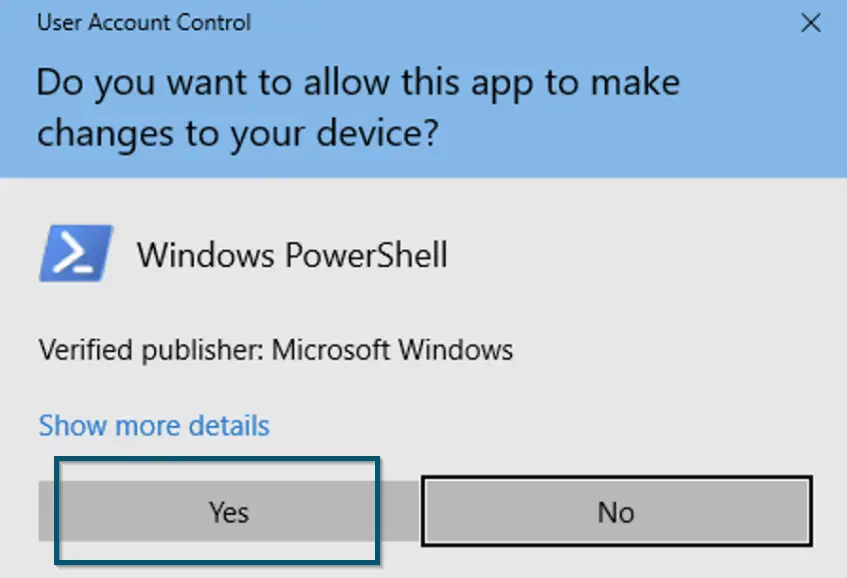
Searching and opening ‘Windows PowerShell’ as Administrator - Then, you’ll click on ‘Yes’ to allow the confirmation message for running the PowerShell as admin.

Allowing ‘Windows PowerShell’ to make changes to the system - Now, you’ll paste the following command in the PowerShell window:
Get-AppxPackage Microsoft.YourPhone -AllUsers | Remove-AppxPackage
- Then you’ll press the ‘Enter’ key to execute this command.
- PowerShell will show the following message for some time and then it’ll complete the whole process:

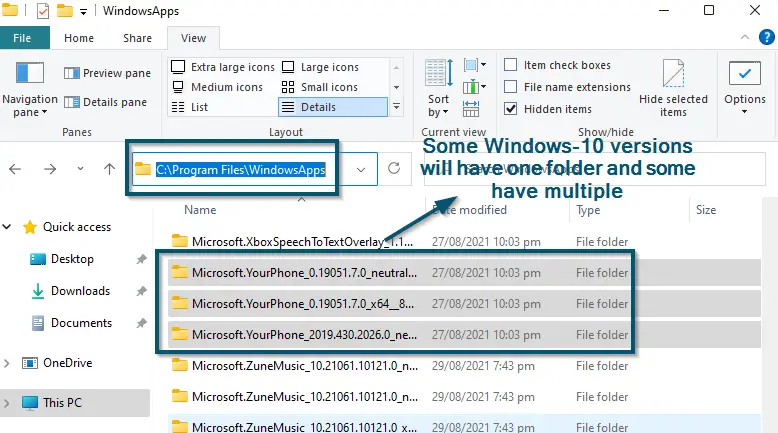
PowerShell displaying the message of initializing the uninstallation process - Now, you’ll again paste the following address in the search bar of File Explorer and press the ‘Enter’ key:

C:\Program Files\WindowsApps
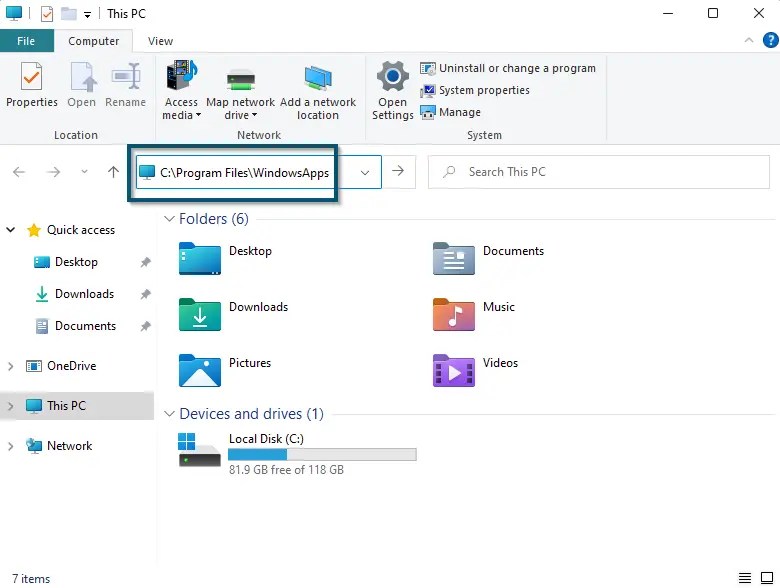
- The control will take you to the ‘WindowsApps’ folder and now, you can delete the folder associated with the ‘Your Phone’ application.
- You will find three different folders with the ‘Microsoft.YourPhone’ tag. But the one that contains the ‘x64’ tag is the main system architecture tag. So, you’ll select this folder and hit the ‘Delete’ key.

Deleting the ‘Microsoft.YourPhone’ folder with the ‘x64’ tag

Note: If the folder doesn’t delete, then you will have to forcefully delete this file via the ‘Windows PowerShell’ program
Forcefully Deleting the Folder Using PowerShell
Follow this only if the folder doesn’t delete from the File Explorer
- Now, you’ll ‘follow the first 2 steps of Solution # 2’ to open ‘Windows PowerShell’ as administrator.
- Then, you’ll paste the following command in ‘ Windows PowerShell’ and hit the ‘Enter’ key to execute this command:
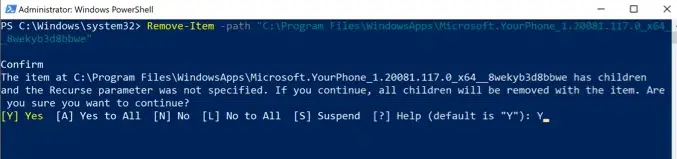
Remove-Item -path “C:\Program Files\WindowsApps\ Microsoft.YourPhone_0.19051.7.0_x64__8wekyb3d8bbwe”
Note: Here, you’ll replace the ‘Microsoft.YourPhone_0.19051.7.0_x64__8wekyb3d8bbwe’ with your folder name that has ‘x64′ tag because it can be different in your Windows-10 version
- Then you’ll press the ‘Y’ key to continue the process.

‘Windows PowerShell’ forcefully removing the ‘Your Phone’ application
Note: If the command doesn’t return a successful result, then make sure that the ‘Windows PowerShell’ application isn’t running in the background. So, you’ll use the ‘-Force’ tag at the end of the same command for forcing Windows to delete the ‘Your Phone’ application folder
3. Disable ‘Your Phone’ Application Through NVIDIA Control Panel
For Dedicated NVIDIA GPU Users
If you own a system with a dedicated NVIDIA GPU, then you can disable the Your Phone application via NVIDIA’s Control Panel. Try the following steps.
- First, you’ll open the NVIDIA Control Panel. If you don’t have it, then you can download it from the following link:
https://www.microsoft.com/en-us/p/nvidia-control-panel/9nf8h0h7wmlt#activetab=pivot:overviewtab
- Once you’ve opened the application, then you will reach the ‘Manage 3D’ settings section.
- Now, you’ll choose the ‘Program Settings’ tab.
- Then, you’ll open the drop-down menu from the ‘Select the program to customize’ section.
- After that, you’ll choose the ‘Your Phone’ application.
- Lastly, you’ll click on the ‘Apply’ button at the bottom-right corner of the screen.
