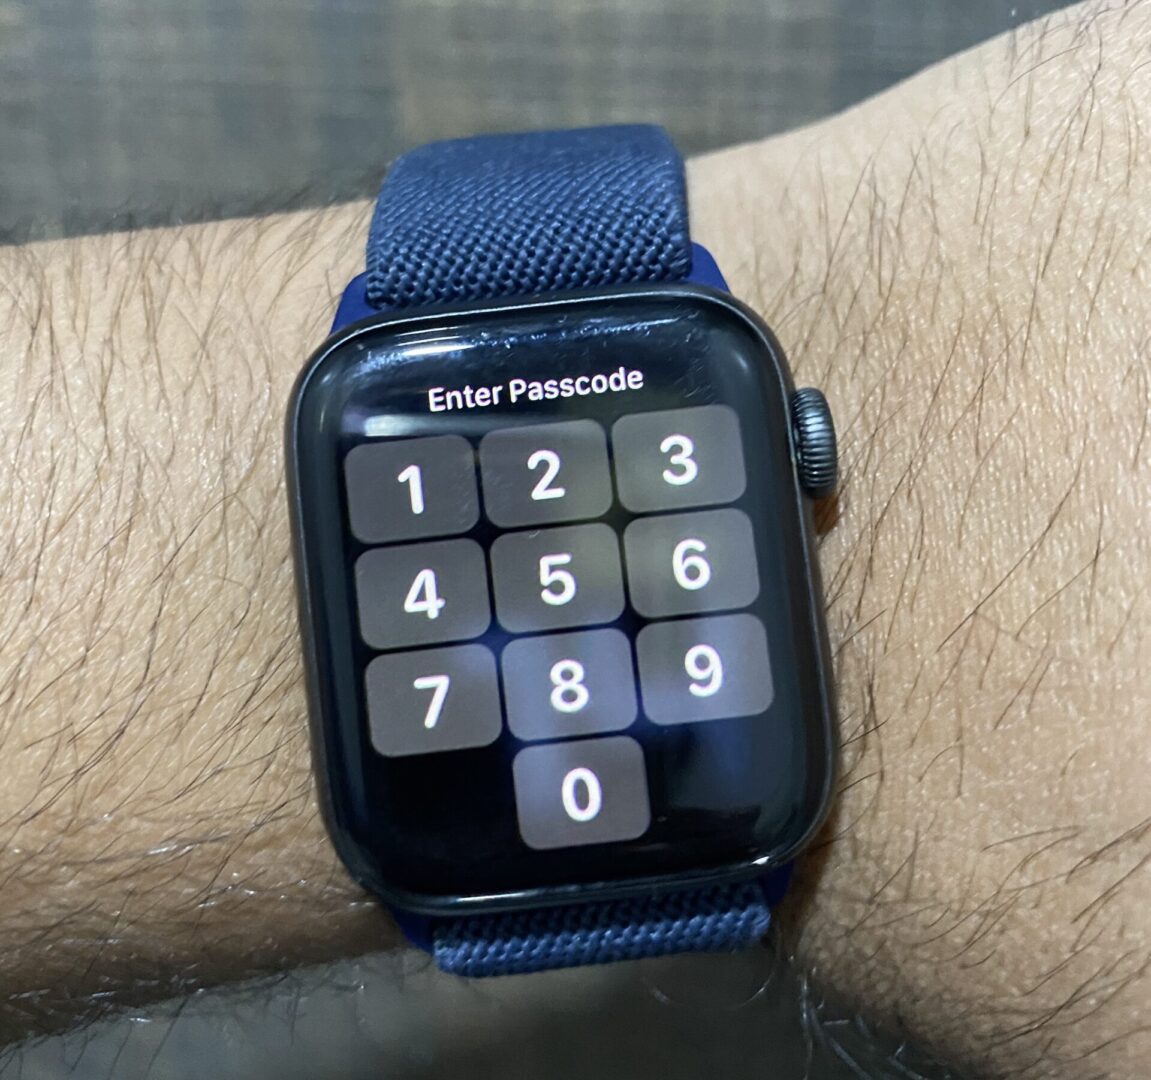
Apple Watch keeps asking for a Passcode when it’s on your wrist primarily because of either issue in its touch sensor or some misconfiguration in its software. This is a very common problem and has been there for a few years as well.
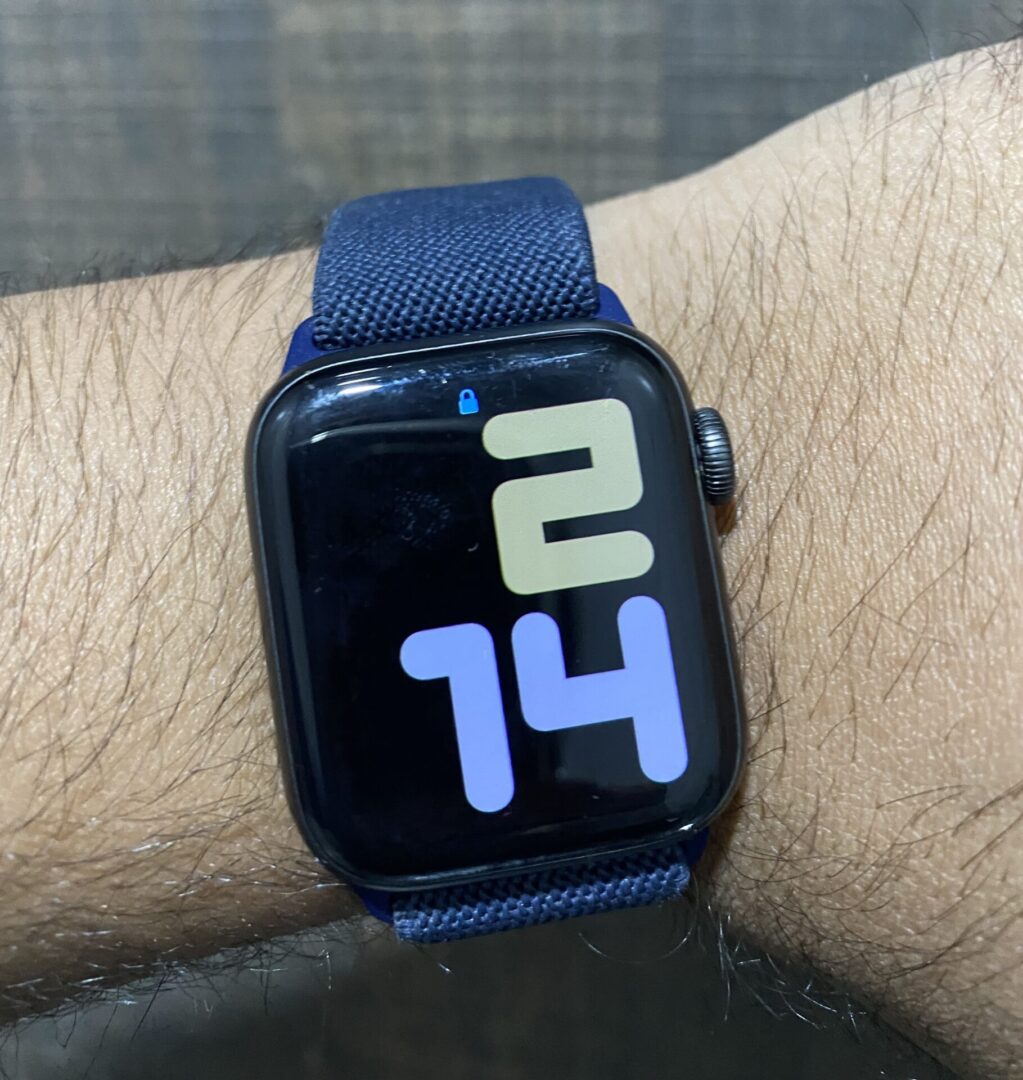
This article is valid for all versions of Apple watches including Series 1, 2, 3, 4, 5, SE, 6, and 7. These steps will also be valid for all upcoming models of the Apple watch as well.
If the watch is prompting you to enter your Apple ID Password instead of the Watch Password, you can read the article where we covered and fixed the issue: Apple Watch keeps asking for Apple ID Password.
When does Apple Watch Keep Asking For a Passcode?
Apple watch locks itself when:
- It detects that you’ve taken it off,
- After a restart of your Watch or your iPhone,
- After a few hours of continuous use for increased safety,
- Sometimes when you are trying to use Apple Pay.
These are genuine cases. However, we came across several instances where the watches were automatically getting locked again and again. This happened even when none of the above events happened. Users were prompted to enter the password again and again without any clear pattern. Some were asked every few hours and some saw it being asked every time they glanced at the watch.
What causes Apple Watch to keep asking for the Passcode?
There are several reasons why this phenomenon occurs. Here are some of the basic classifications:
| Cause(s) | Explanation(s) |
|---|---|
| Obstruction of Sensors | If the sensors are dirty or being obstructed by tattoos, they will be unable to detect your heartbeat and hence ask for password. |
| Conflict with Applications | Conflicts with applications including work related applications can cause issues and force the watch to lock itself. |
| Watch taken off | If the watch is taken off, it automatically locks itself. |
| Software update installed | When a software update is installed, the watch automatically locks itself. |
How to Fix the Apple Watch keeps asking for a Passcode?
Here, we will go through all the different workarounds that worked for different people and are tested by our in-house lab as well. Start with the first one and work your way down accordingly.
1. Enabling ‘Unlock with iPhone’ & ‘Wrist Detection’
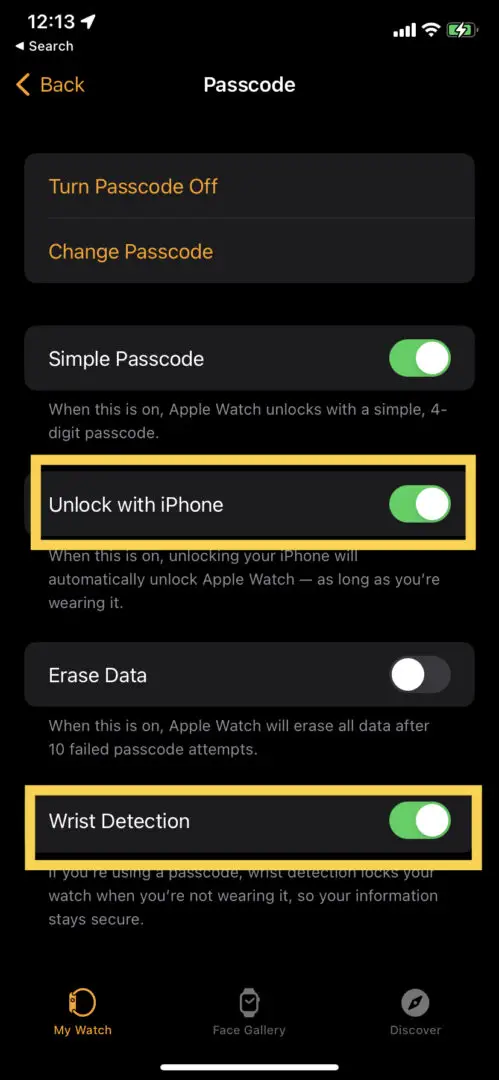
The first thing you should check is whether the options of ‘Wrist detection and ‘unlock with iPhone’ are enabled. Wrist detection enables the option of the Apple Watch to detect whether you are wearing it or not. The ‘Unlock with iPhone’ saves you the trouble of going through the unlocking process on your Apple Watch and you can do it with your iPhone’s FaceID. In some scenarios, it automatically works when your iPhone is unlocked and you are using it.
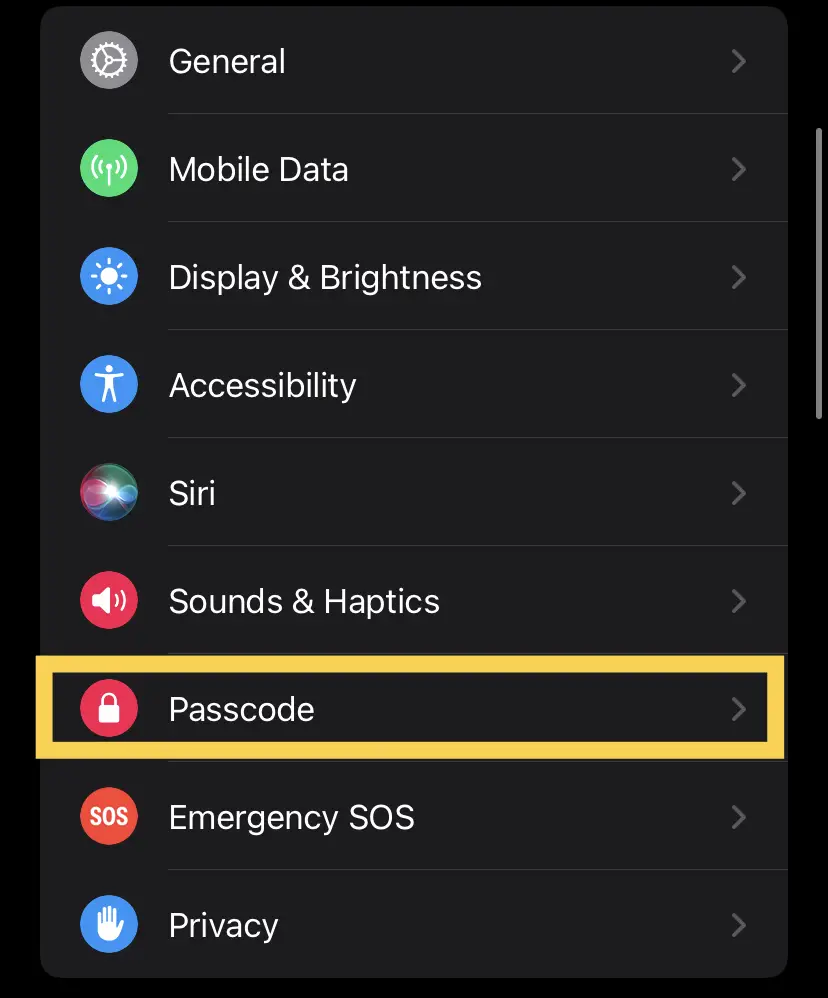
- Open your Apple Watch application and click on Passcode.
- Next, make sure that the option of ‘Unlock with iPhone‘ and ‘Wrist Detection’ is enabled.
Unlocking with iPhone - Exit the application and use the Watch normally to see if the issue is resolved.
2. Tightening up Watch
The first thing to check here is whether your watch is sufficiently tight around your wrist. This is very important as the watch tends to lock itself when it detects you have taken it off. If it is loose and the sensors lose contact with your skin, the watch mistakenly thinks that you have taken it off.
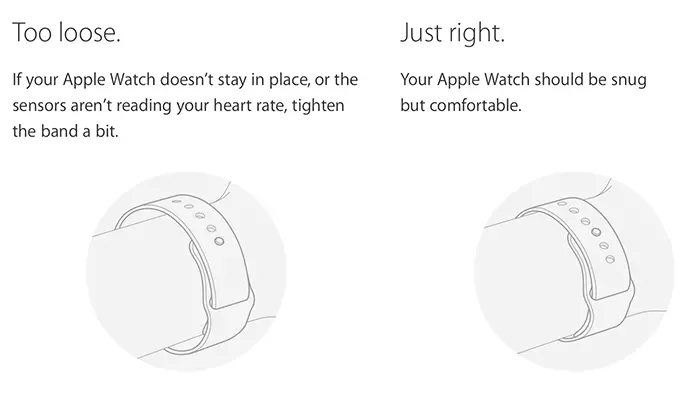
Re-Adjust your watch and once it is fairly tight, enter the password on your watch again. Now use the watch normally and see if the issue is resolved.
3. Checking for Tattoos
Apple has confirmed that having tattoos on your skin where the sensors are can disrupt the sensors and malfunction their readings or current state. The watch uses green LED lights paired with light-sensitive photodiodes for detection. Tattoos are known to disrupt these readings as the sensors are unable to penetrate through the black ink. When the watch doesn’t detect your heartbeat, it automatically locks itself.
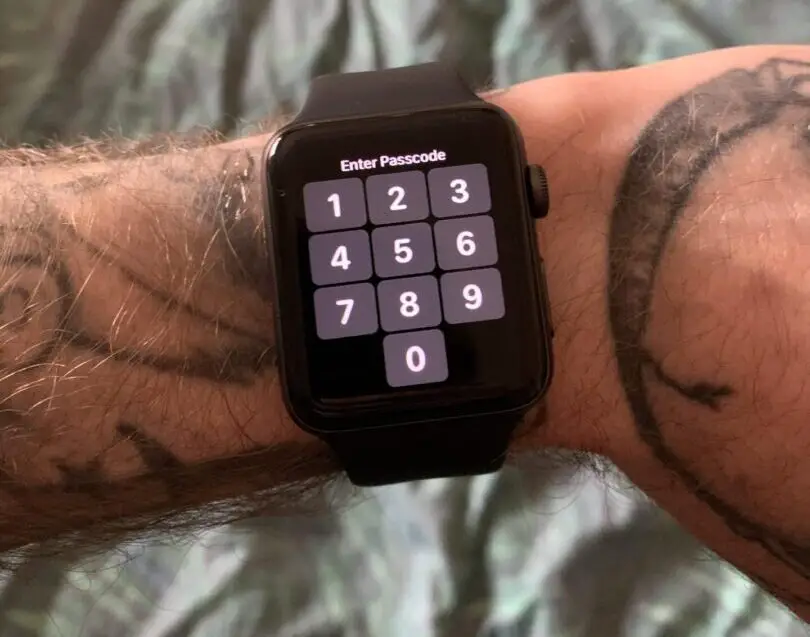
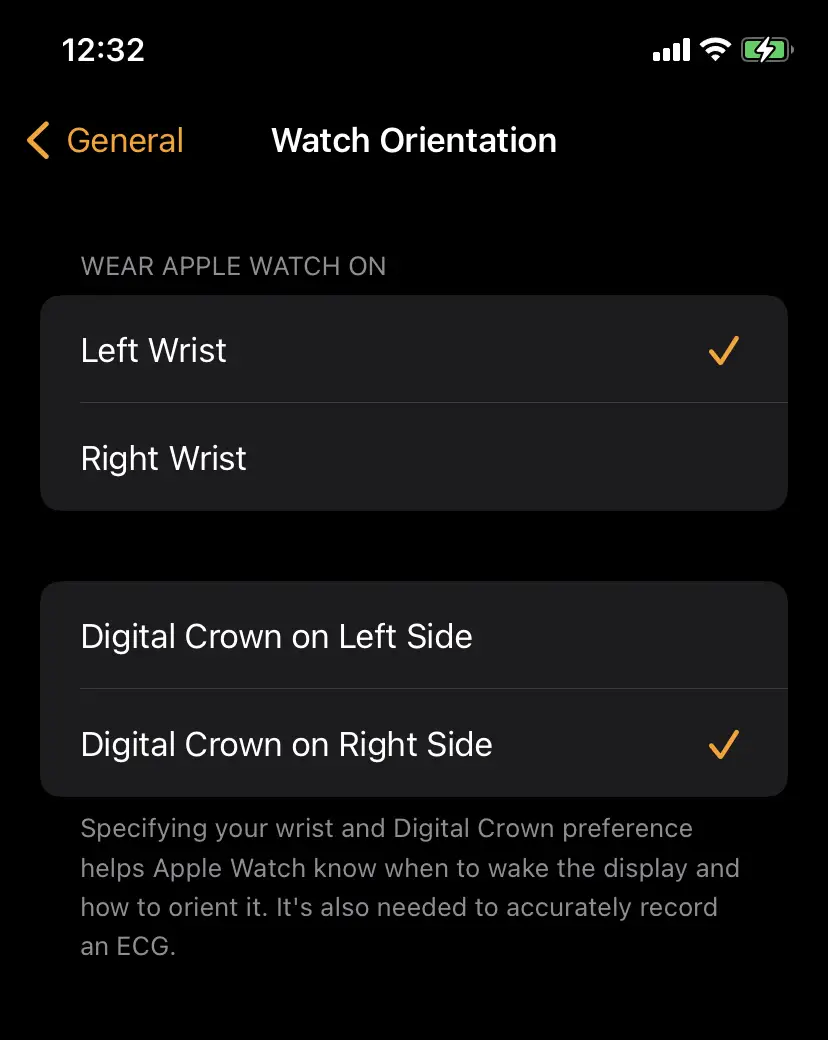
If you do have a tattoo, try changing the location of the watch on your wrist. This will help the sensors get a better reading. Also, you change the wrist you wear your watch on and update this in the settings. Here’s how to do this:
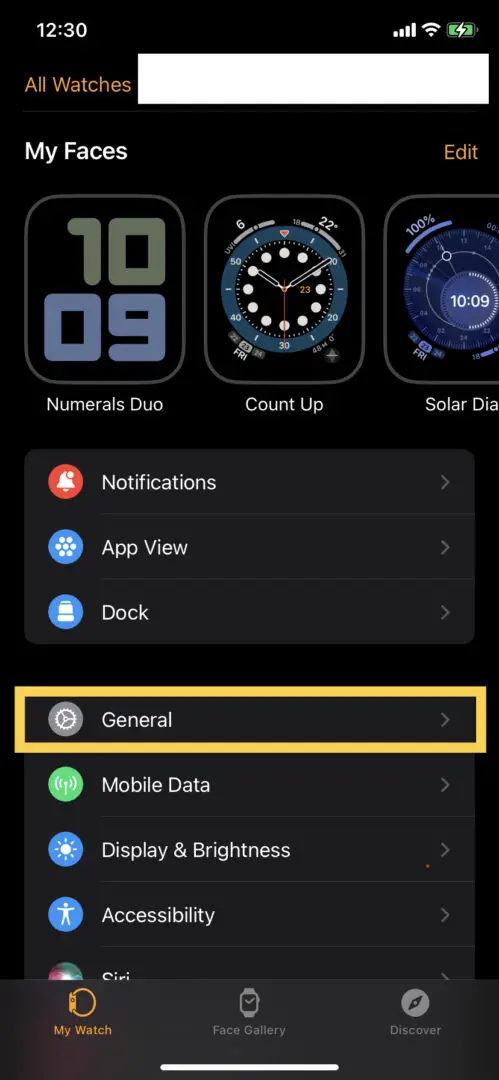
- Open the Watch application on your iPhone. Next, click on General.
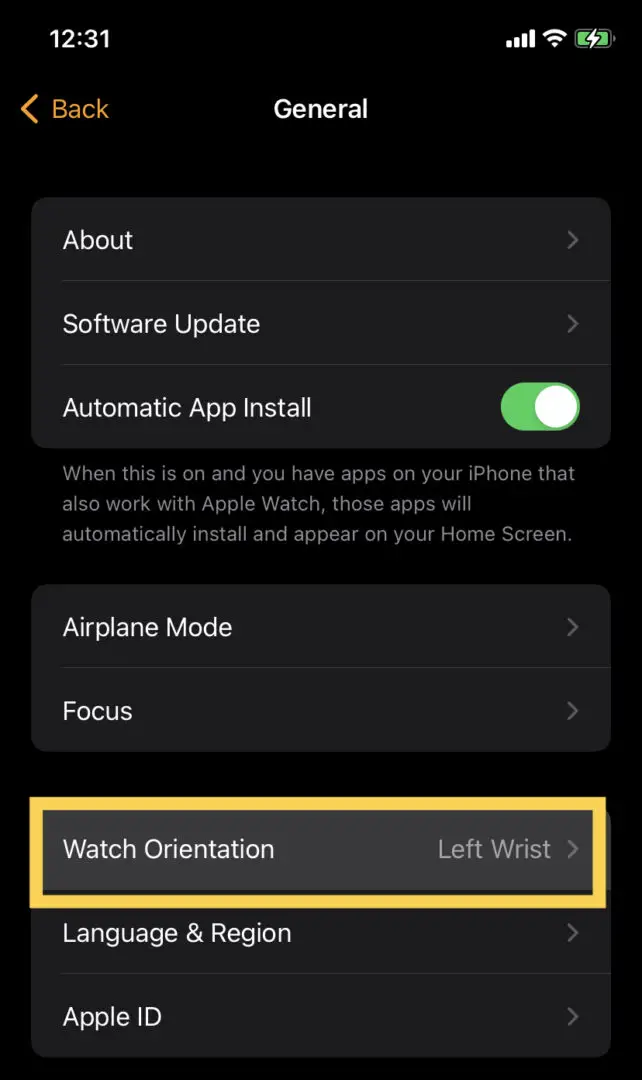
Apple Watch General settings - Now, select Watch Orientation.
Watch orientation settings - Here, you will see all the different orientations. Select the one which will have the least amount of skin with tattoos being in contact with the Apple Watch’s sensors.
4. Updating Software
Software updates are released by Apple to fix software glitches and improve the user experience. Throughout history, we’ve seen small glitches being released by Apple to their Apple Watch to fix small issues and conflicts. Not updating your watch for a while might consequently make you face this issue. I recommend updating it.
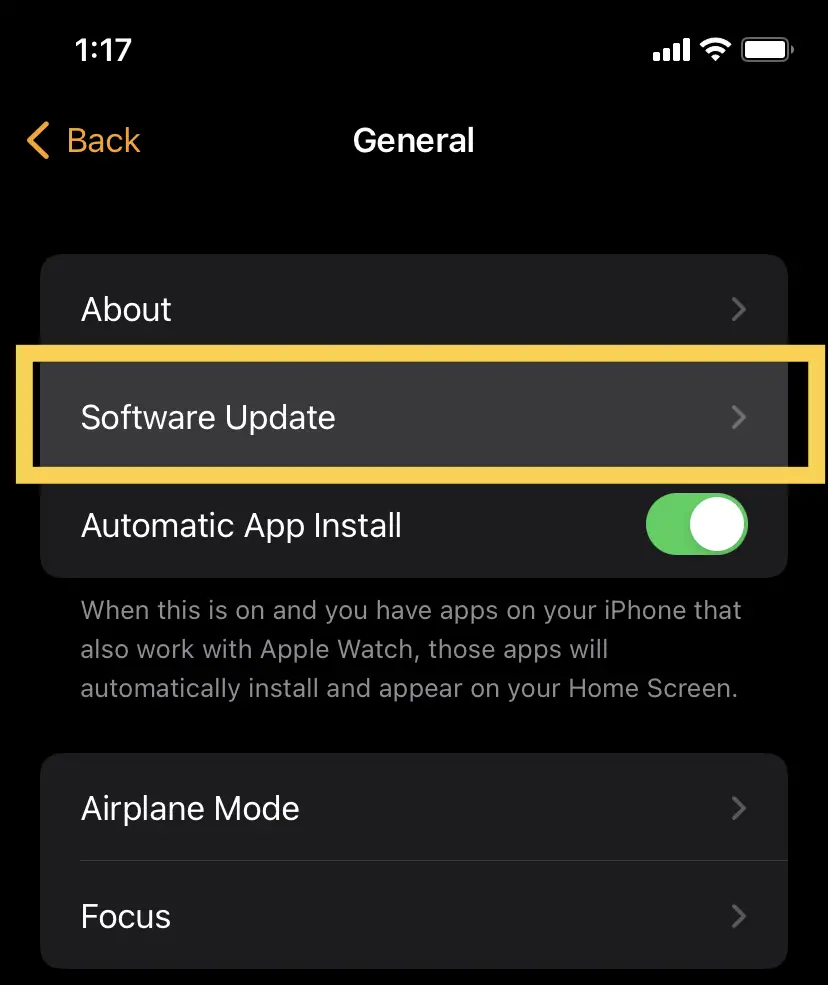
- Open your Watch application and click on General.
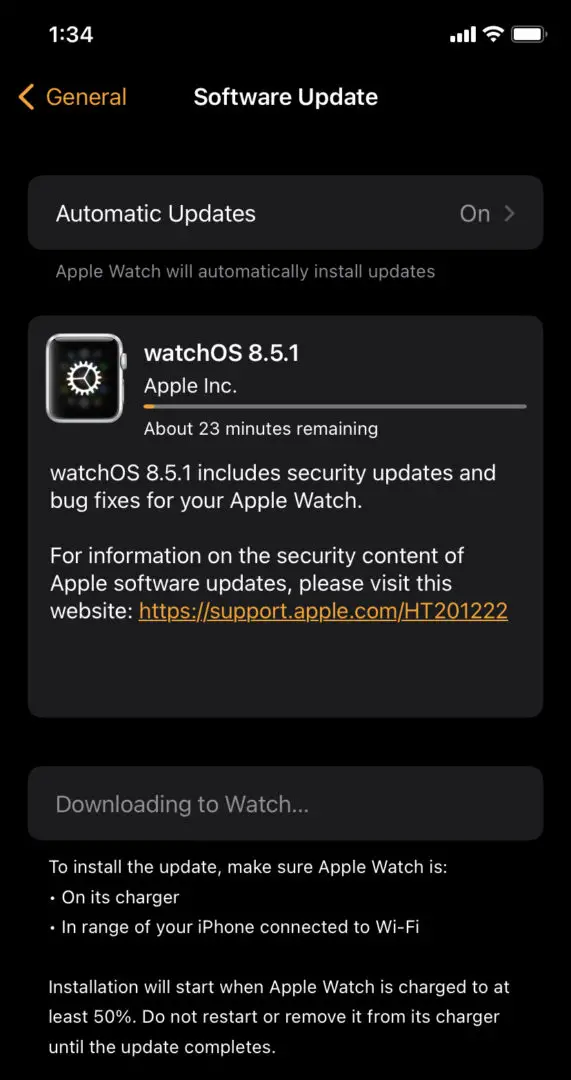
Checking for Software Update in Apple Watch App - Now, click on Software Update. The app will check for any updates available and will install them accordingly.
Downloading Software Updates for Watch
To ensure the successful implementation of the update, it is imperative that you diligently adhere to the provided instructions for keeping your watch charged.
5. Resetting all Settings
If none of the above methods work, it might be the case that your settings are corrupt and might need to be reset. This is a very common problem when settings get corrupt or are not just in the right configuration. Follow the steps below to reset all the settings. You might have to pair it with your iPhone again.
Don’t worry about losing any of your data. That is stored over the iCloud and it will automatically be synced when you connect your watch with your iCloud ID.
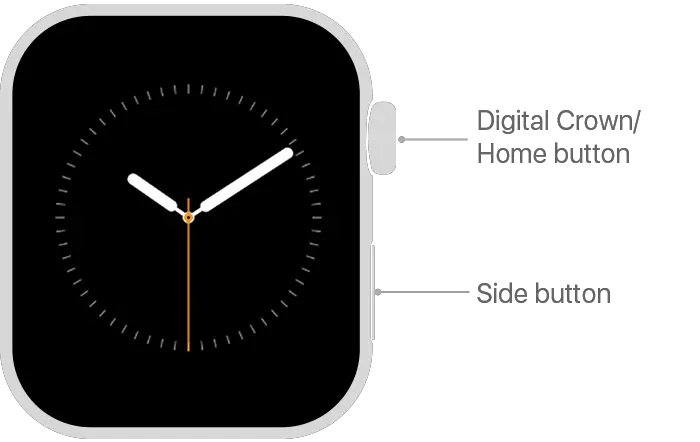
- Press and hold both the crown dial and the side button simultaneously until the Apple Logo appears. When it does, release both of them.
Apple Watch Crown and Side button - Count to 4 and then hold down the side button until you see ‘Erase all settings‘ come forward.
- Click it and then click the little green check button.
- The watch will take a little while before resetting all the internal settings.
6. Checking for Work-related Email/Application
Another interesting scenario that we came across for users was where using a work-related application or email on the Watch was causing the repeated asking for a password for the watch. This was seen across different forums and in a nutshell, companies have application policies in place for users using their apps or work-related email addresses. These policies might include you inputting the password for your Apple watch after a set interval.
One such example we came across was a simple logging application of Starbucks an employee had on their watch. This was a normal enough application but it was causing the Watch to repeatedly ask for a password. Here is what they had to say:
…I recently installed an app for Starbucks that tracks my work schedule, I just don’t understand why that would affect me having a passcode on my Apple Watch , it’s mind boggling. (source: discussions.apple.com)
Hence, if you are using an Apple ID or an Application that is related to work on your Apple Watch, remove it and see if this solves the problem.
7. Re-pairing the Watch
If none of the above methods prove effective or if they are not applicable to your situation, you should consider unpairing your Apple Watch from your iPhone. Subsequently, you can proceed to pair it again. By doing so, you will compel the watch to entirely eliminate all the stored configurations and initiate a fresh initialization upon re-pairing.
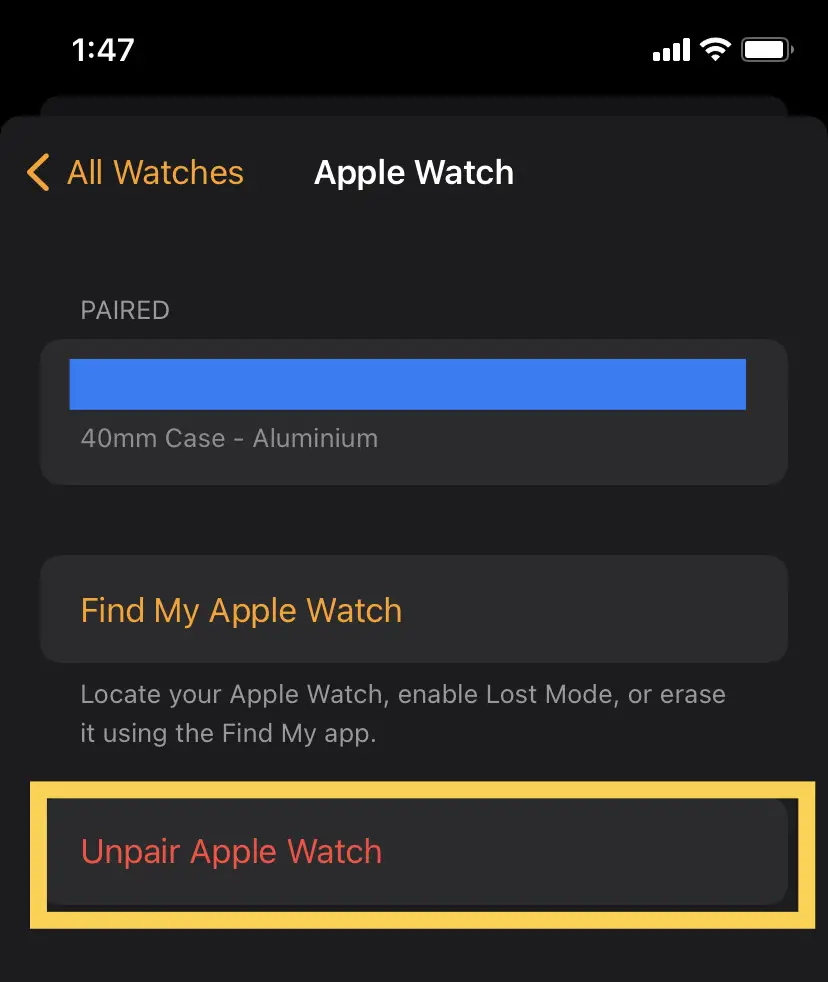
This is a tested method and works if you don’t have any other complications at hand. Make sure that you have your Apple ID and password at hand before you proceed.
You can check out the steps on how to do this by visiting Apple’s official support article for unpairing and pairing the watch.
8. Contact Support
If all else fails, you can contact and chat with Apple’s support agent. If the watch has been bought recently, and it is included in the AppleCare+, I assure you that you will qualify for a free refund and exchange if there is a hardware problem.

Navigate to the Apple Watch Support site, scroll down, and click on Start Now underneath Get Support. After inputting a few details, you will be matched with a support agent.

Very good article. I certainly appreciate this website. Keep writing!