The Hypervisor error on Windows 11 will occur with a BSOD due to issues with the system’s drivers or as a result of interferences from third-party applications (such as an antivirus). Try to update the system’s drivers or clean boot the system. This will clear the driver’s compatibility with the OS or locate the interfering application.
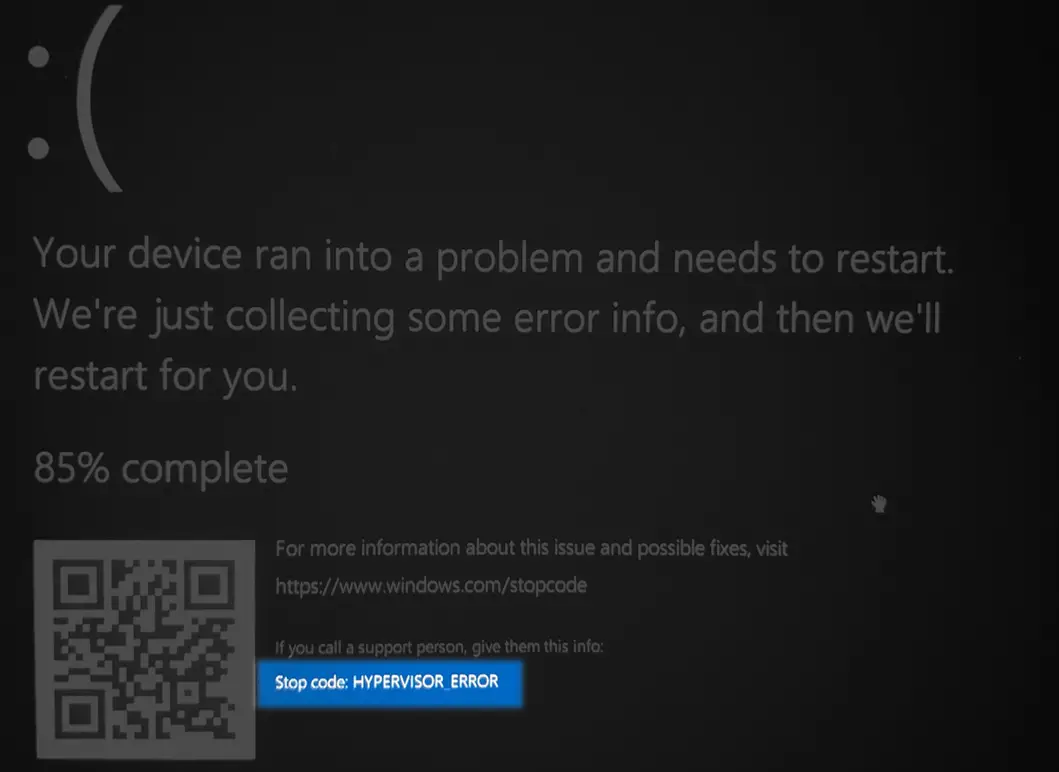
The error occurs when the system crashes with BSOD, showing the hypervisor error. This error is reported ever on systems where Hyper-V or hypervisor was disabled.
Before starting the troubleshooting process, boot the PC with the bare minimum and check if that solves the problem. USB devices (such as a keyboard or mouse) connected to USB 3.0 ports are reported to trigger the hypervisor error. Moreover, replace the power cord of your system or laptop and verify if that solves the problem.
Update The System’s OS To The Latest Build
You will face the Windows 11 Hypervisor error if the device’s OS is outdated. This can make the OS incompatible with other system components such as drivers or applications. Moreover, the BSOD error can also result from an OS bug. In either case, updating the system’s OS will resolve the issue.
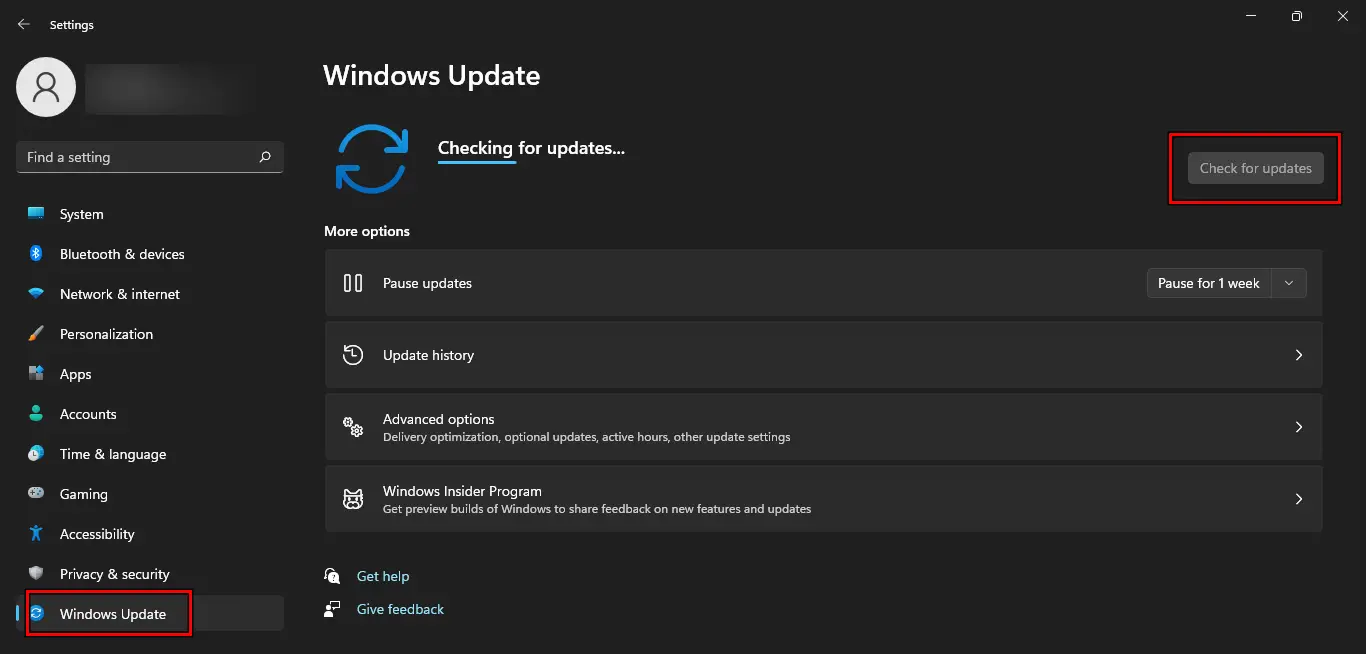
- Right-click Windows and go to Settings > Windows Update.
- In the right pane, click on Check for Updates and install all the available updates.

Check for Windows Updates - Once done, restart the system and check if it is clear of the hypervisor error.
Disable the Hypervisor Feature
If you are not using Hypervisor but it is enabled, then that could lead to the problem at hand, and disabling it will do the trick. If you are using the feature, temporarily disabling it can confirm if it is causing issues. For more information about this method visit this site.
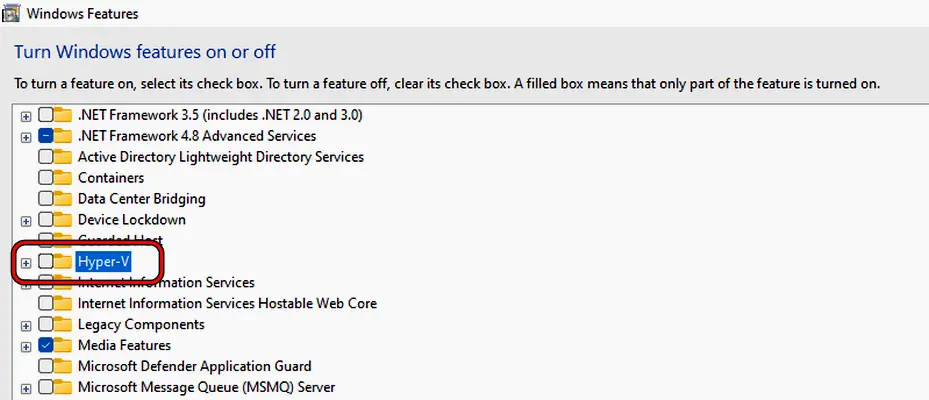
- Click Windows and type Turn Windows Features on or off.
- Open it and uncheck Hyper-V.

Disable Hyper-V in the Windows Features - Click OK and once done, click on Restart.
- Once restarted, check if the system is clear of the hypervisor error.
Perform an SFC Scan
The hypervisor error might occur if essential system files are not valid anymore and as a result, the OS fails to access these files. Here, performing an SFC scan of the system will resolve the issue.
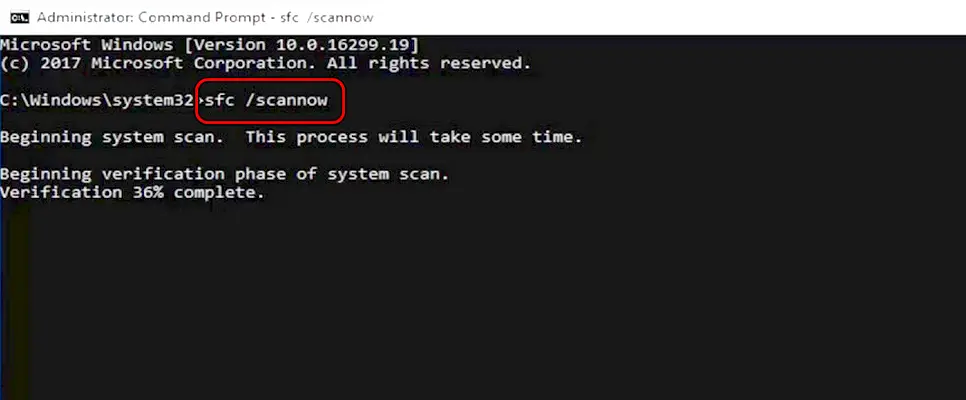
- Perform an SFC scan of the system and wait till the process completes.

Perform an SFC Scan on Windows 11 - Once done, check if the BSOD error is cleared.
- If not, check if performing a DISM scan of the system resolves the issue.
Update The System’s BIOS to the Latest Build
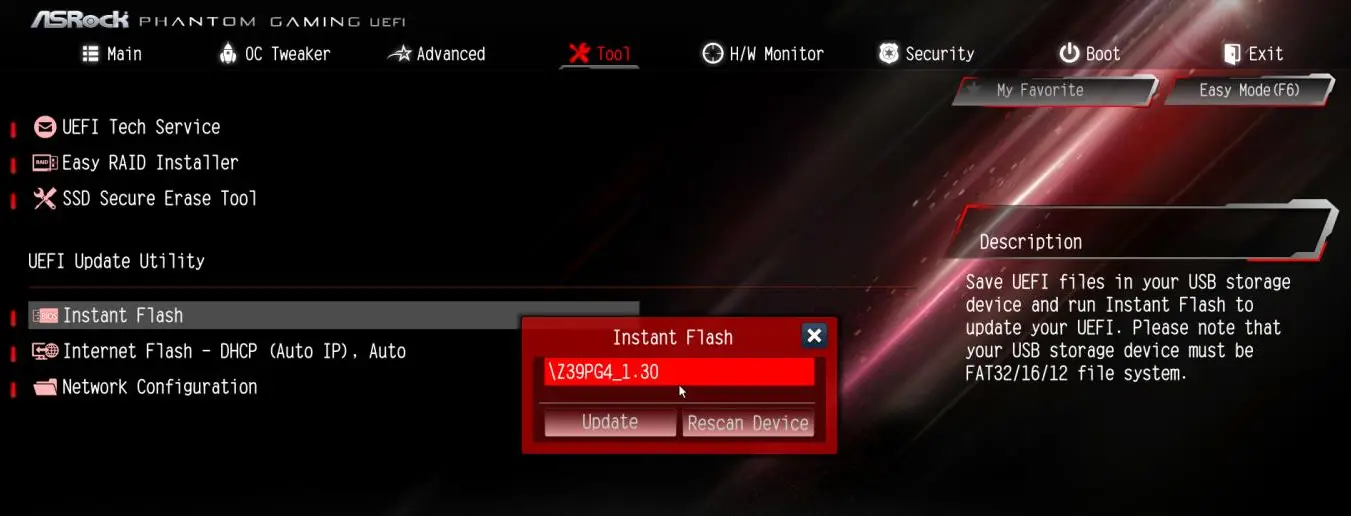
An outdated BIOS will not be compatible with the latest standards used by Windows 11 and thus cause the hypervisor BSOD error. To fix this, update the system’s BIOS to the latest build.
- Update the system’s BIOS and restart the system.

Update the System’s BIOS - Check if the hypervisor error is fixed.
Update Or Reinstall System Drivers
If your system’s drivers are outdated or its core components are not valid, the driver will hold on to a system resource longer than necessary and will cause the OS to crash with the hypervisor error. To solve this, update or reinstall your system drivers.
Update System Drivers
There are multiple ways to update the system driver, you may choose any of the three we have mentioned below as each of them will give you the same result.
Through the Device Manager
- Right-click Windows and open Device Manager.
- Expand the Display adapter tab and right-click on the graphics device.
- Select Update Driver and follow the prompts to complete the process.

Update the Display Driver Through the Device Manager - Repeat the same for other drivers as well.
- Once updated, restart the system and check if the BSOD problem is solved.
- If this does not work and some drivers are missing or with exclamation marks, install those drivers and check if that clears the error.

Manually Update The Drivers
- Manually download the latest drivers from the OEM website and install them as an administrator.
- Once done, restart the system and check if it is clear of the hypervisor error.
Through The OEM App
- Launch the OEM app (such as HP Support Assistant) and check for updated drivers in the app.
- If available, install those updates and restart the system. See if the hypervisor error is cleared.
Reinstall System Drivers
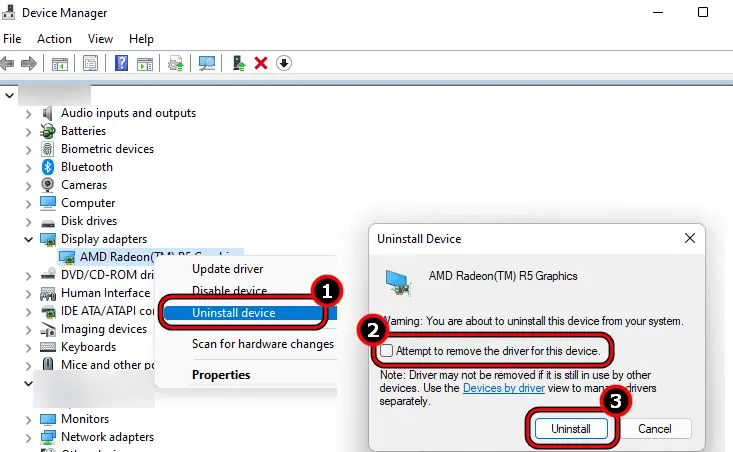
- Open Device Manager and expand the Display tab.
- Right-click on the graphics device and select Uninstall Device.
- Tick the option of Attempt to Remove Driver of This Device and click on Uninstall.

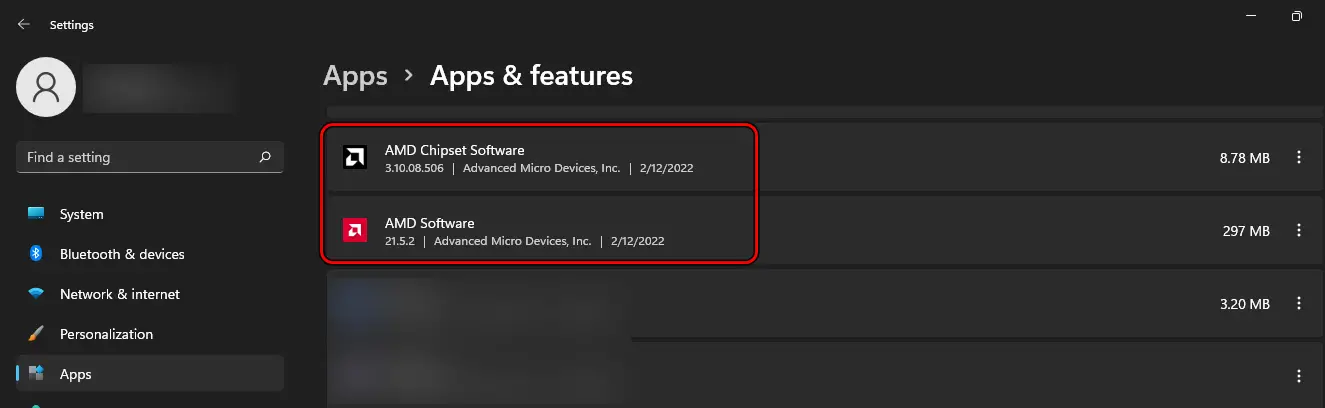
Uninstall Display Device in the Device Manager and Attempt to Remove Driver of This Device - Launch Apps & Features and if a graphics management utility is shown, expand its Options.
- Select Uninstall and follow the prompts to complete the process.

Uninstall Graphics Utility in the Windows Apps - Once done, restart the system and let Windows install a generic graphics driver. Check if the problem is solved.
- If not, download the latest driver from the OEM website and install it as an administrator.
- Restart the system and verify if the issue is resolved.
- If this does not work, uninstall the display driver through the DDU (Display Driver Uninstall).
- Restart the PC and install the latest driver as an administrator.
- Restart the system and confirm if the problem is solved.
If this does not work, install an older version of your graphics driver and check if that clears the hypervisor error. If you are tech-savvy, you can use Driver Verifier to find the problematic driver but make sure to create a system restore point before trying the Driver Verifier.
Remove Conflicting Applications
The hypervisor issue will occur if an application on your system locks a resource and fails to release it in time for the OS. Here, removing conflicting applications will resolve the issue.
Boot Your PC Into Safe Mode
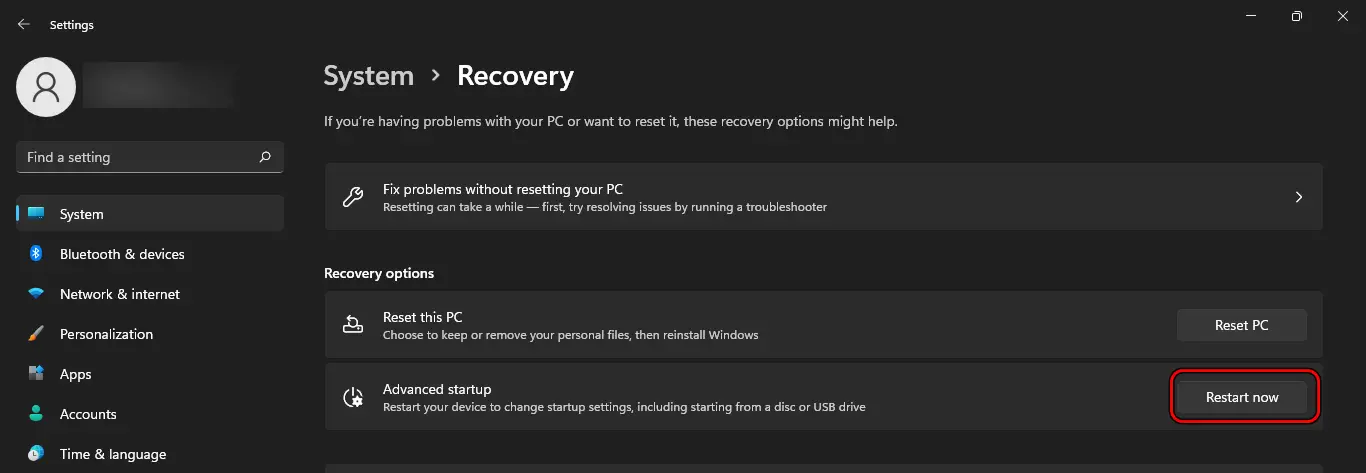
- Right-click Windows and open Settings > System > Recovery.

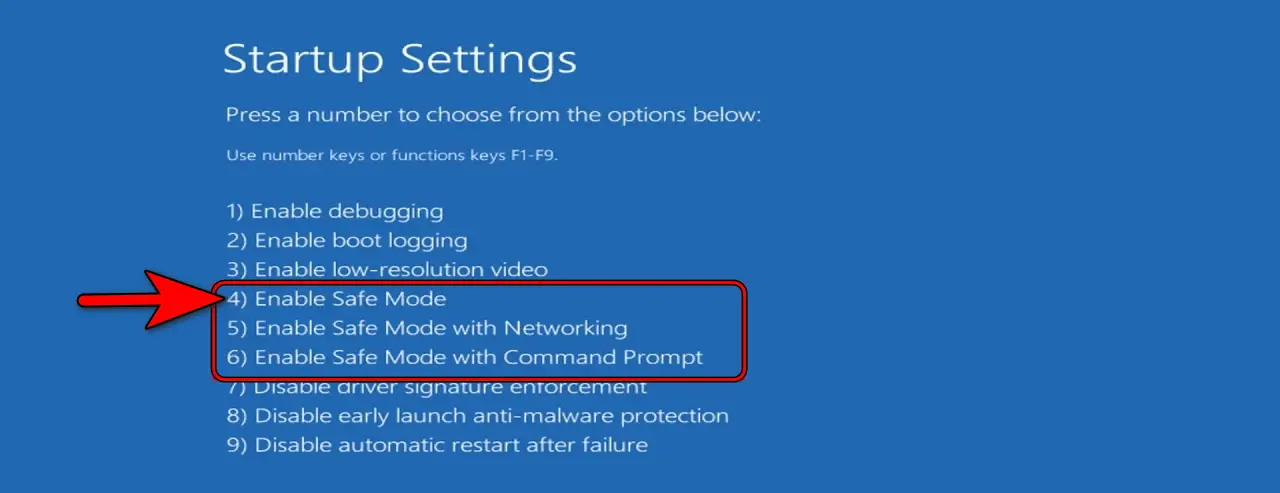
Restart the System Through the Windows Advanced Startup - Click on Restart Now for Advanced Startup and go to Troubleshoot > Advanced Options > Startup Settings > Restart.
- Press F4 or 4 to boot the Computer in Safe Mode.

Boot Windows 11 into Safe Mode - Check if the issue occurs in the safe mode. If so, then a hardware issue is causing the problem, otherwise, most probably, an OS or software-based issue is causing the error.
Clean Boot Your PC
- Clean boot your PC and check if the issue is resolved.
- If so, then a 3rd party application or driver is the root cause of the error and you may (one by one) enable the processes disabled earlier to find the problematic one.
Uninstall Conflicting Applications
There are many applications reported to cause the hypervisor error on Windows 11 like Antivirus softwares, Intel SGX ASM, Logitech G Hub software, iCue, Armory Crate, VirtualBox, VMWare, and BlueStacks.
If you have any of these or a similar application, you may need to uninstall it. Advance with extreme caution and at your own risk as uninstalling an antivirus can expose your data, system, network, etc. to threats. To uninstall Norton Antivirus, follow the steps below:
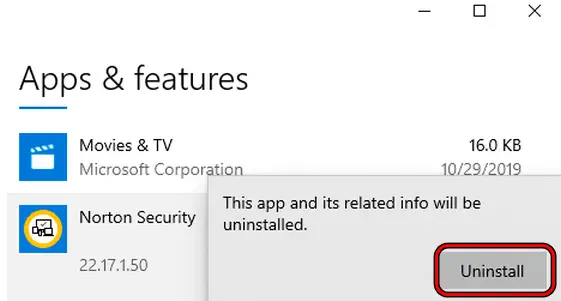
- Right-click Windows and open Apps & Features.
- Expand the Options of Norton Antivirus and click on Uninstall.

Uninstall Norton Antivirus on Windows - Follow the on-screen instructions to uninstall the antivirus and once done, restart the system.
- Check if the hypervisor BSOD error is fixed.
Disable Multithread In The System’s BIOS
Simultaneous multithreading allows a single physical processor to dispatch instructions from multiple hardware threads simultaneously. Although this feature helps in achieving better speed and performance, it may hinder the operation of the hypervisor. To disable the multithread in the system’s BIOS follow the steps below:
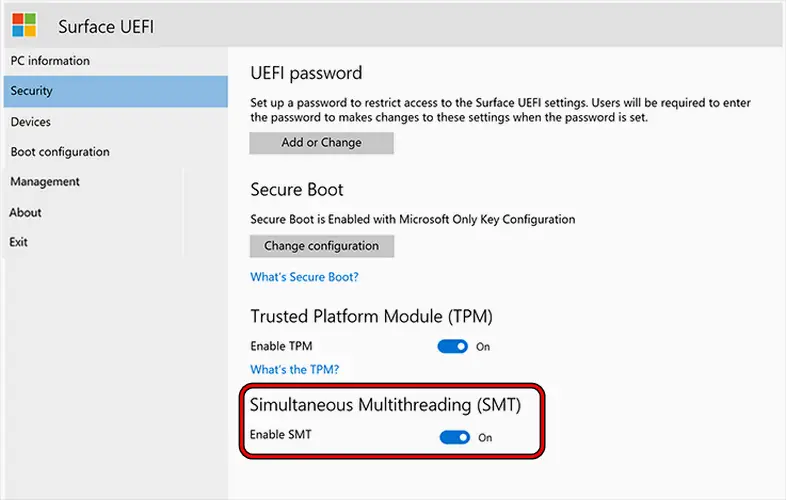
- Boot your system into the BIOS or UEFI.
- Go to the Security tab and disable Simultaneous Multithreading (SMT).

Disable Simultaneous Multithreading (SMT) in the System’s BIOS - Save the changes and boot the system into Windows. Verify if the issue is resolved.
- If not and you have a hyperthreading option in the BIOS, check if disabling it clears the error.
If the issue persists and you have overclocked your PC, remove the overclock from the system or reset the BIOS to the factory defaults. Check if that fixes the hypervisor error.
Disable Windows Subsystem for Linux (WSL)
WSL uses some virtualization components to complete its operation and if it is enabled on your system, it can cause the hypervisor error at hand. This can be fixed by disabling WLS in the Windows Settings.
- Open Control Panel and select Program and Features.
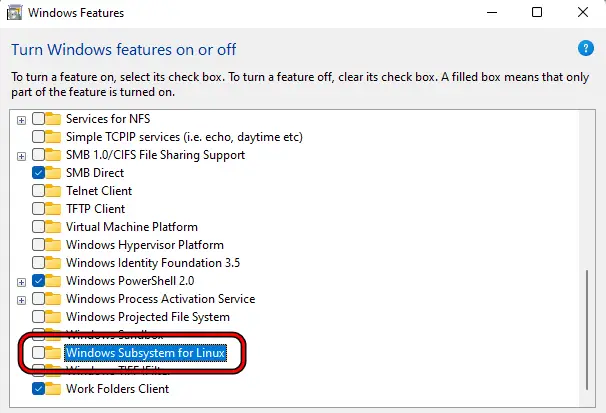
- Click on Turn Windows Features on or off.
- Uncheck Windows Subsystem for Linux and click OK.

Disable Windows Subsystem for Linux - Once done, restart the system and check if the hypervisor problem is solved.
Perform an In-Place Upgrade of Windows
If essential Windows files are no more valid and the OS crashes in the execution of those files, you will face the hypervisor error. Performing an in-place upgrade of Windows will resolve the issue.
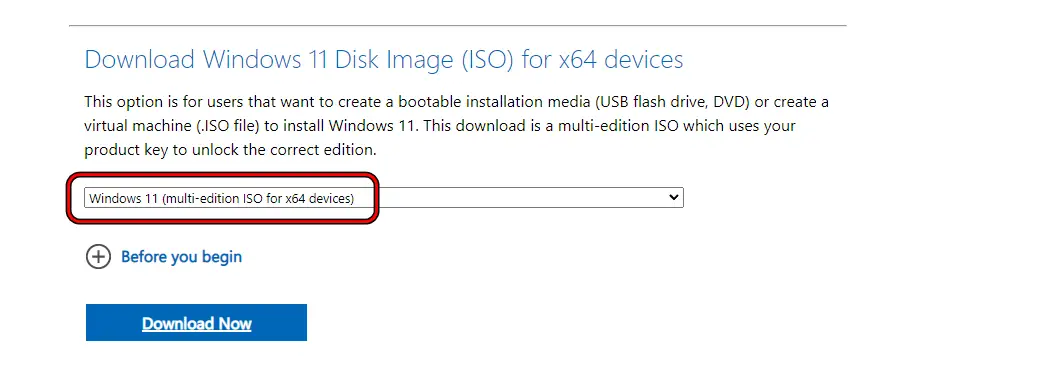
- Launch a web browser and navigate to the download page of Windows 11 on the Microsoft website.
- In the section of Download Windows 11 Disk Image (ISO) for x64 Devices, set the download to Windows 11 (Multi-edition ISO for x64 Devices) and click on Download Now.

Download Windows 11 (Multi-edition ISO for x64 Devices) - Wait till the download completes and once downloaded, disconnect the system from the Internet.
- Disconnect all the peripherals or devices from the system except a simple keyboard and mouse.
- Disable third-party security software on your system and if you have BitLocker encryption, disable it.
- Right-click on the download ISO and select Mount.
- Open the mounted drive and double-click on Setup.exe.
- Click Yes on the UAC prompt and set the updates to Not Right Now.
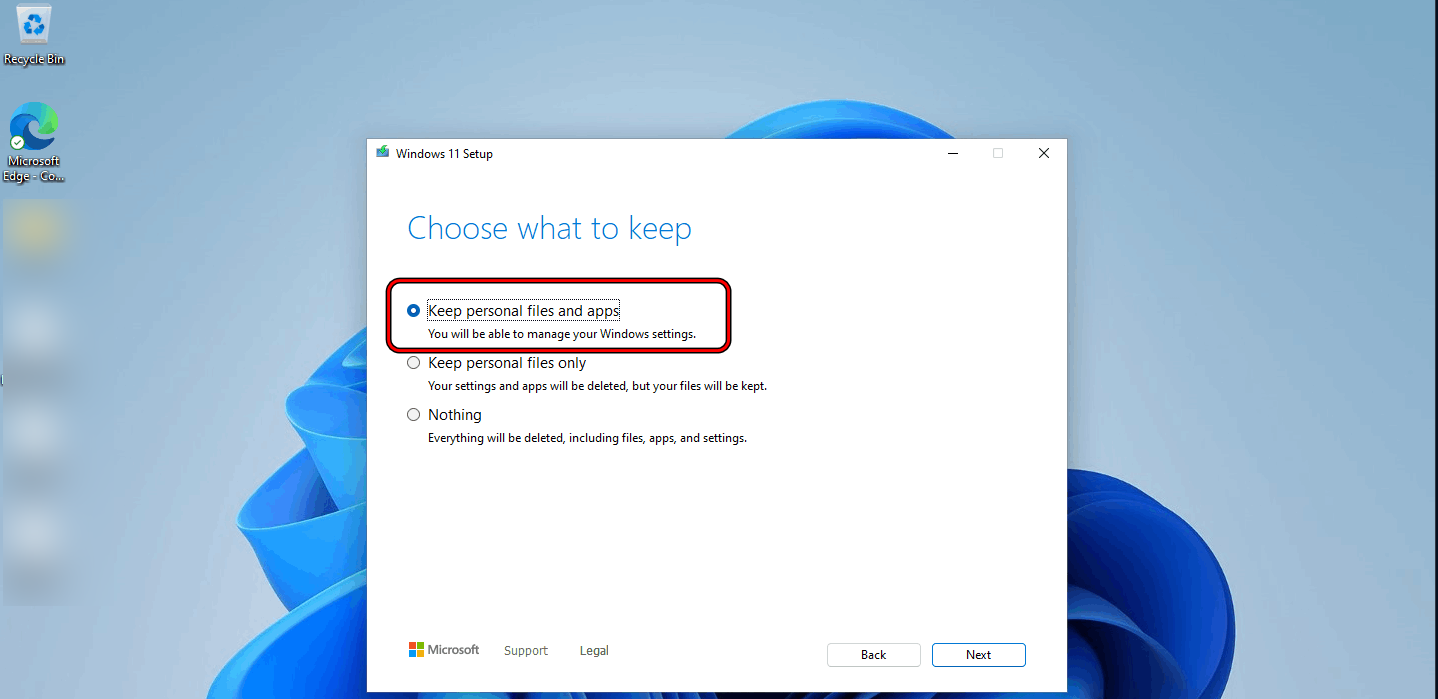
- On the Choose What to Keep window, select Keep Personal Files and Apps.

Keep Personal Files and Apps on Choose What to Keep Menu of Windows 11 Upgrade Setup - Follow the prompts to complete the process and once done, restart the system. Check if the hypervisor problem is solved.
Reset The Windows 11 System To The Factory Defaults
The hypervisor error might occur if the core components of Windows 11 on your system are no more valid. This may have occurred due to a sudden power failure or if the latest OS update did not apply properly on the current installation.
This can be fixed by resetting the Windows 11 system to the factory defaults. Before resetting, make sure to back up essential data on your system and note down essential info (such as website logins).
- Right-click Windows and open Settings > System.
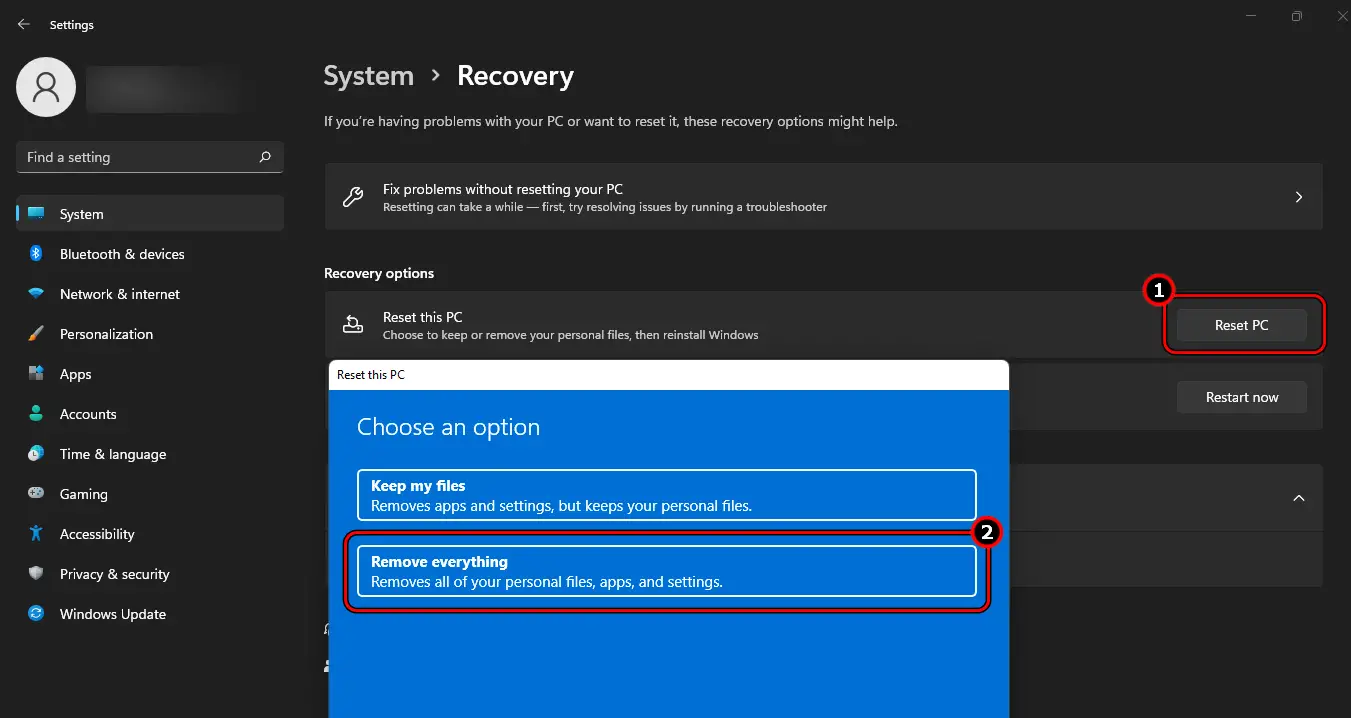
- Open Recovery and click on Reset PC.

Reset the PC and Remove Everything - Select Remove Everything and click on Local Reinstall.

Local Reinstall Windows 11 - Follow the prompts to complete the process and once done, hopefully, that will clear the hypervisor error.

If the issue persists, perform a clean install of Windows 11 on your system and check if that clears the hypervisor error. If the error is still there, a hardware problem could be causing the error, and you may need to contact Microsoft Support or a certified hardware repair shop. The hardware issues might range from a failing power supply to a dying processor.
Conclusion
Hypervisor errors on Windows 11 can be a difficult problem to understand and deal with, it can lead to the Blue Screen of Death and system crashes. But with our comprehensive troubleshooting guide, you can discover multiple ways to tackle this problem. You can try to update your drivers, clean boot the system, and update the BIOS among other solutions. Hope we helped you solve this error.